Page 17
SHOPSMITH 11” BANDSAW
555943
2. Place the miter gauge in the table’s T-slot.
3. Use a 5/32" Allen wrench to remove the
expansion screw found in the center of the
miter gauge’s guide bar. See Fig. A-15.
4. Use a medium Phillips screwdriver to
adjust the tension of each of the five screw
(94) which attach the T-slot extrusion to
the table, as shown in Fig. A-16. The
tension should be such that the miter
gauge will both travel freely in the T-slot
and have a snug fit. After adjusting the
screws, replace the expansion screw in
the miter gauge guide bar.
ALIGN THE TABLE TO THE BLADE
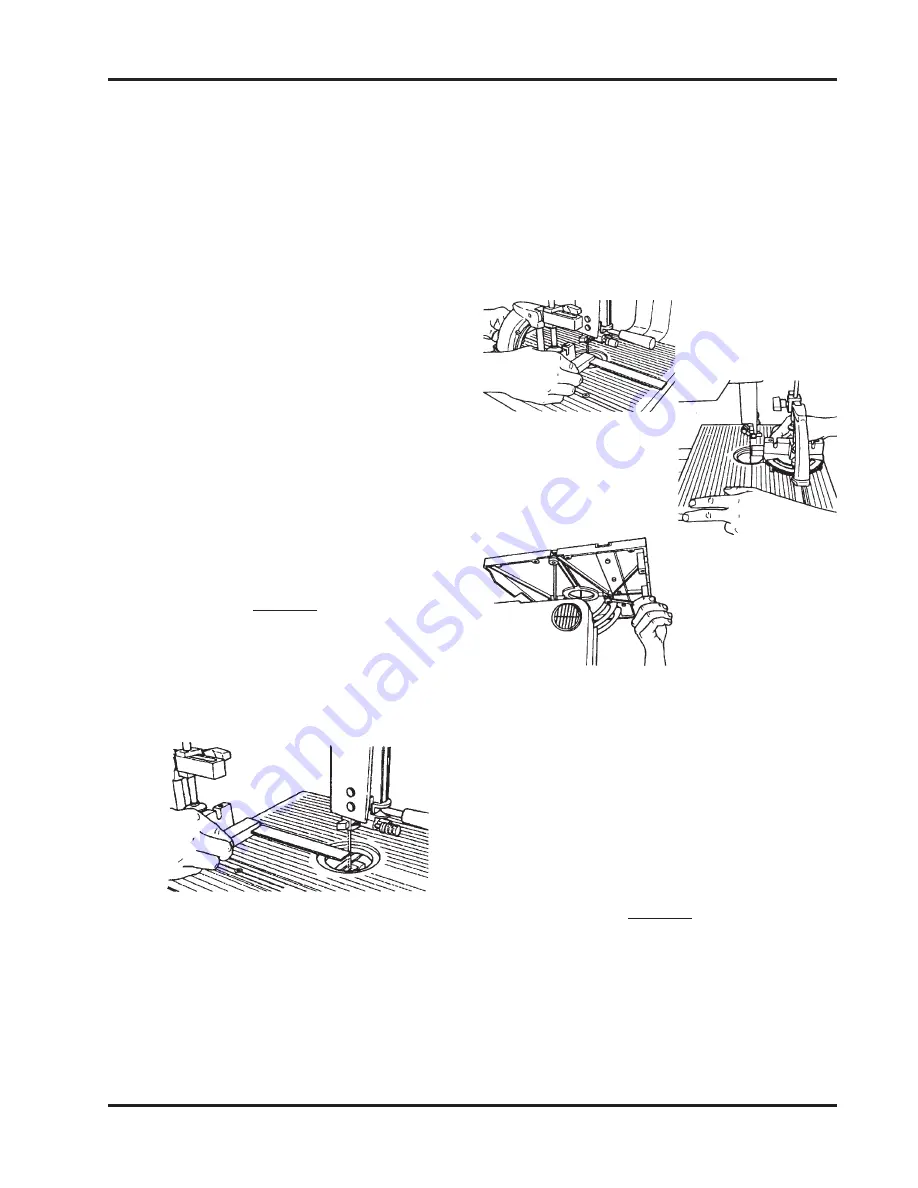
1. With the miter gauge still in the T-slot,
place the precision square against both
the face of the miter gauge and the blade.
See Fig. A-17.
NOTE
The precision square’s “blade” must contact
the Bandsaw blade on either the blade’s
gullet or a tooth set away from the square. If
it is positioned on a tooth which is set toward
the square, alignment will not be accurate.
Figure A-17
2. Keep the square on the miter gauge, and
slide the miter gauge and square forward
until the base of the square reaches the
Bandsaw blade, as in Fig. A-18. If there is
a gap between the square and the Bandsaw
blade or if the blade gets in the path of the
square, adjust the table (as the left hand is
doing in Fig. A-19) until the gap is elimi-
nated-or the blade is no longer in the path
of the square.
When the table is square to the blade, the
square’s blade should slide along the
Bandsaw blade without any gaps or inter-
ference. After you have adjusted the table,
recheck the table’s alignment by repeating
this step.
Figure A-18
Figure A-19
Figure A-20
3. Use a 1/2" wrench to securely tighten the
four bolts (35) attaching the table to the
Bandsaw. See Fig. A-20. It is easier to
tighten the front two bolts, then tilt the
table 15 degrees-25 degrees to tighten the
remaining two bolts. After tightening,
reset the table at 0 degree and lock the
trunnion.
NOTE
To assure the accuracy of the table’s align-
ment, test cut a piece of scrap wood and
check for squareness. If it is not square,
repeat Steps 2 and 3.
4. Remove the miter gauge from the table.
Then raise the Bandsaw’s saw guard all
the way and lock it.


