


8.
Move your carriage back PAST the start point, then forward to the
start point to take out any inherent lash again and repeat the
procedure. Once you have the steps per inch set such that the travel
matches your command, move on to the other axes and repeat the
procedure.
BACKLASH COMPENSATION
Once you have the steps per inch adjusted on all 4 axes, you can now
measure your backlash and set the compensation.
1.
Go to BACKLASH and enable the backlash compensation
2.
Using the same procedure as before, move your carriage to a start
point taking out the inherent backlash. Set your DRO to Zero and
give the carriage a command to go 1”. If your steps per inch settings
are correct, it should go exactly 1”.
3.
Now give the carriage a command to go 1” in the opposite direction
and read the result on your DRO. If the return move was only
0.998”, then you have 0.002” backlash.
4.
Go to CONFIG>BACKLASH and select the axis and put in the
backlash amount, SAVE SETTINGS and repeat the test until your
carriage moves exactly 1” in both directions when given the
command. Repeat this procedure for both axes.
SETTING SPINDLE PULLEYS
1. Set the Hz settings in your VFD to your preference from 50 to a
maximum of 120. ( the factory setting is 120)
2. Follow the instructions in your Laser Tachometer manual for testing the
spindle RPM.
3. Set your Hz setting to its maximum amount and read the spindle RPM
with your tachometer.
4. Go to CONFIG>SPINDLE PULLEYS
5. In the Minimum speed set it to ZERO
6. In Maximum speed put in the reading from your tachometer. Set the
Pulley Ratio to 1.
7. Now test your spindle with various M3S commands( M3S500, M3S750
etc.) and check the spindle RPM with your tachometer and compare to the
spindle speed and STrue readings on your Mach 3 screen.
With some tweaking of the MAX speed settings you should be able to get
the Mach 3 screen settings within a few RPMs of your tachometer reading.
NOTE: If you change the Hz amount in your VFD, you will need to test your
RPM again with the tachometer and adjust the Max speed in your settings.
Содержание MILL TURN
Страница 12: ......
Страница 13: ......
Страница 14: ......
Страница 15: ...5C COLLET SET 4 JAW CHUCK ...
Страница 16: ...FOLLOW REST ...
Страница 17: ...STEADY REST ...
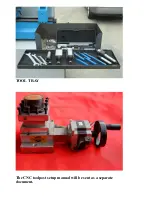
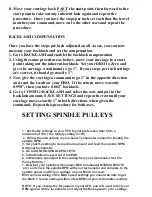
Страница 18: ...TOOL TRAY The CNC toolpost setup manual will be sent as a separate document ...