


FreeScan UE_ User Manual _V1.2.0.0 10
3.2.3 Quick Calibration
The system directly enters the calibration interface when it is used for the first time. Alternatively, users can
select
“
Calibration
”
located on the navigation bar to switch to the calibration interface.
Follow the steps provided by the calibration wizard on the right side of the interface.
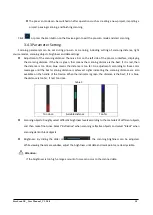
Step 1 Place the calibration board horizontally.
Step 2 According to the height indicating box, adjust the distance between the scanner and the calibration
board.
Step 3 Align the center point of the Device
’s
handle with the center point of the gray circle on the calibration
board.
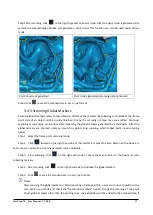
Step 4 Place the scanner in the same direction as shown in the figure.
Step 5 Press the scan button on the scanner to start data collecting.
Step 6 Move the Device slowly upwards from lower point alongside the central axis.
Step 7 Keep moving until the height box turns green.
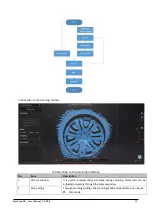
3.3 Create a Project
Create a project (or
import multi-projects)
before scanning any objects. A newly created project provides a
path to save the scanned model data, which facilitates the users to process the acquired data.
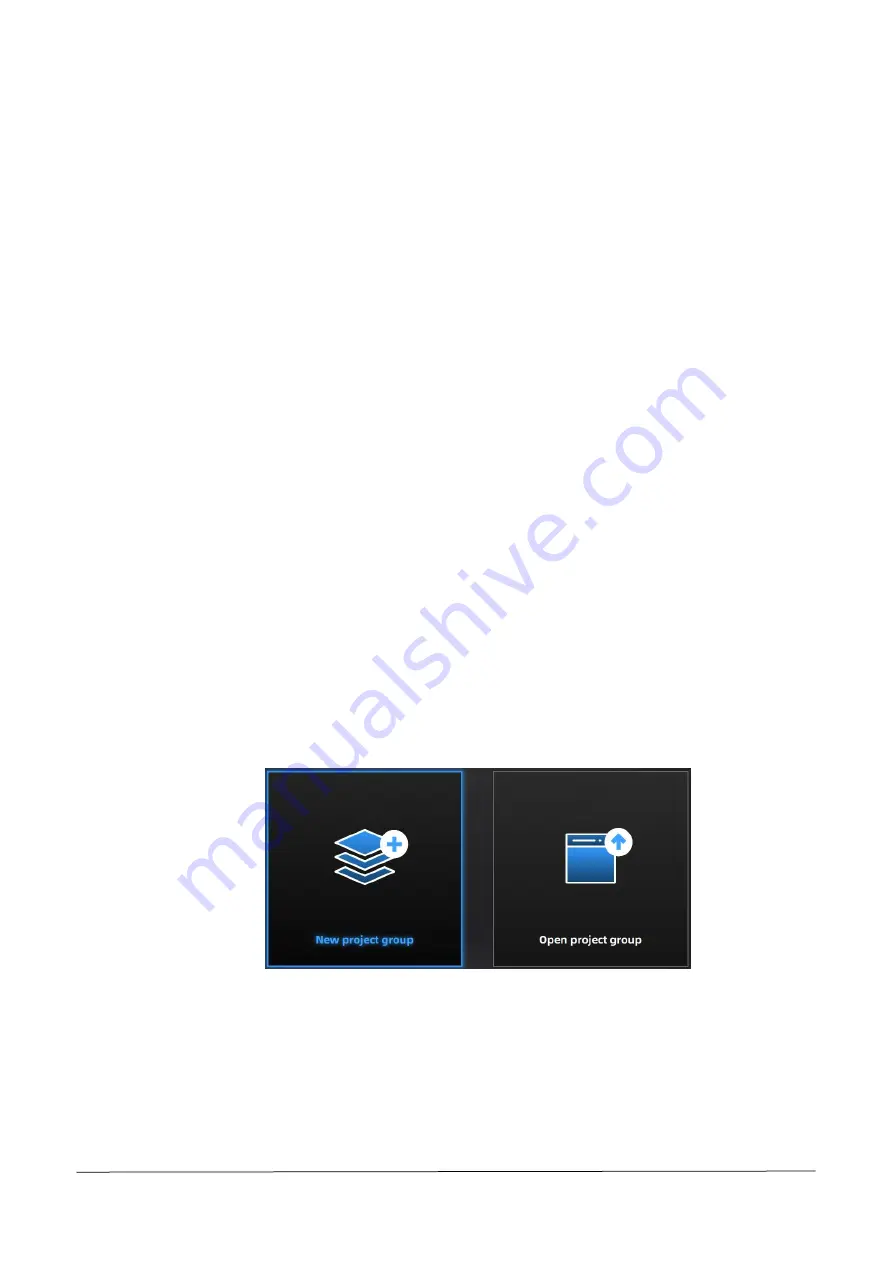
Step 1 In the project management window, click
“
Creating Multi-Projects
”
, and the window of creating new
projects will pop up.
Step 2 Create a new folder or select an existing folder as the path for the storage of the project data. The
folder name is generally named after the project name.
Step 3 Enter the resolution setting window, where
“
High Detail
”
,
“
Medium Detail
”
or
“
Low Detail
”
can be
selected for default resolution options; alternatively, the slider can be dragged to set the resolution.
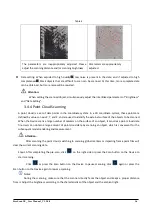
⚫
Resolution: The higher the resolution is set to be, the finer the scanning effect will be. Models
scanned at lower resolution can be easily distorted. In contrast, models scanned at high resolution
occupy larger amount of storage space and take longer time to scan. Therefore, when scanning small


