-9
Introduction
5.
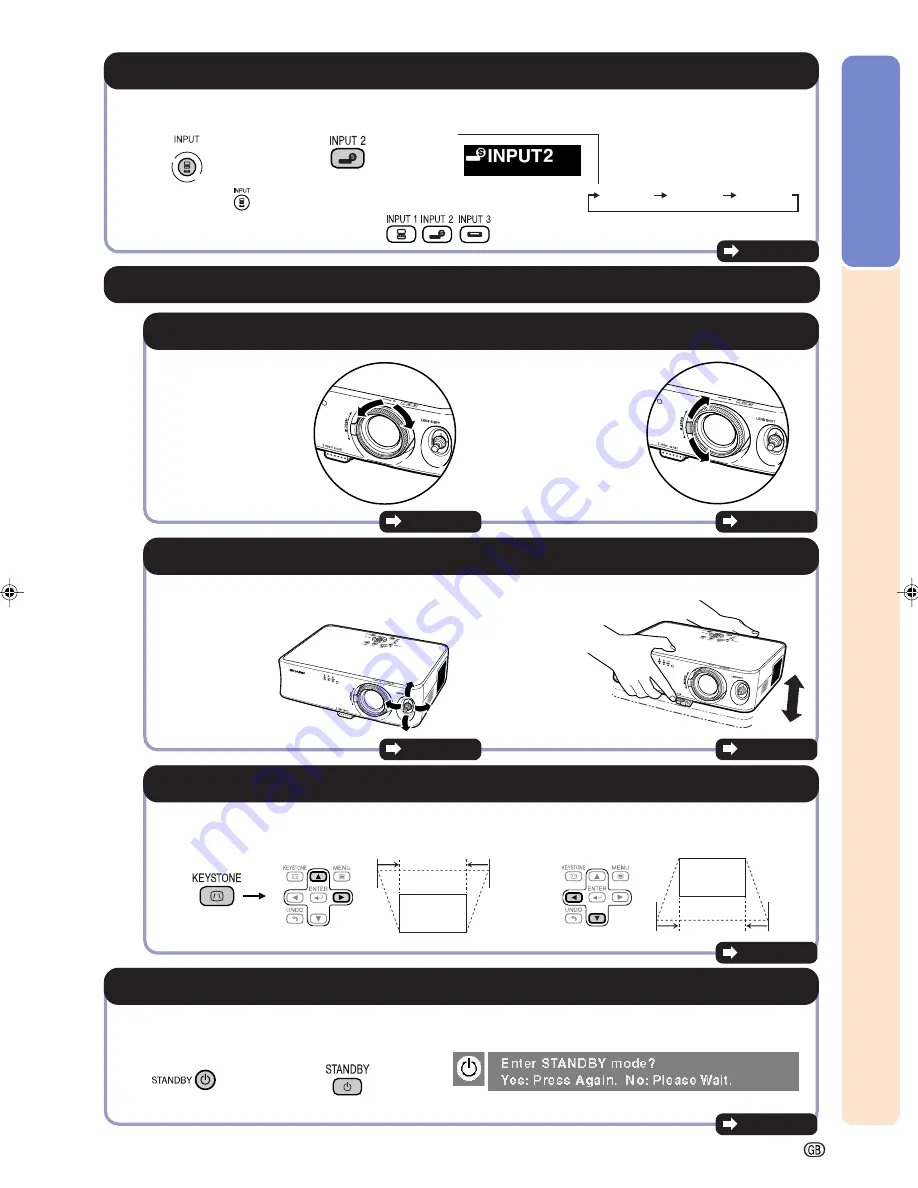
Adjust the projected image
Compresses upper side.
On the remote
control
3
3
3
3
3
Correct trapezoidal distortion
1
1
1
1
1
Bring the projected image into focus and adjust the projected image size
Page 30
Page 30
2
2
2
2
2
Adjust the projected image position and the projector angle
Page 31
Page 32
Zoom in
Zoom out
Focus
•••••
Bring the projected
image into focus
using the focus ring.
Zoom
•••••
Adjust the
projected
image size
using the
zoom knob.
Projection position
•••••
Adjust the
projected
image position
using the lens
shift lever.
Angle
•••••
Adjust the
projector
angle using
the HEIGHT
ADJUST
button.
Correcting trapezoidal distortion using the Keystone Correction
Compresses lower side.
Page 29
Page 27
4.
Select the INPUT mode
Select “INPUT 2” using the INPUT button on the projector or the INPUT 2 button on the remote control.
"
On-screen Display
On the remote control
On the projector
•••••
When pressing
on the projector, input mode switches in order of
INPUT 1
INPUT 2
INPUT 3
.
•••••
When using the remote control, press
/
/
to switch the input mode.
6.
Turn the power off
Press the STANDBY button, then press that button again while the confirmation message is displayed, to put
the projector into the standby mode.
On the remote control
On the projector
•••••
Unplug the power cord from the wall outlet after the cooling fan stops.
"
On-screen Display
Page 28
XV_Z10E_E_p08_15.p65
03.11.7, 4:14 PM
9
Содержание XV-Z10E
Страница 71: ...Memo ...
Страница 72: ......


