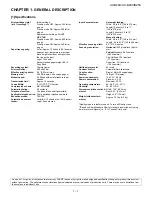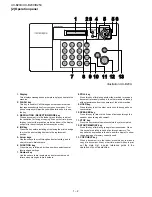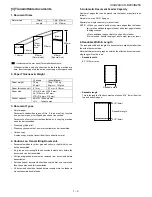
UX-B20U/UX-B20C/B25C
1 – 7
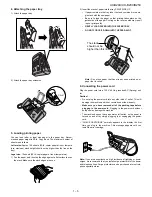
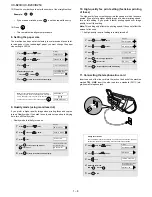
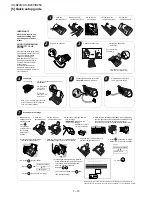
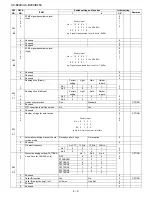
6) Insert the new print cartridge into the cartridge holder.
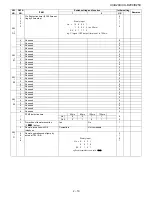
7) Place your index finger on the tab as shown and close the cartridge
holder cover with your thumb. Make sure the cover clicks into
place.
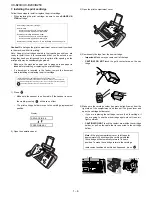
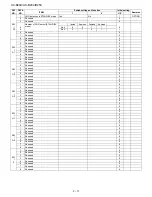
8) Close the print compartment cover.
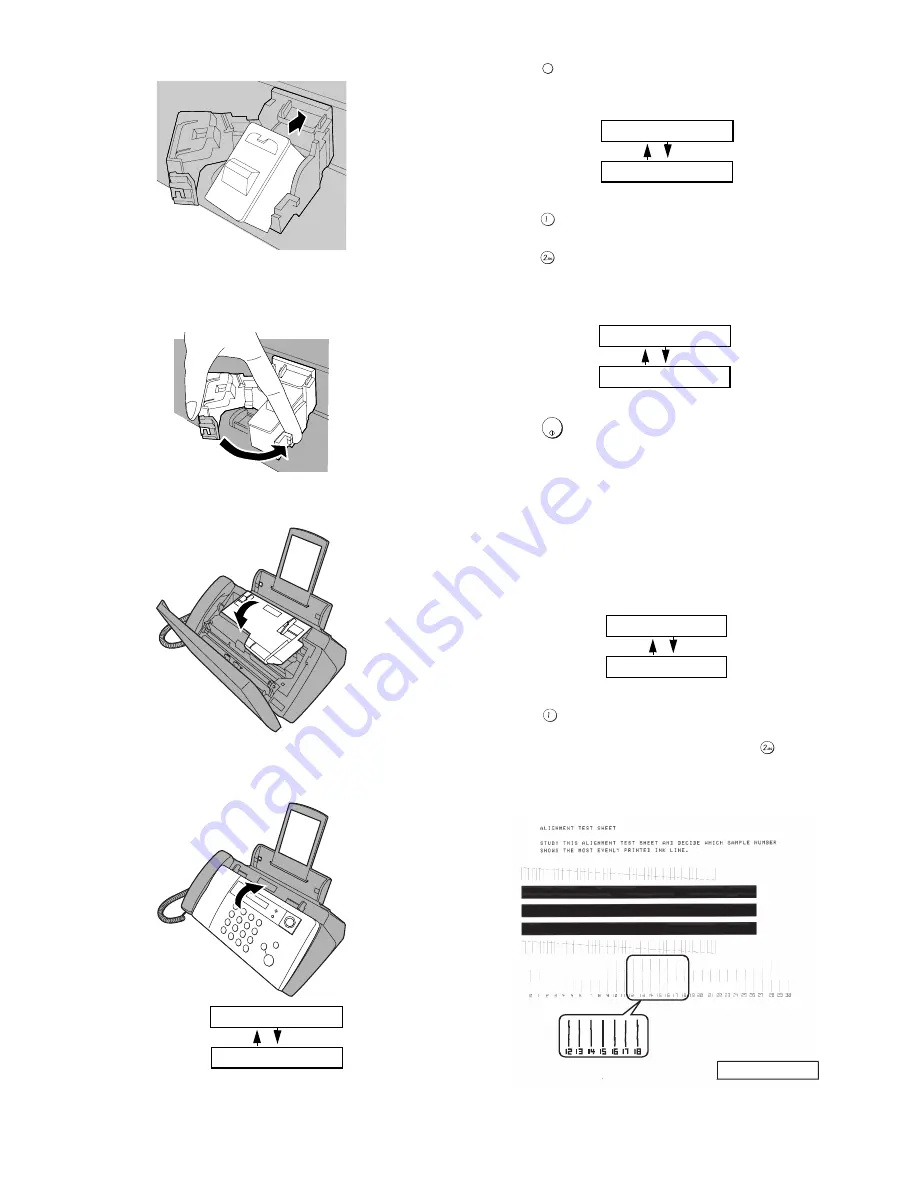
9) Close the operation panel, pressing down firmly to make sure it
clicks into place.
10)Press
to make the print cartridge holder return to its home
position.
11)Press
(NEW) if the cartridge you installed is new.
Press
(OLD) if the cartridge you installed is old.
12)Press
.
If you selected “OLD” in the previous step, this completes the
installation procedure. (Note: If you find that print quality is not sat-
isfactory after reinstalling the old cartridge, align the cartridge as
explained.)
If you selected “NEW”, the display will show the alternating mes-
sages at right. Continue with the following steps to align the print
cartridge.
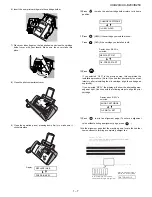
13)Press
to print an alignment page. (To enter an alignment
value without printing an alignment page, press
.)
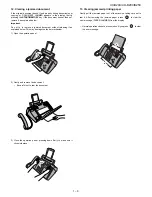
14)In the alignment page that the machine prints, locate the line that
comes closest to forming a completely straight line.
Display:
PRESS INK KEY
REPLACE INK &
INK
1=NEW, 2=OLD
CHANGE CARTRIDGE
Display when "NEW" is
selected:
OK: PRESS START
NEW CART. OK?
START/
MEMORY
1=PRINT,2=SET
ALIGN CARTRIDGE
Display when "NEW" is
selected:
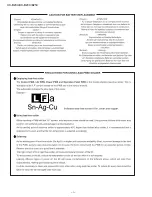
In this example, "15" comes
closest to fo
ff rming a straight line.
ENTER (0-30) 15
Aft
ff er the alignment page is
printed, the display shows:


