20
E
11. ID SET
Set a number on the remote control unit. (See page 32.)
12. OPTION
Switch the input mode to OPTION when you have used the
expansion slot to expand the functions.
13. DP (DisplayPort)
Switch the input mode to DisplayPort.
14. SIZE (Screen size selection)
The menu is displayed.
Press the or
button to select the screen size. (See page
21.)
15. PIP/PbyP
Each time you press the button, PIP MODES switches in the
following order: OFF → PIP → PbyP → OFF.
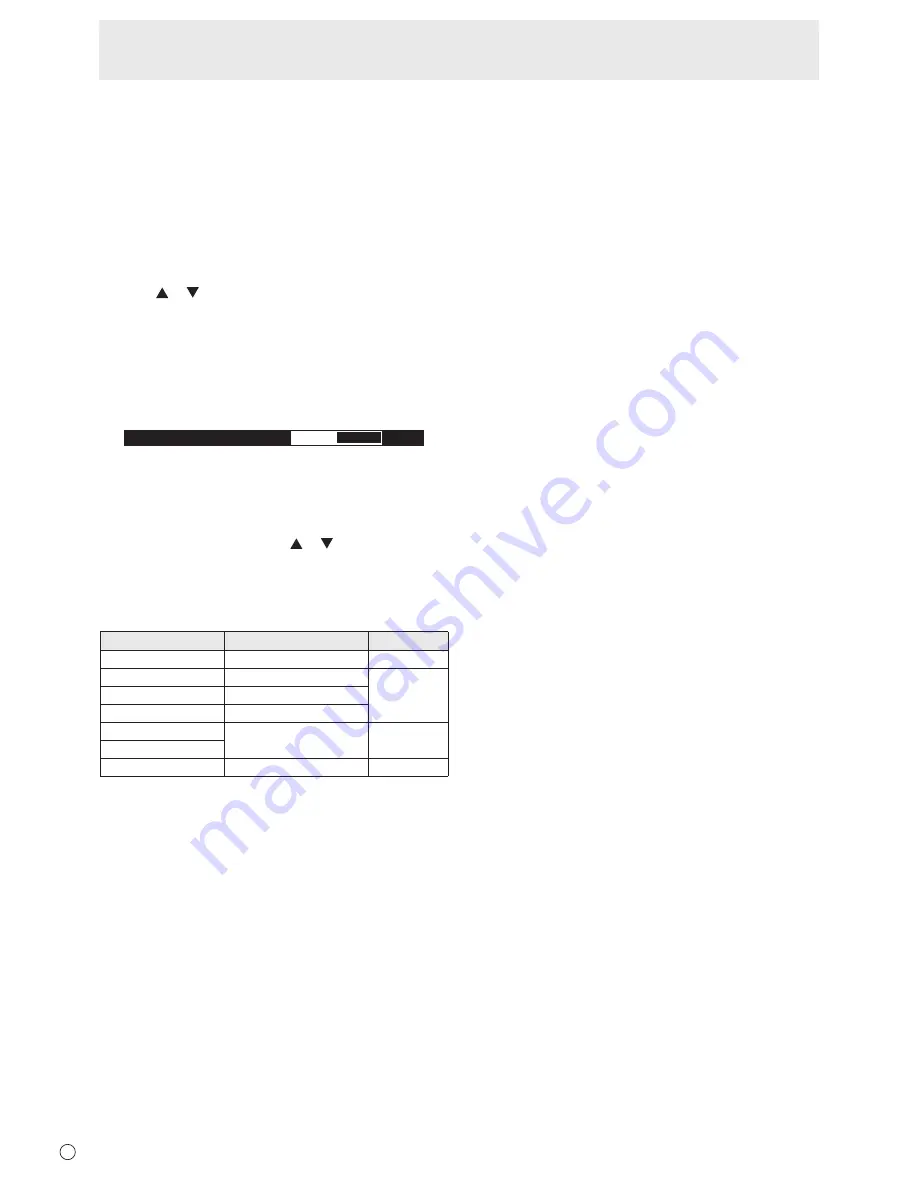
16. /- (Brightness adjustment)
Pr or - displays the BRIGHT menu.
B R I G H T
15
Press + or - to adjust the brightness.
* If you do not press any buttons for about 4 seconds, the
BRIGHT menu automatically disappears.
17. INPUT (Input mode selection)
The menu is displayed. Press the
or button to select the
input mode, and press the ENTER button to enter.
In APPLICATION mode, you can use Android applications.
For details of APPLICATION mode, see the Software Guide.
* You can change the input mode by pressing the INPUT
button of the monitor.
Input mode
Video
Audio
APPLICATION
*1
APPLICATION
APPLICATION
DisplayPort
DisplayPort input terminal
*4
HDMI1
HDMI1 input terminal
HDMI2
HDMI2 input terminal
D-SUB[RGB]
D-sub input terminal
*3
Audio input
terminal
D-SUB[COMPONENT]
OPTION
*2
Expansion slot
*4
*1 When the input mode is set to a mode other than
APPLICATION mode, you can change the input mode to
APPLICATION mode with the CONTENT MENU button.
*2 This is displayed when you have used the expansion slot
to expand the functions.
*3 Select the input mode to be used for D-SUB of INPUT
SELECT. (See page 26.)
*4 Select the terminal for AUDIO SELECT which is used for
audio input. (See page 26.)
18. MENU
Displays and turns off the menu screen. (See page 22.)
19. Cursor
These buttons are used to perform operations such as
selecting items, changing adjustment values, and moving the
cursor.
20. RETURN
Returns to the previous screen.
Basic Operation


