E17
English
Deutsch
Français
Italiano
Español
English
Adjusting the computer display (AUTO ADJUSTMENT)
When using the monitor as a computer display for
the first time or after having changed the system
settings during use, perform an automatic screen
adjustment. “CLOCK”, “PHASE”, “H-POS”, and
“V-POS” will be set to their optimum states.
MAIN
POWER
CH
MENU
INPUT
PC
AV2
AV1
TV
BRIGHT
MODE
BRIGHT
CH
POWER
SLEEP
MENU
DISPLAY
FREEZE
/HOLD
SOUND
SUBPAGE
SUBTITLE
VIEW MODE
TEXT
REVEAL
PIP
OK
/BRIGHT
OK
/
BRIGHT
MODE
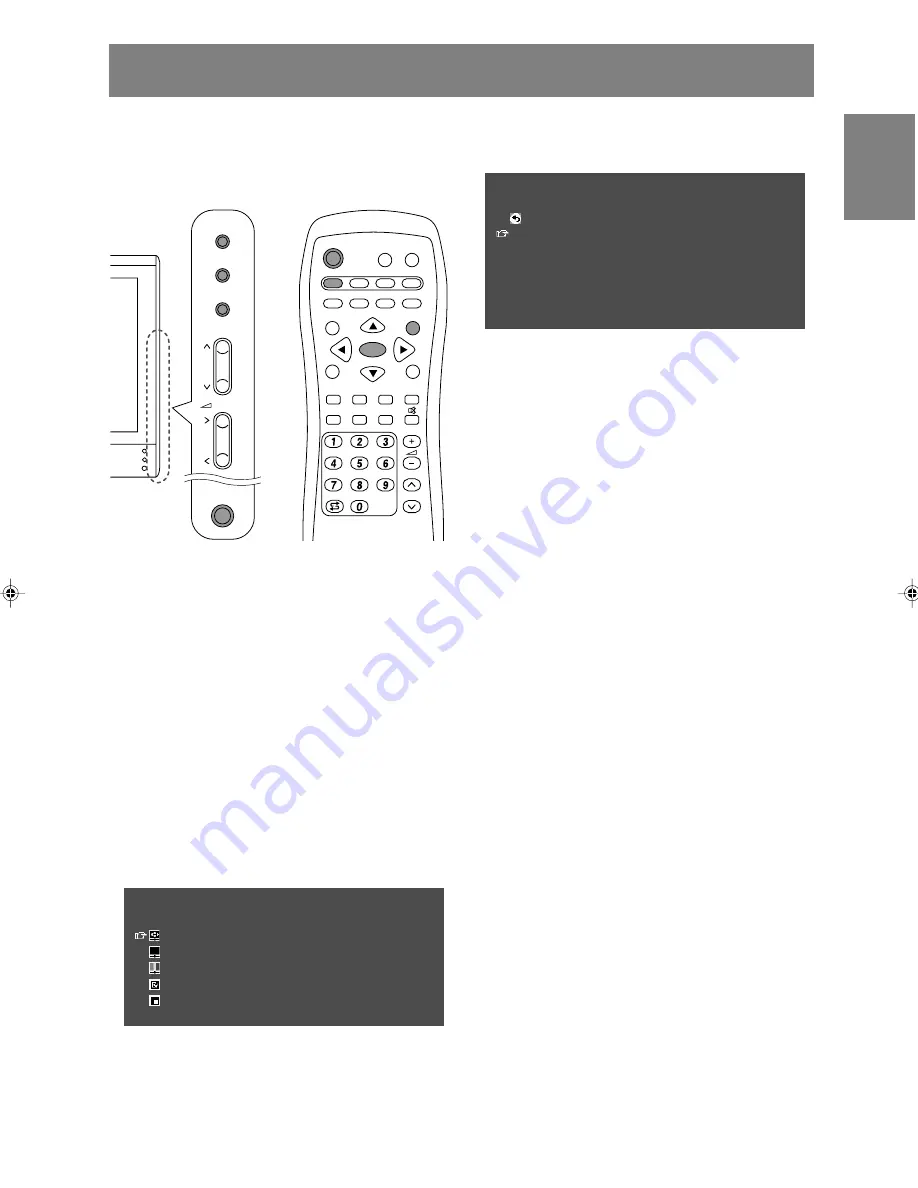
1. Press the MAIN POWER button to turn on the
monitor.
When the power LED lights red, press the
POWER button on the remote control.
2. Select the PC mode using the INPUT button
(monitor) or the PC button (remote control).
When using the INPUT button (monitor), each
time you press it, the input changes in the
following order:
PC
→
Number (TV)
→
AV1
→
AV2
→
PC...
3. Turn on the computer, and then display an image
that makes the entire screen display light
colours (such as a light desktop background).
If you are running Windows, you can use the
Adjustment Pattern on the accompanying Utility
Disk (see page E22).
4. Display the MENU screen using the MENU
button.
The cursor is positioned at “ADJUSTMENT”.
MENU
<
PC
>
ADJUSTMENT
>>
GAIN CONTROL
>>
COLOUR CONTROL
>>
MODE SELECT
>>
PICTURE IN PICTURE
>>
5. Press the OK/BRIGHT MODE button (monitor) or
the OK button (remote control).
The “ADJUSTMENT” screen will be displayed.
ADJUSTMENT
<
PC
>
RETURN
AUTO
CLOCK
[ 127 ]
>>
PHASE
[ 16 ]
>>
H-POS
[ 200 ]
>>
V-POS
[ 50 ]
>>
RESET
6. Press the OK/BRIGHT MODE button (monitor) or
the OK button (remote control) to auto-adjust the
settings.
The screen will go dark and “ADJUSTING” will
be displayed. After a few seconds, the
“ADJUSTMENT” screen will return.
7. Exit the screen using the INPUT button (monitor)
or the MENU button (remote control).
Notes:
- When you are using the 1280 x 768 or 1024 x
768 mode, specify the horizontal resolution of a
768-line screen in the MODE SELECT menu.
(See page E25.)
- It may not be possible to achieve correct
adjustment with the first automatic adjustment.
In such a case, try repeating the automatic
adjustment 2 or 3 times.
- If necessary due to any of the following, manual
adjustments (page E22) can be performed after
the automatic adjustment.
- When further fine adjustment is needed.
- When the computer’s video input signals are
Composite Sync or Sync on Green. (Automatic
adjustments may not be possible.)
- When “OUT OF ADJUST” is displayed. (When
the screen displays an entirely dark image, the
automatic screen adjustment may be disabled.
When making an automatic adjustment, be
sure to either use the Adjustment Pattern or try
displaying an image that makes the entire
screen very bright.)
- Automatic adjustment may not be achieved
correctly depending on what is displayed on the
screen - moving pictures or the MS-DOS prompt
etc.
LL-171ME_gb_01.PMD
2/2/2004, 2:43 PM
17
Содержание LL-171ME
Страница 57: ...G1 Deutsch Deutsch Français Italiano Español English DEUTSCH ...
Страница 111: ...F1 FRANÇAIS Deutsch Français Italiano Español English FRANÇAIS ...
Страница 165: ...IT1 English Deutsch Français Italiano Español English ITALIANO ...
Страница 219: ...MEMO NOTIZEN BLOC NOTES APPUNTI ...
Страница 220: ...MEMO NOTIZEN BLOC NOTES APPUNTI ...
Страница 223: ......


