


16
Child Lock
Allow you to use a PIN to protect certain settings from
being accidentally changed.
Changing the PIN
1
Press
MENU
and the MENU screen displays.
2
Press
c
/
d
to select “Setup”.
3
Press
a
/
b
to select “Child Lock”, and then press
OK
.
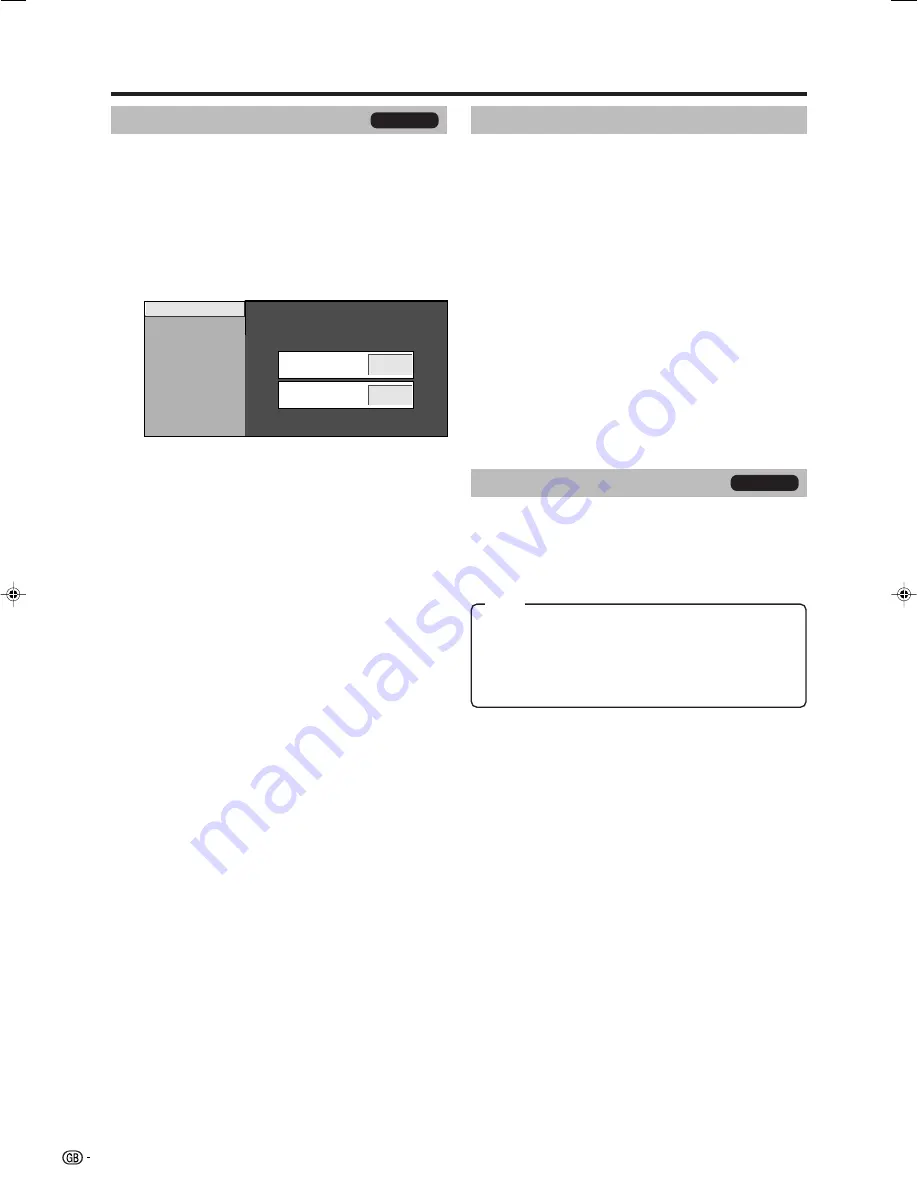
New PIN
–
–
–
Reconfirm
–
–
–
–
–
Change PIN
Reset
4
Enter the 4-digit number as a PIN using
0
–
9
.
5
Enter the same 4-digit number as in step 4 to
confirm.
• “The system PIN has been changed successfully”
displays.
NOTE
• To view a locked channel (Lock setting in Programme
Setup “Manual Adjust” is set to “On”), you must enter a
PIN. (See page 15.) When you select a locked channel, a
PIN prompt message pops up. Press
OK
to display the
PIN input window.
Resetting the PIN
Allow you to reset your PIN to the factory preset “1234”.
1
Repeat steps 1 to 3 in
Changing the PIN
.
2
Enter the PIN.
3
Press
a
/
b
to select “Reset”, and then press
OK
.
4
Press
c
/
d
to select “Yes”, and then press
OK
.
NOTE
•
As a precautionary measure, make a note of your PIN
on the back of this operation manual, cut it out and
keep it in a safe place that children cannot reach.
•
See page 21 for resetting the current PIN to the factory
preset “1234” if you lose or forget your PIN.
Menu operations
Input Label
You can assign each input source a label you like.
1
Press
b
to select the desired input source.
2
Press
MENU
and the MENU screen displays.
3
Press
c
/
d
to select “Setup”.
4
Press
a
/
b
to select “Input Label”, and then press
OK
.
5
Press
a
/
b
/
c
/
d
to select each character of the
new name for the input source, and then press
OK
.
6
Repeat step 5 above until the name is fully spelt
out, and then press
OK
.
• The name can be 6 characters or less.
• If a label name is less than 6 characters, select
“END”, then press
OK
.
NOTE
• You cannot change the label if the input source is TV.
TV only
Fine Sync.
Menu Operation: C (Page 11)
Ordinarily, the TV automatically adjusts image positions
coming from PC (Auto Sync. function). In some cases,
however, manual adjustment is needed to optimise the
image.
H-Pos.:
Centres the image by moving it to the left or right.
V-Pos.:
Centres the image by moving it up or down.
Clock:
Adjusts when the image flickers with vertical
stripes.
Phase:
Adjusts when characters have low contrast or
when the image flickers.
PC only
NOTE
• If you need to adjust the image position, adjust the position
using your PC.
Item
LC-32SA1E_GB_b
06.7.25, 11:35 AM
16


