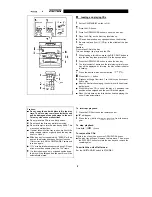
Right speaker
Left speaker
SPAN
To an AC socket
Speaker connection
Connect each speaker wire to the SPEAKER terminals as shown.
Use speakers with an impedance of 8 ohms or more, as lower
impedance speakers can damage the unit.
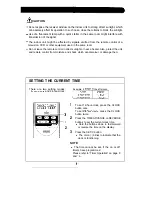
Cautions:
Connect the black wire to the minus (-) terminal, and the red
wire to the plus (+) terminal.
Do not mistake the right channel for the left channel when
connecting the speakers to the unit.
Do not let the bare speaker wires touch each other as this
may damage the amplifier and/or speakers.
Note:
The speaker net is not removable.
n
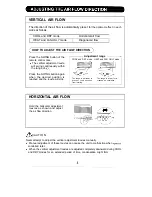
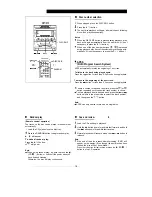
AM/FM interval (span)
The International Telecommunication Union (ITU) has estab-
lished that member countries should maintain either a 10
or
a 9
interval between broadcasting frequencies of any AM
station. The illustration shows the 9
interval zones (regions
1 and
and the 10
interval zone (region 2).
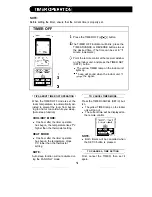
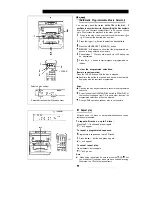
Before using the unit, set the SPAN SELECTOR switch (on the
rear panel) to AM tuning interval (span) of your area.
To change the tuning zone:
1 Set the ON/STAND-BY switch to STAND-BY.
Set the SPAN SELECTOR switch as desired.
Set the SPAN SELECTOR switch to
for 9
AM in-
terval (50
FM interval), and
for 10
AM in-
terval (100
FM interval).
Press and hold down the VOLUME
button, the
button and the ON/STAND-BY switch all at the same time.
Hold them for at least 1 second.
Note:
The operation explained above will-erase all data stored in
memory, such as clock and timer settings, tuner and CD pres-
ets.
n
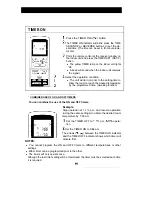
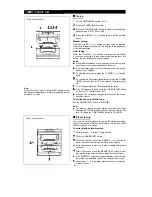
Connecting the AC power lead
Check the setting of the AC voltage selector located on the rear
panel before plugging the unit into an AC socket. If necessary,
adjust the selector to correspond to the AC power voltage used
in your area.
Selector adjustment
Turn the selector with a screwdriver until the appropriate voltage
number appears in the window (11
OV,
220V or 230V
240V AC).
Notes:
Plug the AC power lead into a convenient AC socket, after
any connections.
Unplug the AC power lead from the AC socket if the unit is
not to be used for a prolonged period of time.
4

