


7
5
Starting Up Appliance and Software
Attention! Please note that you need to install FlexiStarter first to ensure a
smooth installation and complete configuration of your Secabo vinyl cutter.
5.1
Installation Secabo FlexiStarter
Version 8.6 of the FlexiStarter cutting software with USB-dongle is supplied with your
Secabo vinyl cutter. To control the vinyl cutter with your PC, install the software as
described below:
5.1.1
Version 8.6 with USB-Dongle
•
Plug the USB dongle (copy protection plug) supplied into the USB port
(installation is accomplished automatically).
•
Insert the
FlexiStarter
CD supplied.
•
Select the
Desired Language
in Setup and click Continue.
•
Enter your user ident and 32-digit password on the rear of the software
cover.
•
Start the installation program and select the desired language again.
•
Read the software license agreement and accept.
•
Set the check marks for the features
Flexi/Production Manager/Samples
and
click
Continue
.
•
The copy operation is started = Installation in progress.
•
Click finish
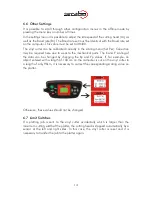
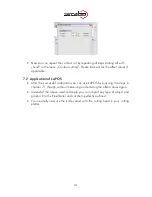
5.2
Connection via USB Interface
Your Secabo vinyl cutter has a USB interface for connection between your
PC and vinyl cutter.
Please note that your Secabo vinyl cutter can be operated only with
Windows 2000 or Windows XP. Use with Windows 95 / 98 / Me is not
possible.
The unit is equipped with a USB-RS232 adapter to ensure that your Secabo vinyl
cutter also functions with cutting programs which can only control the peripheral
devices over a serial or parallel interface. This installs a virtual serial interface on
your PC under COM1 or COM2.
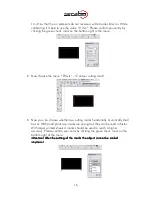
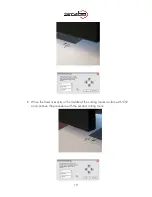
•
Before connecting the vinyl cutter to your PC, first install the appropriate
drivers from the driver CD provided by running the
SETUP.EXE
file. Click
"Install".