Step 3: Disconnecting and Powering On
After you load your contents, disconnect your Samsung Wireless from the computer. To avoid losing data or damaging
your files, please review “Disconnecting Your Samsung Wireless from Your Computer” on page 39.
Power on your Samsung Wireless by pressing the power button. The status light blinks as your Samsung Wireless
starts up. When the status light turns to blinking blue, you can connect your smart device (phone, tablet) or computer
to the Samsung Wireless device.
For more information about all of the components (Status lights, cables, etc.) of your Samsung Wireless, review
“An Overview of Your Samsung Wireless” on page 41.
Tip :
Your Samsung Wireless is pre-charged from the factory. However, you may want to charge your device before
you allow other devices to connect to it and enjoy your videos, photos, and music. For more information on
charging, see “Charging the Battery” on page 42.
Step 4: Connecting to Your Samsung Wireless
Now your Samsung Wireless has its own wireless network. When you connect to it, it establishes a dedicated link with the
Samsung Wireless over Wi-Fi.
Connecting to Your Samsung Wireless from an Android or iOS Device
Android and iOS devices can use the Samsung Wireless app to help you search for and play media files in your Samsung Wireless.
We recommend that you install this app before you connect to the Samsung Wireless network.
Installing the Samsung Wireless app to your Android device
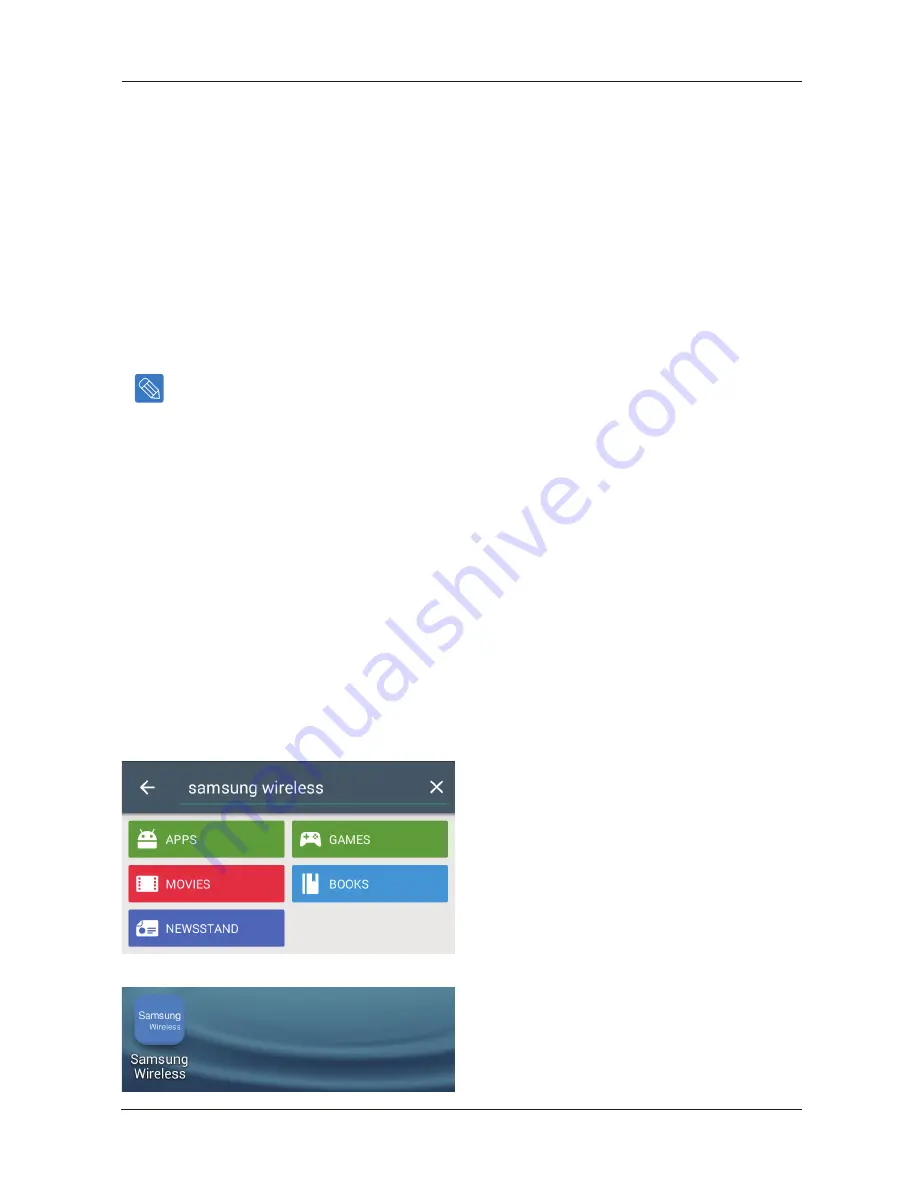
1. Go to the Play Store.
2. Search for “Samsung Wireless”.
3. After installation, you can find the Samsung Wireless app on your Android device.
Samsung Wireless
7
User Guide


