8
in other devices.
a)
Press
MENU
to display the setting menu.
b)
Press
“
▲
”
or
“
▼
”
to select
Format
.
c)
Press
OK
to choose
Enter
to enter into submenu.
d)
Press
“
►
”
to select
Yes
.
Yes
will be highlighted.
e)
Press
OK
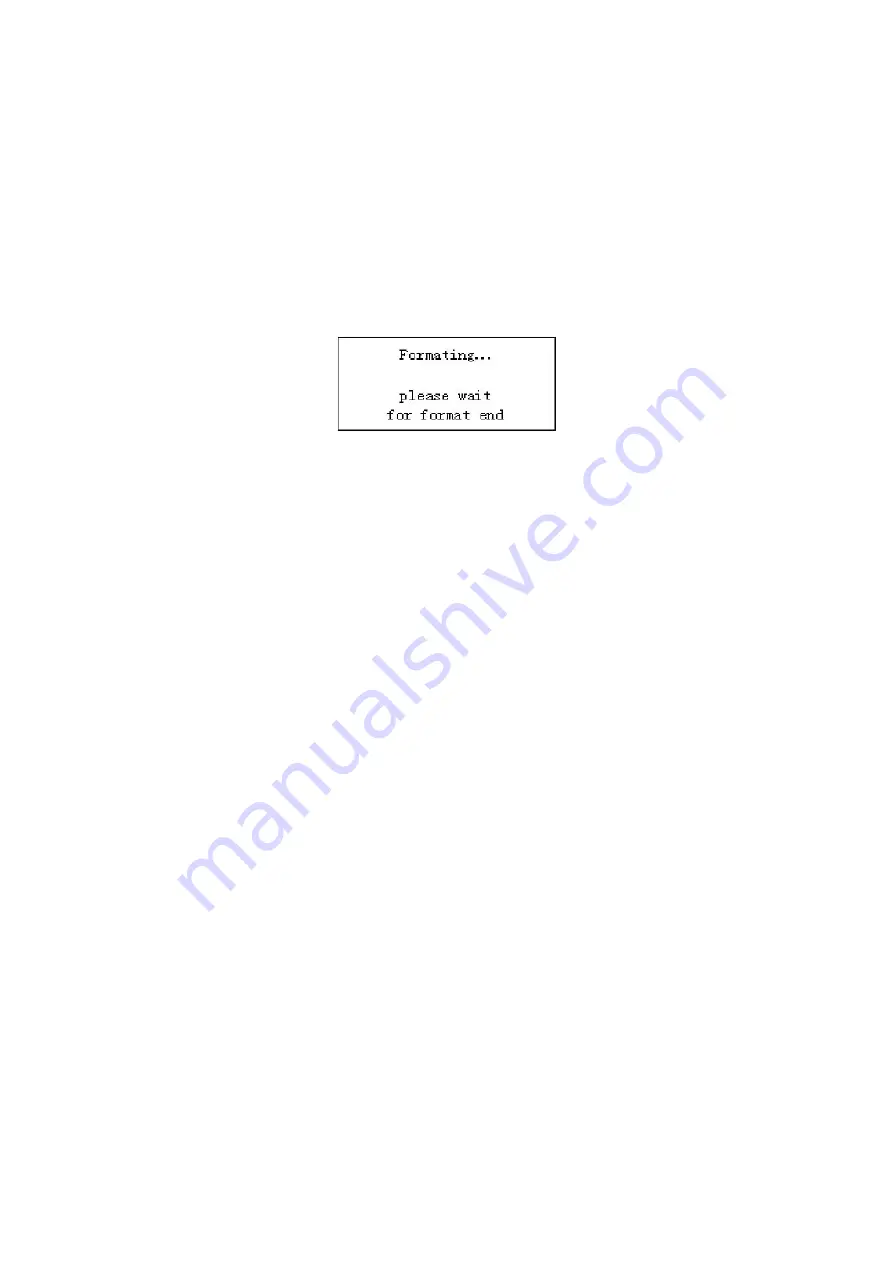
to start formatting the SD-card. During formatting, the
display screen will show a message “Formatting…” as below.
Press
MENU
to return to info display.
4.1.3
Set Photo Size
This parameter has two values: 8 mega pixels (8MP) ,5 mega pixels
(5MP) and 1.3mega pixels(1.3MP). The default value is 8 mega pixels.
The following shows you how to set pixel size as “5M Pixel” provided that
the previous value is “8M Pixel” at MENU state:
a)
Press
MENU
to display the setting menu.
b)
Press
“
▲
”
or
“
▼
”
to select
Photo Size
.
c)
Press
“
►
”
to select
5MP
.
d)
Press
OK
to save the current setting and the option will be
un-highlighted.
Press
MENU
to return to info display.
4.1.4
Set Video Size
This parameter also has two values: VGA (640×480
)
and QVGA
(320×240
)
. The default value is “640x480” (VGA).
The following shows how to set video size as
320×240
provided that the
previous option is
640×480
:
e)
Press
MENU
to display the setting menu.
f)
Press
“
▲
”
or
“
▼
”
to select
Video Size
.
g)
Press
“
►
”
to select
320×240
.
h)
Press
OK
to save the current setting and the option will be
un-highlighted.
Press
MENU
to return to info display.
4.1.5
Set Date and Time
You can change the date and time of the device by setting this parameter
when necessary, e.g., after every battery change. The date format is
month
/
day
/
year
, the time format is
hour
:
minute
:
second
. The valid value
for year is between 2009 and 2050.
Provided that the date and time are needed to be set to November 15th,
2010 and half past ten, the steps are as following:
a)
Press
MENU
to display the setting menu.
b)
Press
“
▲
”
or
“
▼
”
to select
Set Clock
.


