35
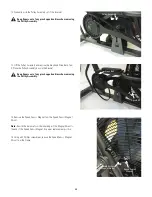
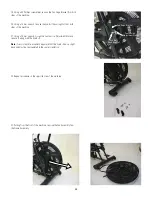
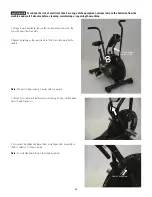
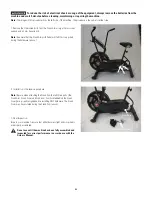
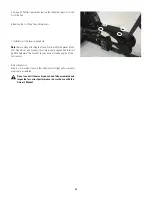
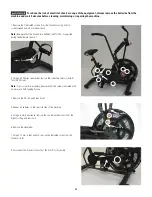
5. Using a #2 Phillips screwdriver, remove the 4 indicated screws from the
Console.
6. Lift the Console only enough to expose the Cable Connectors behind it.
7. Disconnect the Input/Output (I/O) Cable from the Console.
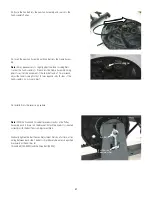
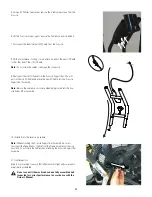
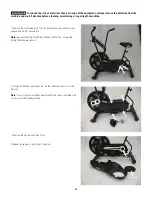
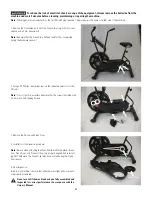
8. With a small piece of string or wire, attach an end of the new I/O Cable
to the other end of the old I/O Cable.
Note:
Do not crimp the cables or damage the connectors.
9. Gently pull the old I/O Cable from the Console Support Bar. This will
pull out the old I/O Cable and place the new I/O Cable into the Console
Support Bar Assembly.
Note:
Be sure the cable does not crimp when being routed into the Con-
sole Support Bar Assembly.
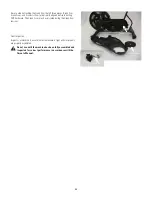
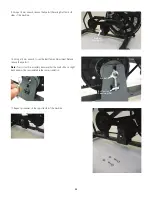
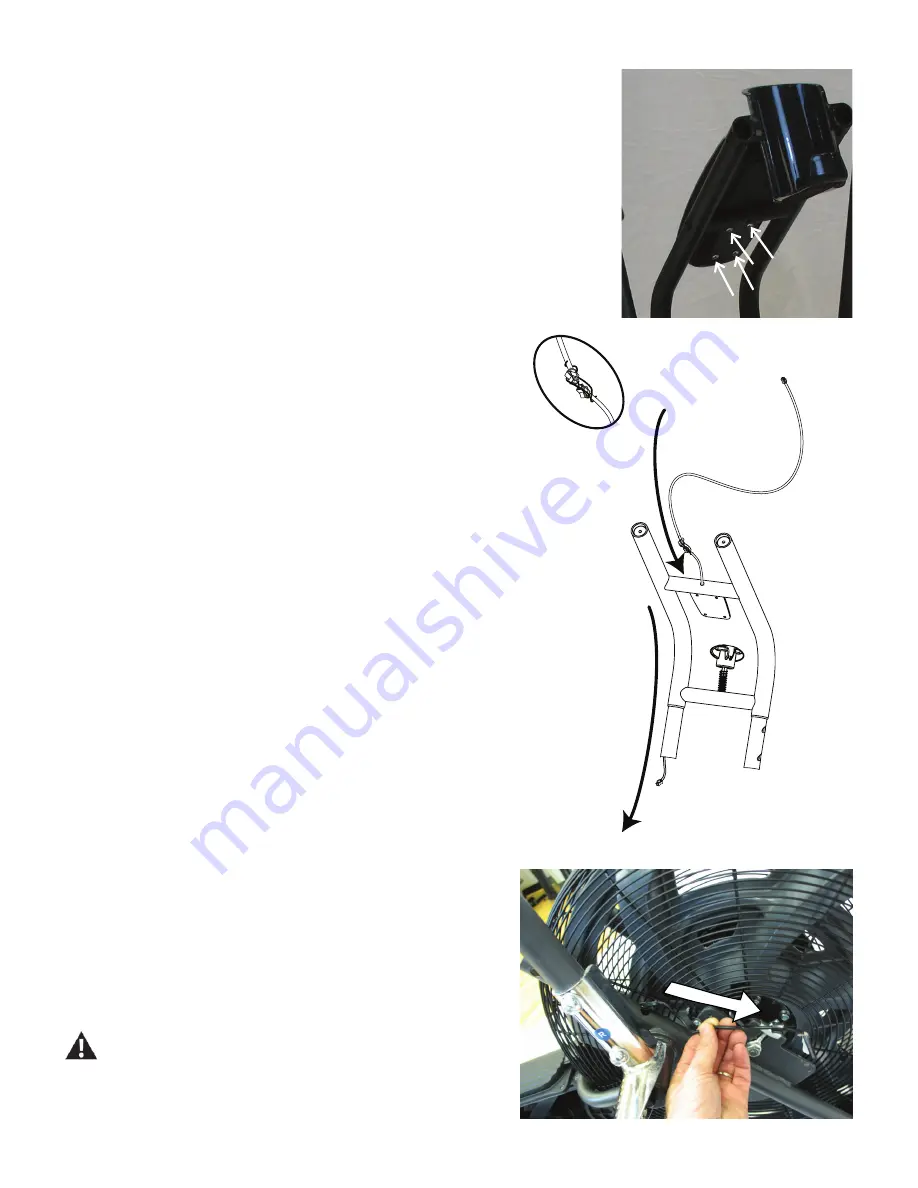
10. Installation is the reverse procedure.
Note:
When attaching the Console Support Bar Assembly, be sure to
slowly pull the Speed Sensor Cable from the Frame Assembly to remove
any slack. Do not crimp the Cable when attaching the Console Support Bar
Assembly.
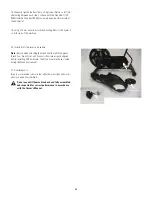
11. Final Inspection
Inspect your machine to ensure that all hardware is tight and components
are properly assembled.
Do not use until the machine has been fully assembled and
inspected for correct performance in accordance with the
Owner’s Manual.

