


19
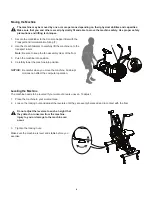
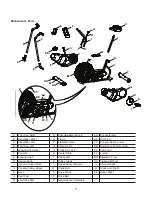
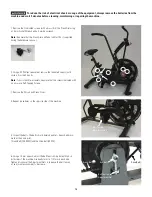
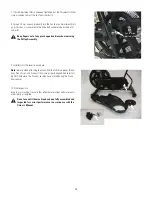
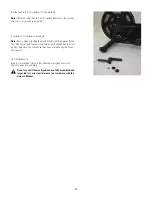
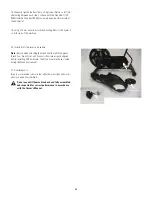
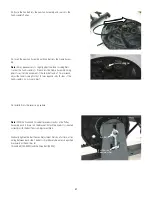
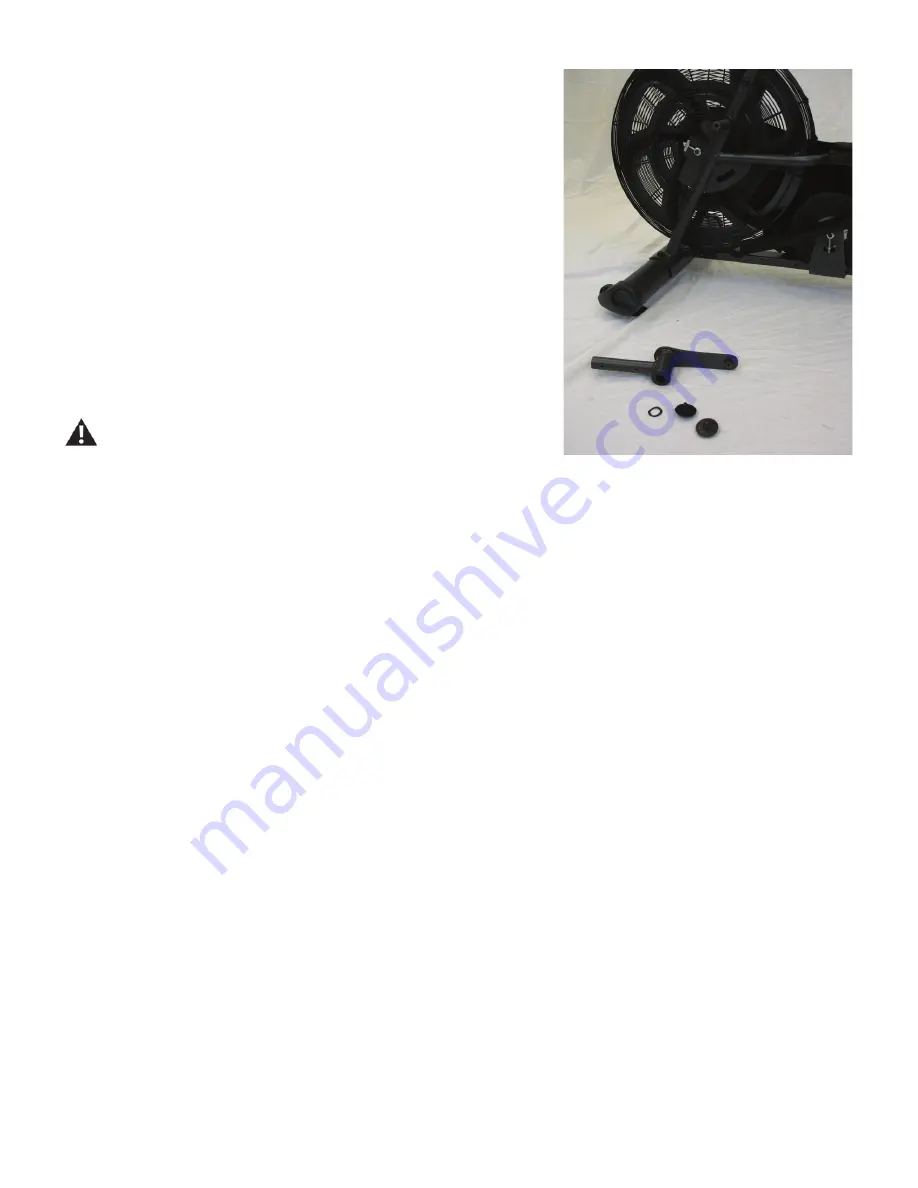
8. Slide the Arm Pivot Assembly off of the machine.
Note:
When removing the Arm Pivot Assembly, be aware of the washer
locations to assist with re-assembly.
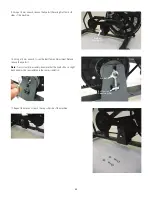
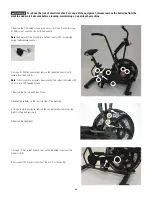
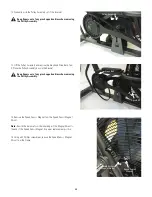
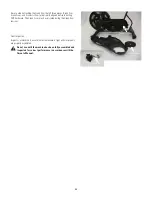
9. Installation is the reverse procedure.
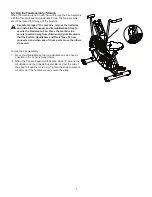
Note:
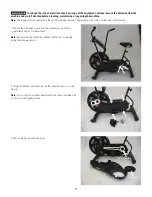
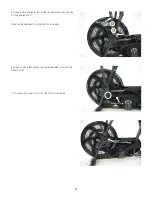
Be sure when attaching the Crank Arm that all three pieces (Crank
Arm, Crank Cover, and Connector Arm) are properly aligned before install-
ing ANY hardware. The Crank Cover may have rotated during the Crank
Arm removal.
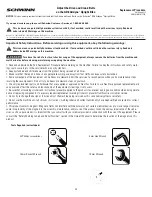
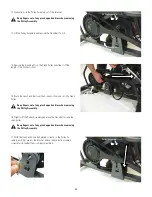
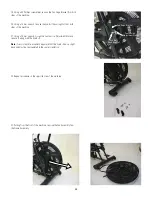
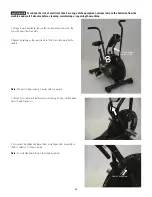
10. Final Inspection
Inspect your machine to ensure that all hardware is tight and compo-
nents are properly assembled.
Do not use until the machine has been fully assembled and
inspected for correct performance in accordance with the
Owner’s Manual.