


23
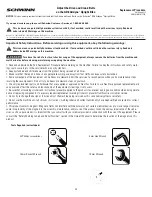
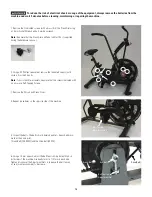
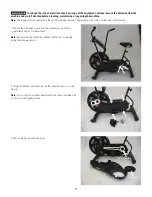
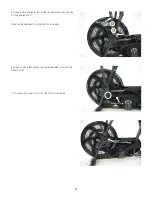
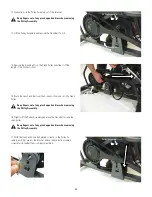
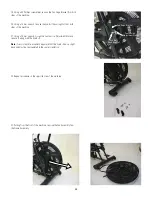
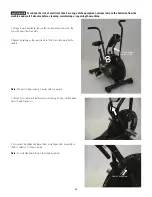
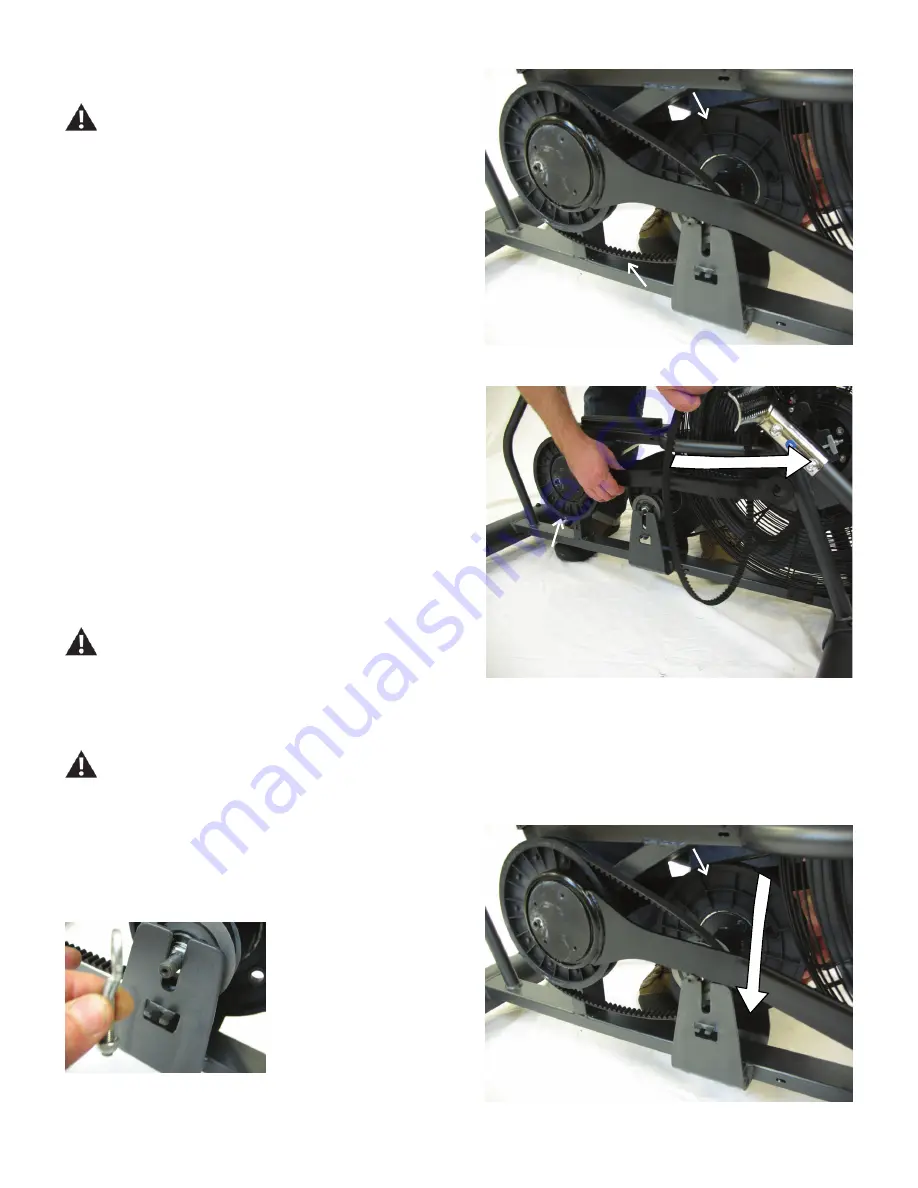
12. Gradually work the Pulley Assembly out of the Bracket.
Keep fingers out of any pinch opportunities when removing
the Pulley Assembly.
13. Lift the Pulley Assembly and remove the Crank Belt from it.
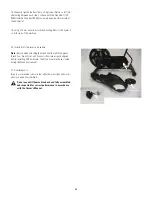
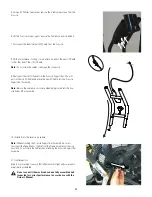
14. Remove the Crank Belt from the Crank Pulley and slide it off the
length of the Connector Arm.
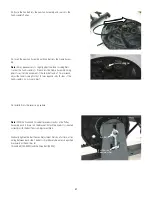
15. Route the new Crank Belt over the Connector Arm and onto the Crank
Pulley.
Keep fingers out of any pinch opportunities when removing
the Pulley Assembly.
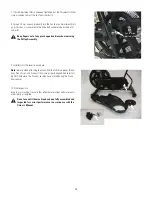
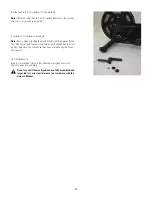
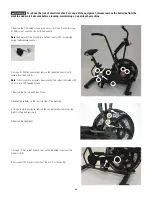
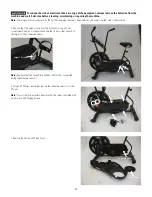
16. Slightly lift the Pulley Assembly and place the Crank Belt around the
small pulley.
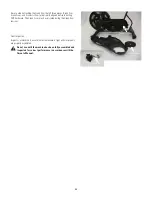
Keep fingers out of any pinch opportunities when removing
the Pulley Assembly.
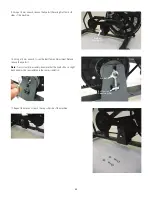
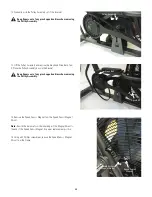
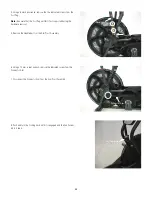
17. With the Crank and Drive Belt placed correctly on the Pulley As-
sembly, push it down into the Bracket. Attach the Eye Bolts (oriented
correctly) with the Belt Tension Adjustment Nuts.
Pulley Assembly
Crank Pulley
Pulley Assembly
Crank Belt


