


Assembly
08.00 | PRG | Assembly and Operating Manual | en | 389325
27
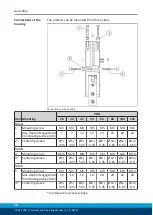
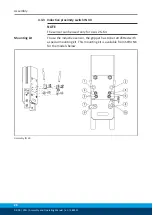
Assembly of the
mounting kit IN40
Ø
F
asten brackets (3/4) with screws (5/6) to the housing.
Ø
Fasten the switch cams (9/10) with the screws (7/8) to the
rotary bolt
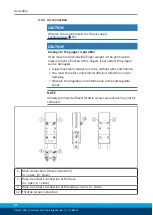
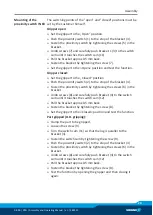
Mounting of the
proximity switch IN 40
The switching points of the "open" and "closed" positions must be
set by the customer himself.
Gripper open:
Ø
Set the gripper to the „Open“ position.
Ø
Carefully push proximity switch (1) into the bracket (3) until it
touches the switch cam (9).
Ø
Pull the proximity switch approx 0.5 mm back.
Ø
Fasten the proximity switch by tightening the screws (5).
Ø
Set the gripper to the »Open« position and test the function.
Gripper closed:
Ø
Set the gripper to the „Closed“ position.
Ø
Carefully push proximity switch (2) into the bracket (4) until it
touches the switch cam (10).
Ø
Pull the proximity switch approx 0.5 mm back.
Ø
Fasten the proximity switch by tightening the screws (6).
Ø
Set the gripper to the »Closed« position and test the function.
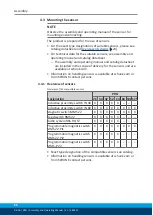
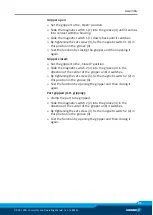
Part gripped (O.D. gripping):
Ø
Clamp the part to be gripped.
Ø
Loosen the screw (8).
Ø
Turn the switch cam (10) so that the lug is parallel to the
bracket (4).
Ø
Fasten the switch cam by tightening the screw (8).
Ø
Carefully push proximity switch (2) into the bracket (4) until it
touches the switch cam (10).
Ø
Pull the proximity switch approx 0.5 mm back.
Ø
Fasten the proximity switch by tightening the screws (6).
Ø
Test the function by opening the gripper and then closing it
again.


