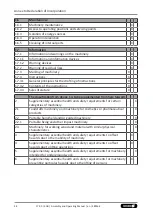
Maintenance
19.
KGG 80,100,140:
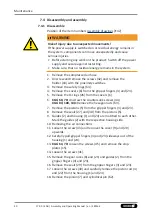
Remove the damping (28) from the piston
rod (4) and (22).
20. Remove seals (25) from the recesses in the housing (1)
and (24).
21. Completely unscrew and remove the set screw (67) from the
piston rod (4) and (22).
22.
KGG 80,100,140:
Completely unscrew and remove the set
screw (69) from the piston rod (4) and (22).
23. Completely unscrew and remove the set screw (68) from the
housing (1) and (24).
7.4.2 Assembly
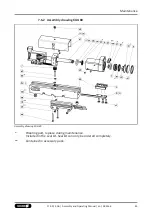
Position of the item numbers
Assembly takes place in the opposite order to disassembly.
Observe the following:
• When pushing the gripper fingers (3,23) into the housing (1,24)
from the side with the guides (2) and the racks (8,21), you have
to make sure that both the racks (8,21) meet the pinion (7) at
the same time in order to ensure that the movement of the
gripper fingers (3,23) is synchronous.
• Where nothing else is specified, secure all bolts with Adhesives,
Adhesives to secure the screws
Adhesive
Item
WEICON 302-41
40, 41, 67 ,68
69 (only KGG 80, 100, 140)
Prominently equivalent adhesives can be used.
7.5 Screw tightening torques
Position of the item numbers,
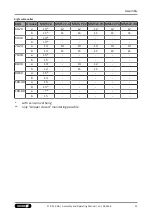
Tightening torque for screws [Nm]
Item
KGG
60
70
80
100
140
40
0.13
0.38
0.38
0.78
2.20
41
0.18
1.14
1.30
1.30
2.20
44
0.56
1.14
-
-
-
41
17.00 | KGG | Assembly and Operating Manual | en | 389166
Содержание KGG 100
Страница 1: ...Translation of the original manual Assembly and Operating Manual KGG 2 Finger Parallel Gripper...
Страница 49: ......
Страница 50: ......
Страница 51: ......

