Einstellanleitung Elektronikmotor-Studio Star_englisch.docx
Stand: 13.01.16
Seite 15 von 16
3.12. Setting Mode 4 (with micro-switch or switch)
(Set end position at the top / set end position bottom)
Step No.
Operation
Note
Check
Important:
- First, there must always be taught the upper end position.
- If the drive switches off due to a malfunction (too fast increase of force) before reaching the endpoint, it has to be
set into learning mode again.
10
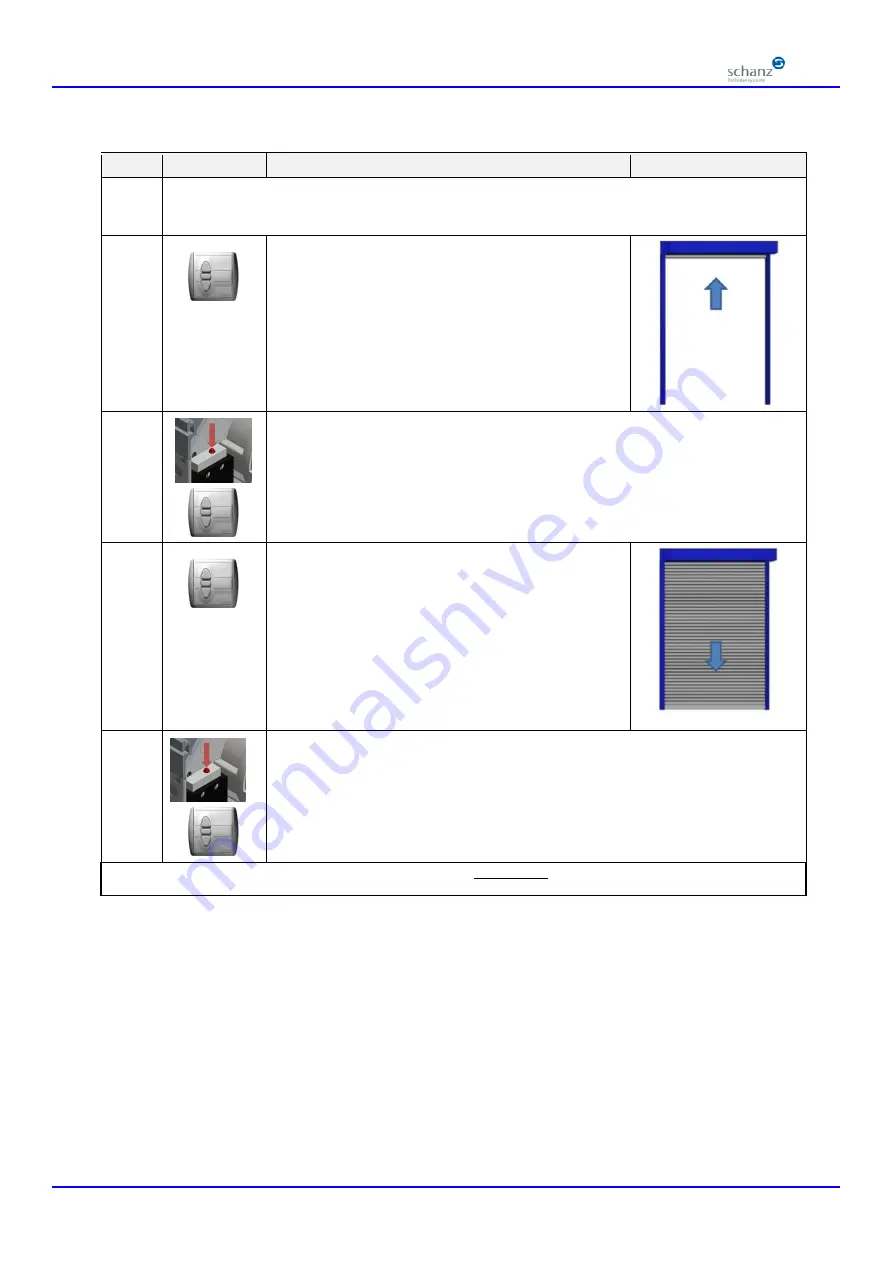
Setting the upper end position
Press UP-Button,
until the shutter is in the desired upper end position. However it
has to stand stable within the guiding so that it does not leave it
when changing the winding behaviour.
Moving back or moving in short impulses is allowed.
20
First press the micro switch and then the active button for ca. 2 sec. in order to learn the upper po-
sition. As a learning confirmation it twitches twice.
Attention:
Pressing the buttons not long enough the position will not be learned.
30
Setting the lower end position
Press DOWN-button,
until the desired lower end position is reached.
Only for type GU
with foamed slats:
- Hangers lie outside
(right roller shutter) or
at the
window (left
rolling shutter)
the spring has no pressure yet.
-
Final rail is on the ground, light slits are closed, if they
exist.
Moving back or moving in short impulses is allowed.
40
First press the micro switch and then the active button for ca. 2 sec. in order to learn the down po-
sition. As a learning confirmation it twitches twice.
Attention:
Pressing the buttons not long enough the position will not be learned.
The setting mode is exited.
The learning of the forces happens automatically when running continuously from one end position to the other.
Perform this first test run only after completing all installation.


