User Manual, Power contactors, series CT1115/08 and CT1130/08
Rev. 2.2
Page 25/26
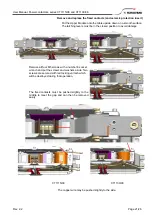
Dismount and mount the switches or the S870 switch group one by one
to avoid wrong mounting. If all switches are removed together and
mounted again a readjustment of the frame is necessary.
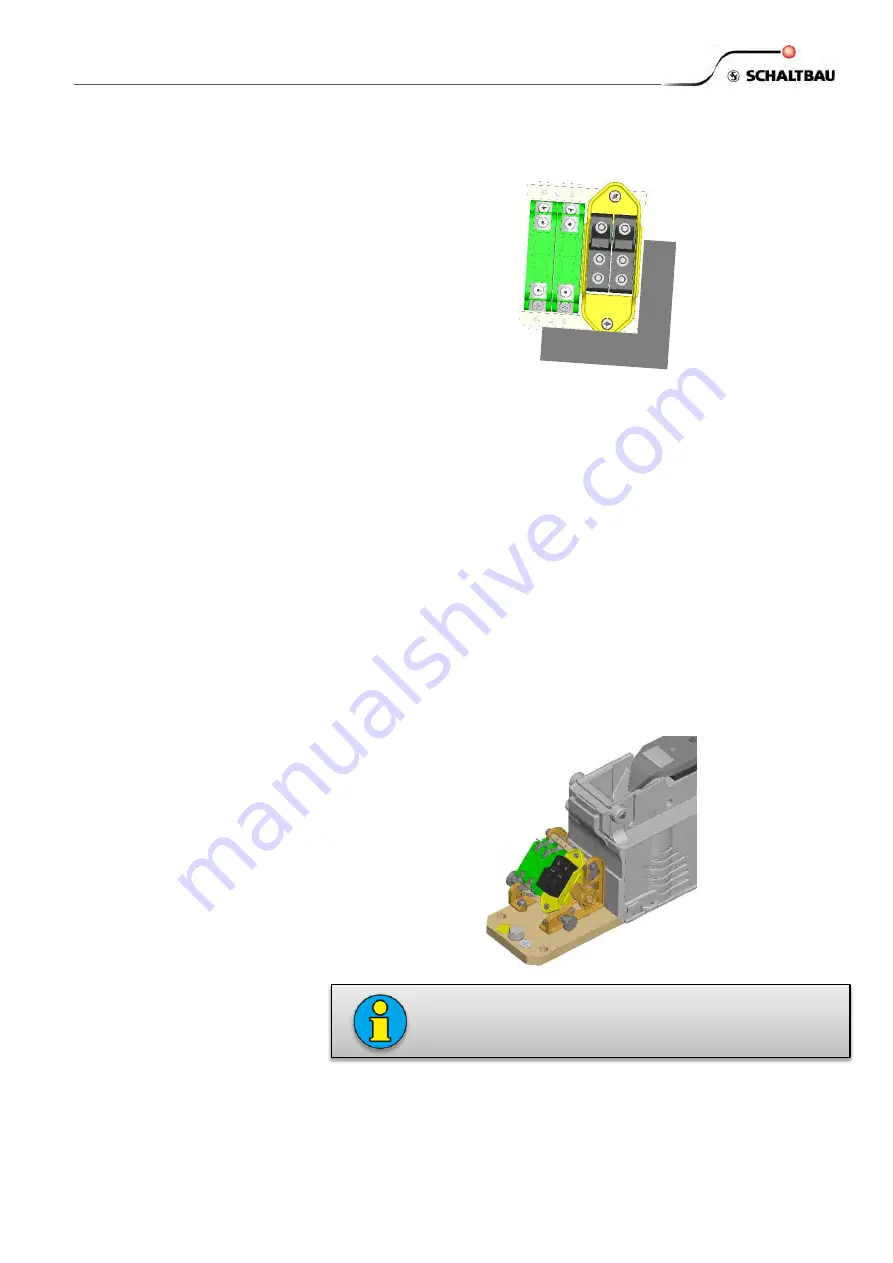
Changing the S870 assembly:
Use a
POZIDRIV ®
cruciform
screw driver size 1 to remove the 2
screws on the top of the frame. Mount the replace assembly in the same
mounting position.
Changing the S826 snap action switches
Use a
POZIDRIV ®
cruciform
screw driver size 1 to remove the screws
(2 for each switch) on the bottom of the frame. Mount the replace switch
in the same mounting position.
Reassembly of the switch subassembly
After all switches have been replaced and the frame has been adjusted
to a rectangular position the subassembly can be carefully reinserted in-
to its original mounting position. Make sure to mount it in the correct
same position as before.
Tighten the 2 Allen head screws M4. The 2 knurled thumb screws
should be just turned once.
Reinstall the Lower Module
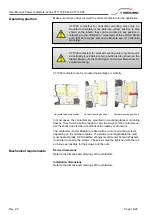
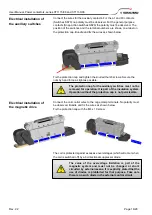
Replace the protection cap for the auxiliary switches
Replace the protection cap for the magnetic drive
Replace the Upper Module(s) and secure it. Reconnect the main ca-
bles/current bars.
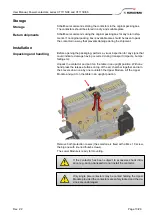
The actual version may differ from the photos. Standard ver-
sions are 4x S826 and 2x S826 + 2x S870 (as shown).


