background image

Just GOO It!: A Tutorial           25

B

To smudge an area of your image:

1.

Select the Smudge tool. 

2.

Click the up arrow to increase the size of the brush. 

3.

Drag the Flow control up to increase the flow of the Smudge tool. 

Higher flows make the image act like it’s more liquid. Colors 
streak easier and the picture distorts quickly. Keep the flow low if 
you don’t want to distort your picture too much. 

4.

Click the Mirror Vertical button. When this button is enabled, 

any changes you make to one side of the face are mirrored onto 
the other side. 

5.

Place your cursor on the left side of the boy’s nose, press down 

and pull your mouse to the left slowly. 

B

To move an area of your image:

1.

Select the Smear tool. 

The Smudge tool

The Mirror Vertical button.

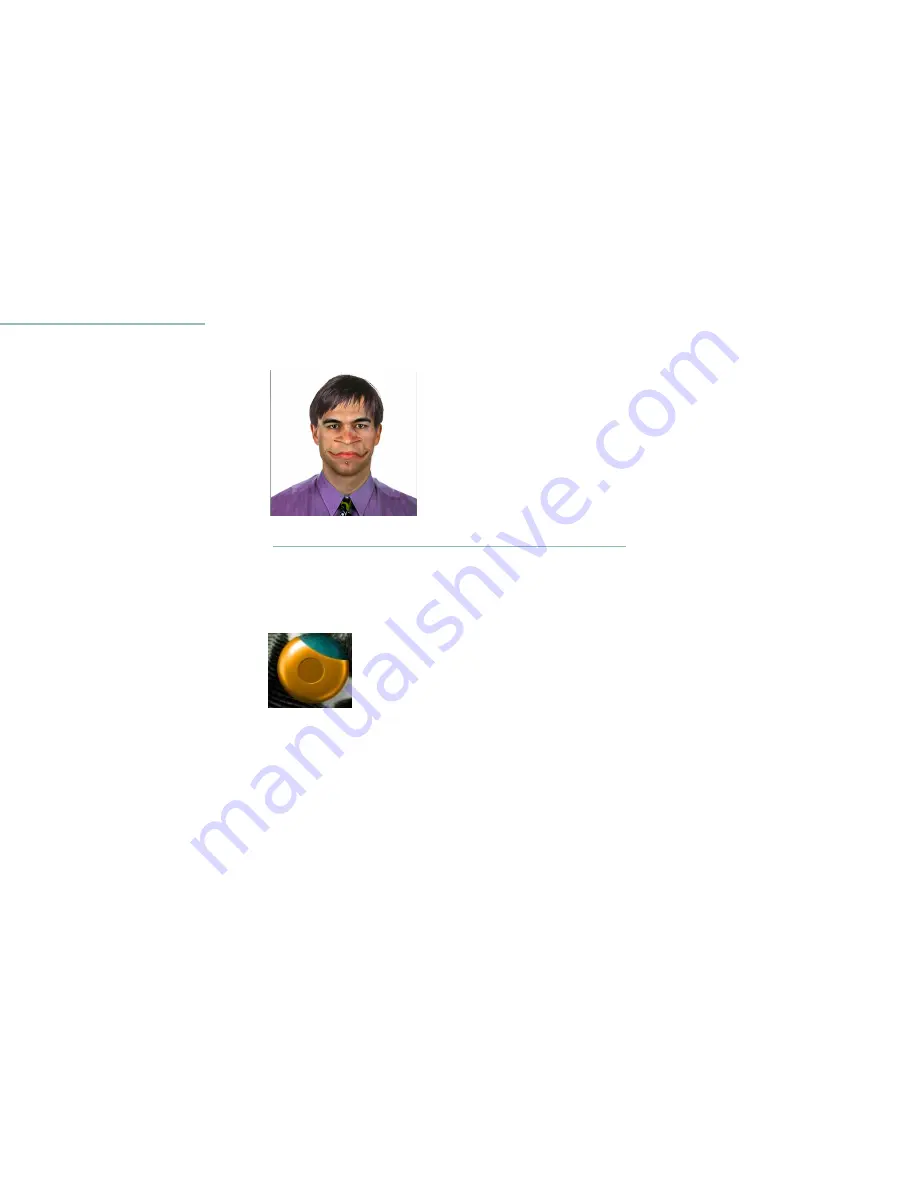
The face after its been smudged.

The Smear tool.

Содержание Kai's SuperGOO

Страница 1: ...User Guide for Windows and Macintosh...

Страница 2: ...the exclusive property of their respective owners ScanSoft Inc makes no claim to any such marks nor willingly or knowingly misused or misapplied such marks Copyright This manual as well as the softwa...

Страница 3: ...Room Works 31 Working in the GOO Room 32 Opening or Importing Images 32 Viewing an Image 33 Setting Up Brushes 33 Mirroring a Brush Effect 34 Using the GOO Brush Palette 34 Using the GOO Effects Pale...

Страница 4: ......

Страница 5: ...features You can add a nose mouth eyes and hair to a blank face to create your own original face These features are included in a library that comes with the application CInstallation This section pro...

Страница 6: ...deo 14 Monitor Installation BTo install your SuperGOO software 1 Insert the SuperGoo CD ROM disc into your CD ROM drive 2 Double click on the SuperGoo Install icon to begin installation Installation T...

Страница 7: ...guide assumes you are already familiar with basic Windows and Macintosh concepts menus dialogs and mouse operations such as clicking and dragging If you need more information on these subjects or on t...

Страница 8: ...r questions within the pages of canSoft Customer Support on o change its support policies at...

Страница 9: ...9...

Страница 10: ......

Страница 11: ...with Kai s SuperGOO The most obvious use for SuperGOO is to take images of family friends and co workers and use the SuperGOO distortion tools to create funny parodies of people for your own amusement...

Страница 12: ...to create your own custom pictures The images you use in this room can be imported from a variety of sources or opened from the GOO library Once open you can use the GOO tools to distort bulge smear...

Страница 13: ...e to the GOO Room Working with Files Kai s SuperGOO lets you import your own pictures of friends and family to distort or combine to create wacky pictures You can open a file in BMP PICT Photoshop TIF...

Страница 14: ...menu 2 Select a folder where you want to store scanned images 3 Click the In button again and choose Import via TWAIN Select TWAIN Source The Select Source dialog appears 4 Select your scanner from th...

Страница 15: ...Getting to Know Kai s SuperGOO 15 res a picture or finished creating a new face and choose Print The Print dialog appears ons and click Print...

Страница 16: ......

Страница 17: ...oom lets you create faces by es The GOO Room lets you distort images th Kai s SuperGOO there are a few things o Lesson 1 Moving Between Rooms The Map Tablet and In Out Tablet both provide ways of swit...

Страница 18: ...cial features from the ns called Feature controls on the Mutator t facial features you can apply to a face ed the features it represents are randomly is not highlighted the feature is not tion ow to g...

Страница 19: ...palette The Face palette contains the six tools that control each of the features on the face Head Mouth Eyes Nose Hair and Facial Hair BTo replace a feature using the Face tools 1 Drag your cursor ov...

Страница 20: ...create an unrealistic funny face The tools in the Edit palette let you reposition resize rotate and flip facial features BTo reposition a feature 1 Click the Reposition tool in the Edit palette 2 Dra...

Страница 21: ...Rotate tool 2 Move the cursor over the mouth and drag to the right The mouth rotates clockwise Lesson 4 Cloning Features Using the Clone tool you can combine the features from an existing image with t...

Страница 22: ...n a clone window This image will act as the source for your cloning 3 In the Image Canvas move the cursor over the eyes Notice that an Origin Selector icon appears on the source image This icon lets y...

Страница 23: ...t of liquid The tools in this room let you move that liquid around to create goofy distortions or comical caricatures out of normal images In the GOO Room you can use the tools in the GOO brush palett...

Страница 24: ...e your image inbow colored buttons The GOO Brushes OO specific portions of the image 3 Drag the Size control slider down to reduce the size of the brush 4 Move the cursor to the right corner of the mo...

Страница 25: ...cture distorts quickly Keep the flow low if tort your picture too much cal button When this button is enabled e to one side of the face are mirrored onto 5 Place your cursor on the left side of the bo...

Страница 26: ...lace your cursor at the center of the right eye and gently push up BTo GOOplicate an area of your image 1 Select the GOOplicate tool 2 Place your cursor over the newly GOOed right eye and begin GOOing...

Страница 27: ...cture Effects palette to apply several effects to BTo apply the Twirl effect to an image 1 Click the bottom set of buttons on the left side of the screen to display the Effects palette 2 Click the Twi...

Страница 28: ...rom one transformation to another The Keyframe Controller lets you save images as keyframes and delete or display specific frames In this section you ll learn how to create keyframes and preview your...

Страница 29: ...o stop the playback BTo control the playback speed Drag the Playback slider down towards the turtle to slow down the playback of your movie You can also drag the slider up towards the rabbit to speed...

Страница 30: ......

Страница 31: ...t of your distortions Image Canvas The Image Canvas found in both the GOO and FUSION Rooms is where your selected image appears All modifications to your image are displayed here in real time The GOO...

Страница 32: ...up to increase animation speed or down to decrease it Movie Camera Click on the Movie Camera to preview your GOOvie Click anywhere to stop playback Text Engine The ABC text label accesses the Text di...

Страница 33: ...the Zoom tools age just the way you see it Panning lets on of the image onto the Image Canvas effect the image only how you see it e image ton to enlarge the image Click the Zoom it BTo pan the image...

Страница 34: ...tically Vertical Mirror button is enabled along a vertical axis When the Horizontal Mirror button is active brushstrokes are mirrored along a horizontal axis If both buttons are enabled brushstrokes a...

Страница 35: ...fects Nudge The extremely small size and high pressure of Nudge makes it useful for creating a finger painting effect Twirl Twirl applies a small twirling distortion to an area of your image Bulge Pin...

Страница 36: ...GOO Effects palette Click the bottom set of rainbow colored brush icons The GOO Effects palette appears on top of the Image Canvas BTo use a GOO Effect Click on one of the brush buttons to apply the e...

Страница 37: ...distort in waves that resemble a ripple of to your image which resembles rays your image As you move further away to fill the Image Canvas If you drag to the it rotates rtically and horizontally Vort...

Страница 38: ...r it s not affected by the GOO brushes or effects You can position text anywhere on the image BTo add text 1 Click the ABC icon on the right side of the screen The Text dialog appears 2 Click the font...

Страница 39: ...ted by saving different images to the Keyframe palette When you play the GOOvie SuperGOO moves between the images stored in the Keyframe palette The Keyframe palette displays all the images in your GO...

Страница 40: ...an then be loaded into an empty gradual transition than could be created by distortions Dragging the Control Slider up moves through the intermediate images toward the current image dragging down move...

Страница 41: ...ose a Format popup menu and choose a file format for your movie 4 Click the Settings popup to display compression options for your movie 5 Set the desired Compression options The options available dep...

Страница 42: ......

Страница 43: ...ies face is placed on a separate layer meaning scale a feature without affecting the rest of u move features around and experiment ns Image Canvas The Image Canvas is where you combine and rearrange f...

Страница 44: ...her create a face from scratch by combining features or you can apply new features to an existing face BTo open a file 1 Click the tablet handle on the left side of the screen The In Out tablet appear...

Страница 45: ...for the feature you want to change For example if you want to change the nose click the Nose tool Four Library controls appear around the activated tool 2 Click the upper left library control to chan...

Страница 46: ...tool ure is not displayed on the face BTo hide show a facial feature Click the tool for the features you want to hide For example click the Eyes tool if you want to hide the eyes Click the tool again...

Страница 47: ...rag away from the center of the feature to increase its size or drag towards its center to decrease its size BTo rotate a facial feature 1 Click the Rotate tool 2 Drag over the feature you want to rot...

Страница 48: ...rag the Gender Selector to choose either male or female features 2 Disable the Feature control for any features you don t want randomized 3 Click the Randomize button A new set of features appear in t...

Страница 49: ...ne source and click Open The image appears in a clone window 3 On the Image Canvas move the cursor over the area where you want the cloned features to appear 4 Drag the over the desired area The featu...

Страница 50: ...m people you ith a face in it can be useful in the FUSION for using photos ight on face shots make it easier to find no background make cloning just the sier When you re using a full body shot you ll...

Отзывы: