In this example, the bolt is turned clockwise (as if
looking from the left side of the saw) to push the
trunnion to the right, closing the measured gap.
10. Install the blade, tighten the arbor nut, and then
rotate the marked tooth to the front.
11. Check the gap again. If less than 0.25 mm (0.010"),
the blade is aligned. If the gap is still too large,
repeat the steps, as needed.
In this example, the gap is completely closed.
How to Align the Rip Fence
to the Miter Slots
Always turn off and unplug the saw when
working on or maintaining the saw.
The alignment process consists of two procedures:
•
Aligning the blade to the miter slots (
)
•
Aligning the rip fence to the miter slots
In this procedure, you align the rip fence to the miter
slots. You can perform either procedure before the
other—the order does not matter.
Tool needed:
•
4 mm hex-key wrench
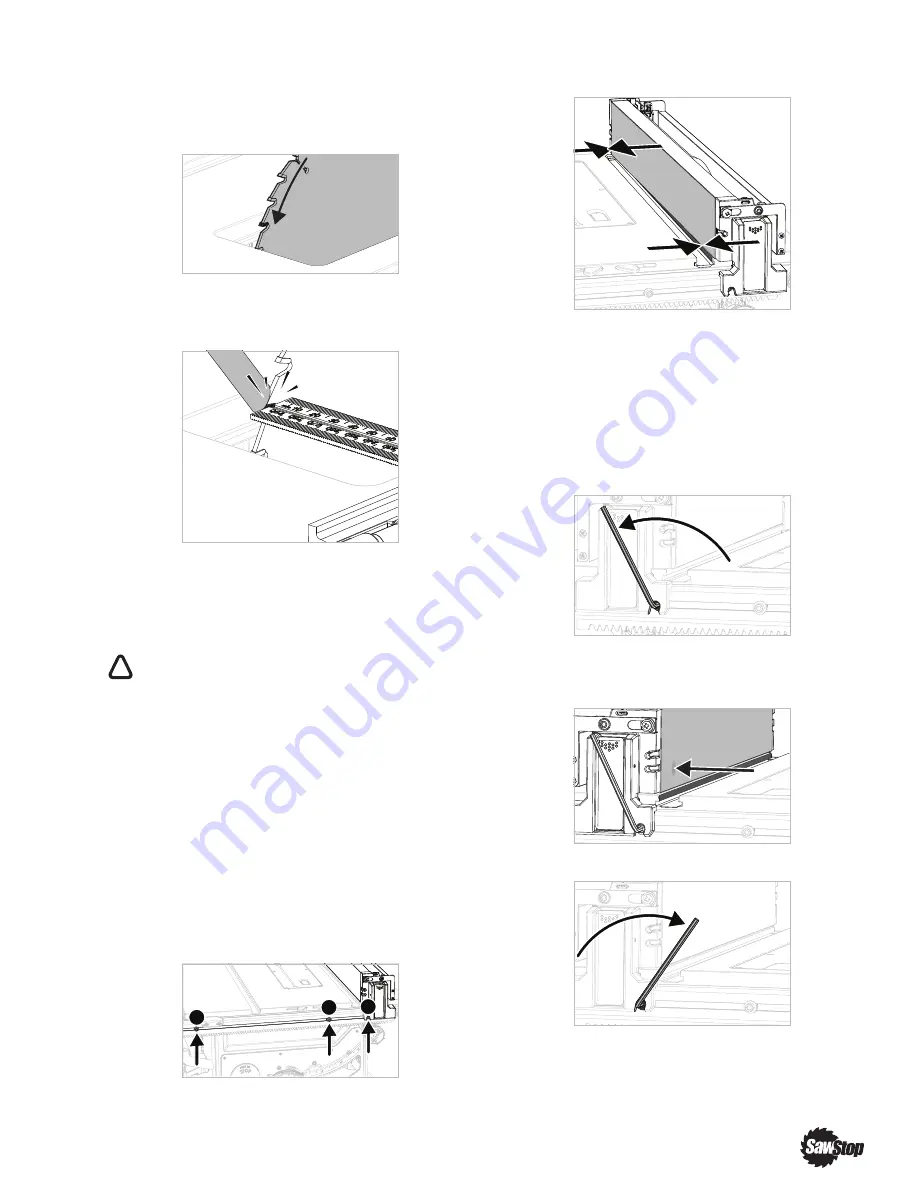
There are three sets of mounting lugs (A) (B) (C) on
the front and rear rails. Begin by checking the right-
hand lugs (A).
1. Mount the rip fence on the right-hand lugs.
2. Adjust the rip fence until the rip fence is flush with
the right-hand face of the miter slot.
If the rip fence is flush along the entire length of
miter slot, the rip fence is aligned to the table and no
further work is required for this set of lugs.
In this example, the rip fence is misaligned such that
the rip fence at the back of the table is angled in
towards the blade.
3. Use the 4 mm hex-key wrench to loosen the
mounting lug on the rear rail.
4. Shift the rear of the rip fence and the mounting lug
to the left until the rip fence is aligned with the
miter slot.
5. Tighten the mounting lug.
!
A
C
B
!
SawStop
®
Compact Table Saw
|
43


