Back
Next
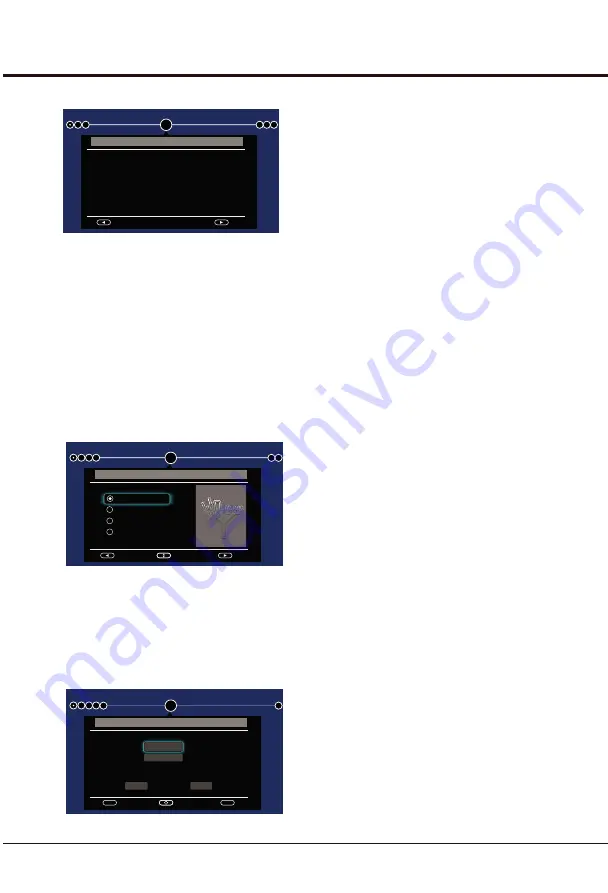
Software Update
Congratulations,your software version is the newest!
Press the Right Button to continue
3
Initial Setup
1 2
4 5 6
Connections and Setup
14
Select
OK
OK
▲
Back
Step 5: Clock setup
If the TV set is not connected to the network, you
can use the numeric buttons to enter the date and
time, then select the
OK
button and press
OK
to
confirm.
when the inital setup is completed,the Congratulations
message appears,press confirm.
Step 4: Channel installation
1.
Press ▲/▼ to select Continue to install channels.
2. Follow the guides on the screen and press the
corresponding buttons on the remote control to
proceed.
Note: To prevent the channel installation
process from being interrupted, wait for the
message indicating that the installation is
complete. You can also skip this step by
selecting "I don't want to scan".
In this case, to search and store your channels
you may do an automatic channel search by
follwing the instructions in the next section
Performing an automatic channel search.
4
Initial Setup
1 2 3
5 6
Channel Installation
Back
Select
Next
Please select Antenna scan type.
Digital & Analogue
Digital
Analogue
I don’t want to scan
5
Initial Setup
1 2 3 4
6
Clock
Please set Date and Time:
Date
Time
01/01/2018
06:47:35
0-9
Select
OK
Cancel
0-9
OK
OK


