10
Getting Star
ted
Naming Cameras <TITLE>
3
Repeat step
2
to complete the name and select
<ID>.
Example: ROOM1
• The letters “???....” do not appear on the monitoring screen, but
if you select “ON” for the <TITLE> and then enter no letter at all,
the monitor will show you “???....”.
4
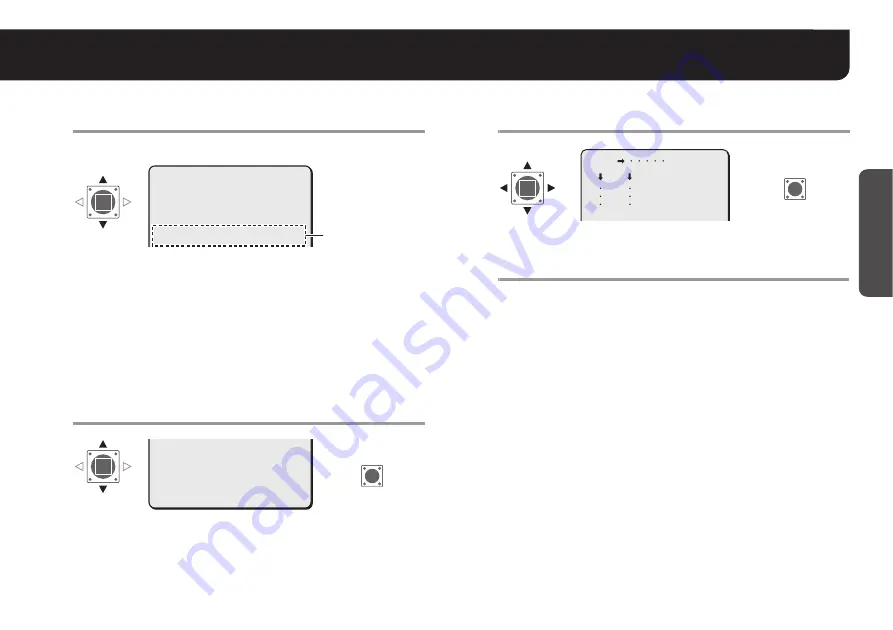
Select <POSITION> – “SET” and press the SET
button.
R
On the normal monitoring screen, the name will be displayed.
5
Determine the location where the name should
be displayed, and then press the SET button.
R
Returns to the settings screen.
6
Set <MENU> to “END” and press the SET button.
R
Closes the settings screen and displays the name on the
normal monitoring screen.
• If you want to return to the previous screen, select “BACK” and
press the SET button.
■
To delete the name specified
Set <PRESET> to “ON”, and press the SET button.
R
All the characters will be displayed with “?”.
MEMO:
If you want the name to be displayed on the monitor in two lines,
insert the line feed mark (
v
) in the “ID string” wherever you want to
start a new line. On the monitor screen, the name will be displayed
in two lines. You can enter up to 16 characters including the line
feed mark (
v
).
TITLE SETTING
ABCDEFGHIJKLM
NOPQRSTUVWXYZ
0123456789 :-v
·
ID ROOM1???????????
x
·ID
ID string
ID ROOM1???????????
x
·POSITION
PRESET
MENU
SET y
OFF
BACK
·POSITION
SET
R
MEMO:
• If <ALARM SIGN> is “ON” (see page 32), if an alarm signal is
input, the camera name on the screen will blink during the time
that has been set in <DURATION> (see page 31). When the
camera name is not specified, “???....” will blink.
If <MOTION> is “ON” (see page 29), the camera name on the
screen will also blink when the motion sensor detects movement.
• When <PRIVACY MASK> is “ON” (see page 26), the camera
name will not be displayed.
ROOM1
SET
R


