


PC CONTROL SETUP (PC CONTROL SET)
The setup steps explained below are necessary for connection of the digital recording camera to a network or
for control of the camera from a computer directly connected with USB.
1
Set the recording speed
2
Choose the network settings
Set the recording speed
Set the recording frame rate that will be used when
the camera is connected to a network or USB. By
lowering the frame rate from the regular setting,
the camera is able to record even when connected
to the computer.
The following frame rates can be set for this
purpose.
●
Pre Alarm recording rate (PRE ALARM RATE)
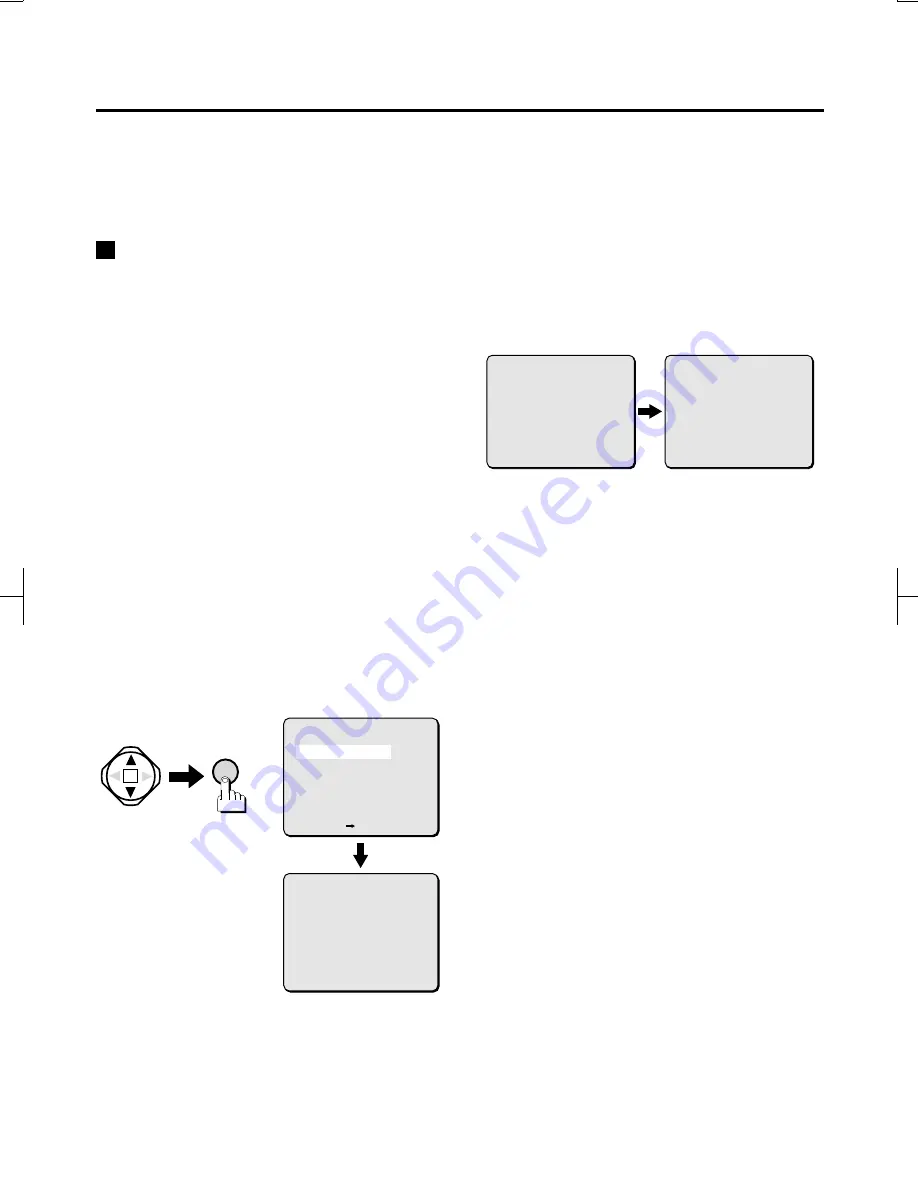
1
Use the CURSOR (
j
or
l
) button to
select “SETTINGS”, then press the SET
button.
The SETTINGS screen will appear.
2
Use the CURSOR (
j
or
l
) button to
select “PC CONTROL SET”, then press the
SET button.
The PC CONTROL SET screen will appear.
3
Use the CURSOR (
j
or
l
) button to
select “RECORDING SPEED SET”, then
press the SET button.
The RECORDING SPEED SET screen will appear.
4
???Use the CURSOR (
j
or
l
) button to
select “PRE ALARM RATE”, then use the
CURSOR (
d
or
c
) button to select “1”.
3FPS:
Records 3 image every second.
1FPS:
Records 1 image every second.
5
After completion of the settings, press the
MENU button.
The PC CONTROL SET screen will reappear.
Keep pressing the MENU button until the
MAIN MENU screen appears.
SET
(RECORDING SPEED SET)
PRE ALARM RATE --- 3 FPS
CAMERA RECORDING FRAMERATE
UNDER PC CONTROL
(PC CONTROL SET)
RECORDING SPEED SET
NETWORK SET
PC CONTROL ----------- ON
RECORD STOP FROM PC -- OFF
[MENU] (SETTINGS)
(RECORDING SPEED SET)
PRE ALARM RATE --- 1 FPS
CAMERA RECORDING FRAMERATE
UNDER PC CONTROL
(RECORDING SPEED SET)
PRE ALARM RATE --- 3 FPS
CAMERA RECORDING FRAMERATE
UNDER PC CONTROL
L9EAA/WA (VA-LANC100) GB 2001, 9, 27
English
8


