background image

User manual  
SNC-331DLNN 

_________________________________________________________________________________ 


- 41 - 


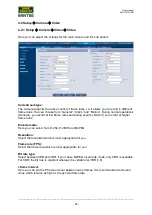
Mail receiver: 

Enter the e-mail address to receive e-mail notifications and click on the plus icon. The e-mail 
address will be added to the list. 
You may add up to 3 e-mail recipients. 
 
If an e-mail notification is to be sent to this recipient in case of a detected motion, please 
enable the box „Send e-mail“ here: 

Setup  

 Event 

 Video detect 

 Motion detect (see chapter 4.7.1) 


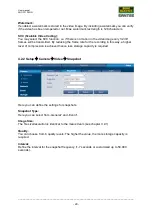
Health mail: 

Enable this function so that the camera regularly sends a notification to the defined e-mail 
address(es) to confirm that the system is still running properly. 
 

Interval: 

Enter the interval (0 to 3600 seconds) for the camera to send health e-mails. If you enter 
zero, there is no interval. 
 
Sie können die hier festgelegten Einstellungen über den E-Mail Versand testen, indem Sie 
auf „E-Mail Test“ klicken. 


4.4.7 Setup 

 Network 

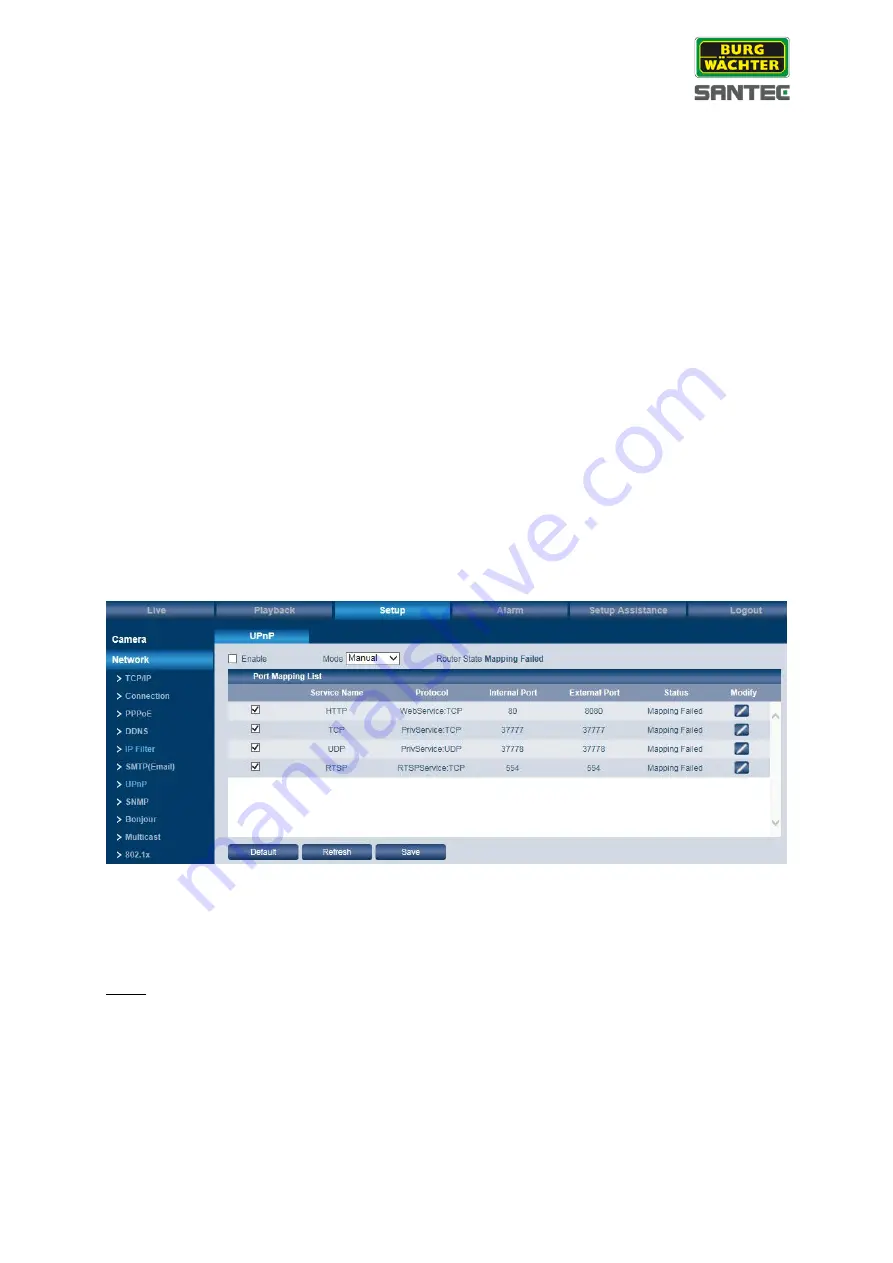
 UPnP 


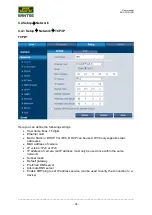
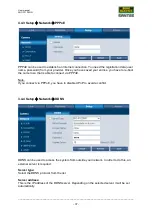
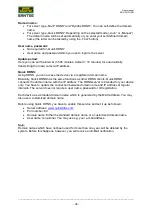
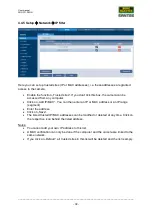
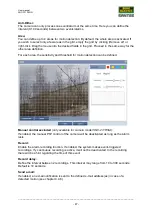
Use UPnP to remotely access your system. In order to use UPnP it is necessary to set Port-
Forwarding in your router. You can then access your device using the external address of 
your router (forwarded port).  
 
Note: 
Tick the „Enable“ box to activate this function. The device now supports the UPnP protocol.  
If you use Windows, please add and enable the UPnP protocol in the network settings. The 
camera can now be identified.  
 

Содержание SNC-331DLNN

Страница 1: ...Lens not included in the delivery Version 1 0sfi 0115 engl A5 SANTEC IP Camera Model SNC 331DLNN USER MANUAL...

Страница 2: ...ights reserved This publication may not be reproduced stored in a retrieval system or transmitted in any form or by any means electronic mechanical photocopying recording or otherwise without the writ...

Страница 3: ...tents Safety precautions 6 Safety instructions 6 About this user manual 8 Items included in the delivery 8 PART I CAMERA DESCRIPTION TECHNICAL SPECIFICATIONS INSTALLATION 1 Special features 9 2 Techni...

Страница 4: ...ideo Video 28 4 2 2 Setup Camera Video Snapshot 29 4 2 3 Setup Camera Video Overlay 30 4 2 4 Setup Camera Video ROI 32 4 2 5 Setup Camera Video Path 32 4 3 Setup Camera Audio 33 4 4 Setup Network 34 4...

Страница 5: ...2 Setup Storage Destination 62 4 6 3 Setup Storage Record control 65 4 7 Setup System 66 4 7 1 Setup System General 66 4 7 2 Setup System Account 66 4 7 3 Setup System PTZ settings 67 4 7 4 Setup Sys...

Страница 6: ...operating and maintenance servicing instructions in the literature accompanying the appliance CE compliance This appliance complies with the CE guidelines If you require an EC Declaration of Conformit...

Страница 7: ...into the power outlet only one way This is a safety feature If you are unable to insert the plug into the outlet try reversing the plug Do not defeat the safety purpose of the polarized plug If the ap...

Страница 8: ...you need to dispose of discarded appliances This symbol means that electrical appliances need to be disposed of properly and not simply with unsorted household refuse Please respect local regulations...

Страница 9: ...t conditions Easy to use thanks to intuitive user interface 3x streaming dual streaming multicast Wide Dynamic Range True WDR 120 dB OnePush lens setting P2P App capable 1 3 Progressive Scan CMOS Sens...

Страница 10: ...tically goes into focus You can also set the focus via the web See chapter1 item 6 Connection interface I O G GND Ground for alarm inputs TX RS 485 input RX RS 485 input B RS 485 D output to connect a...

Страница 11: ...O 2 1 Audio input output 2 1 Supported protocols UPNP BONJOUR DHCP FTP HTTP HTTPS SMTP RTSP SSL ONVIF Classification Vandal proof No Voltage 12 V DC 24 V AC PoE 802 3af Power consumption 10 watt Oper...

Страница 12: ...directly to your computer or a switch router Then connect the camera to power using a suitable power adapter Adjust the focus using the lens Use the ABF button on the camera rear to adjust the settin...

Страница 13: ...the product section of the respective camera model www santec video com Start the ConfigTool and click on Refresh All IP devices in this network will be found automatically and listed here with their...

Страница 14: ...or English Click on the flag to switch languages immediately Alternatively you may also change the language here see chapter 4 7 1 Setup System General 2 Question mark help If you click on the questi...

Страница 15: ...activated Digital zoom Click on this symbol It turns blue when activated Click again to deactivate it will turn white Alternatively you may right click with the mouse to deactivate the zoom Zoom optio...

Страница 16: ...udio during the live image symbol turns blue Click again to turn the audio off symbol turns grey Setting options for audio can be made here see chapter 4 3 Setup Camera Audio Audio sound is only avail...

Страница 17: ...into the video image or press the ESC key to return to the normal view Note Depending on the used monitor the image might appear distorted Width to height ratio Click this symbol Left to it you can c...

Страница 18: ...settings for focus are reset to default values Refresh Refresh the video image 2 PTZ 2 1 PTZ control There is a small panel for PTZ control PTZ directions For PTZ control please use the 8 directions...

Страница 19: ...tions Using a small extra panel you can call up the PTZ functions If you wish to setup define the PTZ functions this needs to be done here Setup PTZ Function see chapter 4 7 3 Scan Click on Start to s...

Страница 20: ...______________________________________________ 20 Assistent Up to 8 assistants are available Light wiper Light and wiper function can be enabled here provided the camera has been installed in a camera...

Страница 21: ...dings snapshots and alarm triggered resp schedule triggered recordings snapshots 3 1 1 Manual recording snapshots Recordings videos and snapshots of the live image can be made manually In the live vie...

Страница 22: ...n your computer This means that the playback menu of the camera only displays videos snapshots which have been triggered by an alarm or by schedule In the playback menu you can select File type Video...

Страница 23: ...he time field enter the time start and end time and click on the search icon magnifying glass In the list only recordings snapshots in this time frame are listed If you click on the arrow next to a re...

Страница 24: ...he recorded video video clips 1 Click on the start time and then on the cut icon Then enter a start time and click again on the cut symbol 2 Click on the end time and then on the cut icon Then enter a...

Страница 25: ...to adjust the image Use the Default button to reset all settings to default value 50 Anti flicker For Germany Austria and Switzerland 50 Hz is commonly used 60 Hz is mainly used in the USA Select the...

Страница 26: ...evel of reaction to changes in brightness low middle high The longer the delay time the higher the probability that the camera does not switch several times between colour and black white mode BLC mod...

Страница 27: ...rofiles can be schedule based or sensor based Normal Full time Day or night Schedule Use the ruler to define the duration resp the time 4 1 3 Setup Camera Conditions Zoom and focus Here you can adjust...

Страница 28: ...tions General you record at low frame rates and during events Motion you record at higher frame rates Encode mode Here you can select from H 264 H 264H and MJPEG Resolution Select the resolution which...

Страница 29: ...2 3 f frames will be transmitted By reducing the frame rate for the recording in this way a higher level of compression is achieved hence less storage capacity is required 4 2 2 Setup Camera Video Sna...

Страница 30: ...video image size and position i e these areas will be covered Use Delete to delete the selected privacy zone or right click Use Remove all to delete all privacy zones Channel title Enable this functio...

Страница 31: ...text which should be displayed in the video image Enable this function and move the yellow text box to the desired position Enter your text in the Input text field Finally click on Save Notes Picture...

Страница 32: ...nstead of the complete picture is displayed in the selected stream Max 4 areas can be defined Only these areas will be transmitted in a higher resolution Hence the network load and the required storag...

Страница 33: ...ker microphone You have been granted audio talk permission by your administrator Encode As Encode mode select G 711A or G 711Mu for both main stream and sub stream Attribute Audio In type Line In inpu...

Страница 34: ...st name Max 15 digits Ethernet card Mode Static or DHCP For IPV4 DHCP can be used IPV6 only supports static addresses MAC address of camera IP version IPv4 or IPv6 IP address of camera an IP address m...

Страница 35: ...with Internet access If you now enable the P2P function the camera establishes a connection to the SANTEC BW P2P server Once the connection has been established successfully the status changes to Onli...

Страница 36: ...ault port is 37777 HTTP port Default port is 80 RTSP port Default port is 554 HTTPS port Default port is 443 Important If you change the ports the following ports must not be used because they are res...

Страница 37: ...saved your entries you have to re boot the camera so that is able to connect via PPPoE Note If you connect via PPPoE you have to disable UPnP to avoid a conflict 3 4 4 Setup Network DDNS DDNS can be u...

Страница 38: ...ia a registered domain name Basically Quick DDNS has the same functions as other DDNS clients Quick DDNS connects the domain name with the IP address The DDNS server is intended for your device only Y...

Страница 39: ...be accessed from any computer Click on Add IP MAC You can then enter an IP or MAC address or an IP range segment Enter the address Click on Save The listed trusted IP MAC addresses can be modified or...

Страница 40: ...the IP of your e mail SMTP server and its port default 25 Anonymity You can use this option to enable sending anonymous e mails In this case user name password and sender name are not required User n...

Страница 41: ...o the defined e mail address es to confirm that the system is still running properly Interval Enter the interval 0 to 3600 seconds for the camera to send health e mails If you enter zero there is no i...

Страница 42: ...2 or SNMP v3 Only one SNMP version can be selected at a time For SNMP v3 additional authorisations and encryptions can be defined SNMP port Range 1 to 65535 Default port 161 Read write community Defau...

Страница 43: ...Multicast describes the transmission of data from one point to a group multi point connection When there are multiple hosts to receive the same data packet multiple cast is the best option to reduce...

Страница 44: ...ports 1025 to 65534 Default port for main stream 40000 Default port for sub stream 40002 If you change the multicast address or the port please re boot the camera 4 4 11 Setup Network 802 1x Authentic...

Страница 45: ...en network congestion occurs According to the DSCP Differentiated Services Code Point model traffic flows are classified and marked with DSCP values and thus receive the corresponding forwarding treat...

Страница 46: ...ngs for motion detection and tampering detection Motion detect Enable this function Working period Click on Setup For each day of the week up to 6 periods can be defined Click on the little wheel for...

Страница 47: ...a definition For each area the sensitivity and threshold for motion detection can be defined Manual control excluded only available for camera model SNC 211RSIA If enabled the manual PTZ control of th...

Страница 48: ...n the PTZ control is activated Snapshot If enabled a snapshot is made in case of a detected motion Video tamper Here you can define the actions to be taken in case of a detected video tampering e g ca...

Страница 49: ...u enable IVS functions e g the virtual tripwire you may display these lines in the live view To do so please select from the bar on the live screen the Rule info icon and Enable it so that you can see...

Страница 50: ...e only in one direction o A B In both directions Define the action to be taken if someone crosses the tripwire e g start a recording or take a snapshot send an e mail notification etc Click on Draw ta...

Страница 51: ...object e g a vehicle enters or exits this area an action can be triggered e g a recording may be initiated an e mail notification can be sent PTZ may be activated or a snapshot may be taken Max 4 int...

Страница 52: ...r square defines the maximum detection area and the inner smaller square defines the minimum detection area Click on Draw rule You can now draw the intrusion area Click and hold the left mouse key and...

Страница 53: ...red e g a recording may be initiated an e mail notification can be sent PTZ may be activated or a snapshot may be taken Max 4 intrusion areas can be created Creating areas Tick the box Enable abandone...

Страница 54: ...inner smaller square defines the minimum detection area Click on Draw rule You can now draw the intrusion area Click and hold the left mouse key and draw a line To change the direction and to set a co...

Страница 55: ..._______________________ 55 4 5 2 4 Setup Event IVS Analyse Scene change You can use this function to trigger an action if the camera image hence the scene changes e g by camera manipulation Enable thi...

Страница 56: ...ce is in full front view and the eyes nose and mouth are visible i e the person is looking into the camera direction Up to 35 faces can be detected Creating face detection Tick the box Enable face det...

Страница 57: ...You can change the size and position of each of the squares by grabbing the corners The outer larger square defines the maximum detection area and the inner smaller square defines the minimum detectio...

Страница 58: ...e g screams are captured Use Sensitivity and Threshold to set the parameter for the sound so that ordinary sound or birds singing are not detected and hence not recorded In case of a detected unusual...

Страница 59: ..._______________________________________________________________________________ 59 4 5 5 Setup Event Alarm Here you can define the settings for an alarm The settings are done as described in chapter 4...

Страница 60: ...No SD card inserted SD card error Capacity warning Select the desired action and click on Save Network Possible events are Disconnected IP conflict Select the desired action and click on Save Illegal...

Страница 61: ...on Setup For each day of the week up to 6 periods can be defined Click on the little wheel for each day Enable each period 1 6 and enter the desired time frame Alternatively you can press and hold the...

Страница 62: ...snapshots Storage paths for manual recordings snapshots can be defined here see chapter 4 2 4 Setup Camera Video Path Path Here you can define the path to store recordings videos as well as snapshots...

Страница 63: ...next step it is important to format the SD card Click on Format Attention When formatting the SD card all other data stored so far on the card will be deleted FTP In order to store data on the FTP ser...

Страница 64: ..._________________________________________________ 64 NAS In order to store data on the NAS server please tick Enable Enter the parameter of the NAS server Note The box Enable can only be checked if yo...

Страница 65: ...h 5 120 minutes default 8 minutes Pre event record The time you have defined here 0 20 seconds default 5 seconds will be the pre event recording time thus prior to the event For example You set the ti...

Страница 66: ...te time is important especially when you time search for recorded events You may also set the DST Daylight Savings Time as well as the time synchronization witht he NTP server 4 7 2 Setup System Accou...

Страница 67: ...ser manual SNC 331DLNN _________________________________________________________________________________ 67 4 7 3 Setup System PTZ setting Here you can make PTZ settings such as protocol Baud rate etc...

Страница 68: ...mputer 4 7 6 Setup System Auto Maintain Auto reboot If enabled you can set the date and the time when to automatically reboot the camera Auto delete old files If enabled you can define after how many...

Страница 69: ...Setup Information 4 8 1 Setup Information Version Here you find various version numbers This is for reference only and can not be edited Here you also find the P2P code which you can scan with your mo...

Страница 70: ...etc Select a type you wish to search for All system setting data event recording account clear log Enter a time frame start time end time and click on Search Use the arrows to navigate through the log...

Страница 71: ...h types of events an alarm should be triggered e g motion detection tampering illegal access usw You may select several or all options Operation If you enable Prompt an alarm icon is displayed in the...

Страница 72: ...tance The Setup Assistance helps you to adjust camera settings quickly and in a convenient way Here you can adjust the major settings for Main Stream Sub Stream 1 and Sub Stream 2 Camera information a...

Страница 73: ...ou will be immediately logged off without further prompting The login page appears and you may logon again if you wish e g using a different user name It is recommended to always logoff from the camer...

Страница 74: ...age at www santec video com Download GNU_GPL GNU_GPL_V2 pdf You as well as any other third party may request to have access to the complete and machine readable open source code for the GPLv2 licensed...

Страница 75: ...User manual SNC 331DLNN _________________________________________________________________________________ 75 Notes...

Страница 76: ...__________________________________________________________________________ www santec video com Your local distributor...

Отзывы: