27
The setting
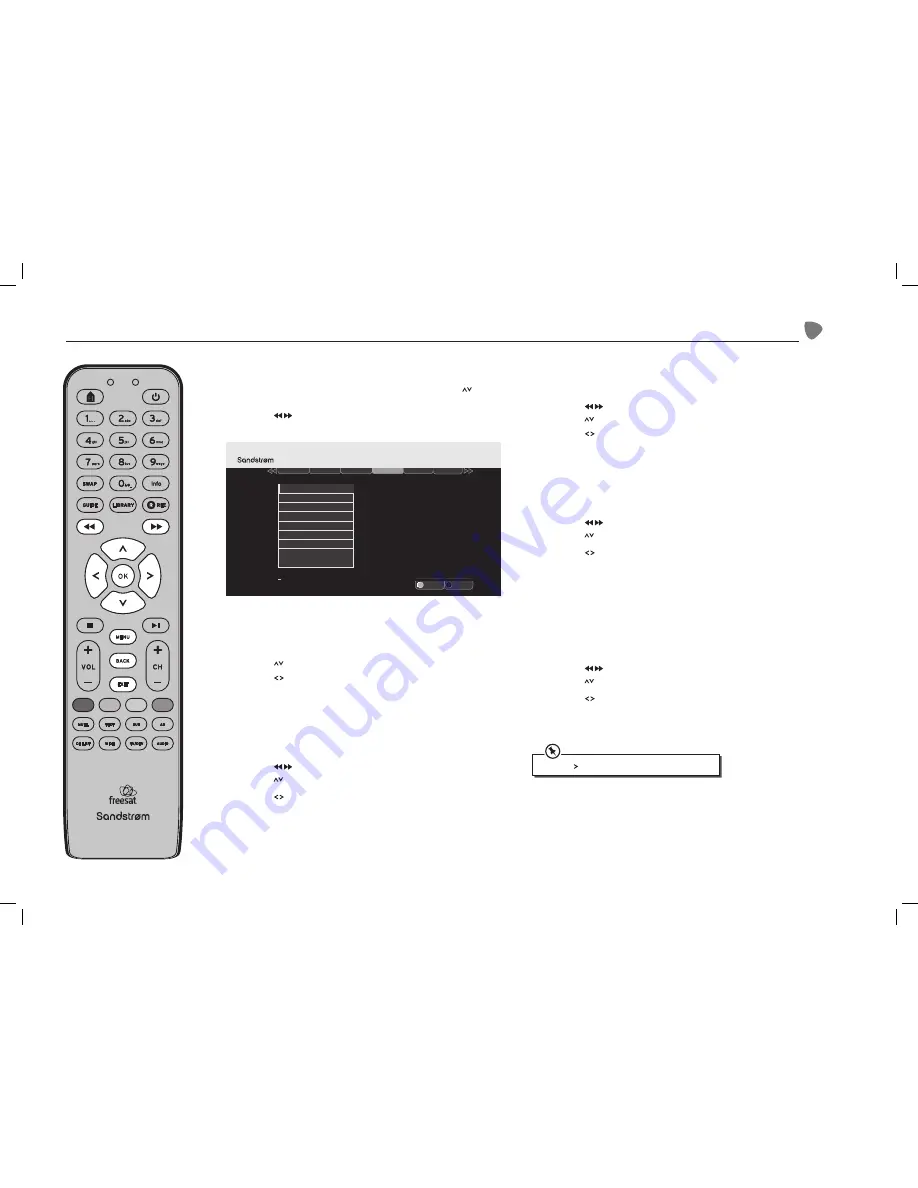
Entering the Menu
1. Press the
MENU button to enter the Main Menu. Press the buttons
to select
Settings in the section bar. Press the OK button to confirm.
2. Press the
buttons to select in the section bar to deploy
the menu.
Default Recording Mode
You can set the Digital TV Recorder to record in high or standard definition.
High Definition offers better quality but uses much more hard drive space.
1. Press the buttons to select
Default Recording Mode.
2. Press the
buttons to select high definition or standard definition.
Press the
OK button to confirm.
3. Press the
BACK button or the EXIT button to exit the main menu.
Add to Start of Recording
This sets the amount of time that is added before the start of a recording.
1. Press the
buttons to select in the section bar and then
press the buttons to select
Add to Start of Recording.
2. Press the
buttons to add the additional recording time before the
programme start and then press the
OK button to confirm.
3. Press the
BACK button or the EXIT button to exit the main menu.
Add to End of Recording
This sets the amount of time that is added after the end of a recording.
1. Press the
buttons to select in the section bar and then
press the buttons to select
Add to End of Recording.
2. Press the
buttons to add the additional recording time after the
programme finish and then press the
OK button to confirm.
3. Press the
BACK button or the EXIT button to exit the main menu.
Live Pause Length
This sets the amount of time used for background recording of live TV.
1. Press the
buttons to select in the section bar and then
press the buttons to select
Live Pause Length.
2. Press the
buttons to select 60 or 120 minutes for background
recording of Live TV and then press the
OK button to confirm.
3. Press the
BACK button or the EXIT button to exit the main menu.
Skip Forwards Time
This feature allows you to preset the amount of time in seconds by which
the recorder skips. You may set the unit to skip forward by amounts of
10-30-40 or 60 seconds.
1. Press the
buttons to select in the section bar and then
press the buttons to select
Skip Forwards Time.
2. Press the
buttons to set the default skip forwards time and then
press the
OK button to confirm.
3. Press the
BACK button or the EXIT button to exit the main menu.
Exit Menu
Select
EXIT
OK
Weds 8 Oct 8:22pm
Settings
Display & Audio
Language
Parental
F
Other
Network
.
Add to Start of Recording
Add to End of Recording
Live Pause Length
Skip Forwards Time
Skip Backwards Time
Auto Disk Management
Format Hard Disk Drive
Show Available Space As
Default Recording Mode
Press the button to skip forwards while watching TV.
SHDFSAT12_IB_V2.indd 27
13/06/2013 12:19


