64
Sanako Lab 90 User Guide
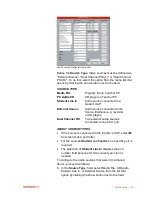
9. You can now edit the
Source Name
. This step is,
however, optional. Giving the source a commonly known
name could help the user in recognizing the source when
there is more than one external source. The edited name
is displayed in the Source List in the graphical user
interface of Lab 90.
10. In the
Port Number
: field, select a port number to which
the source is connected. The Student Line In source type
doesn‟t require a port number.
11. Proceed similarly with other audio sources.
12. In the
Video Source
field, select
Video Source
that is
used with the appropriate source type.
13. Browse for the drive that was mapped in the configuration
of the teacher PC (see
Error! Reference source not
found.
in Configuring the Teacher PC earlier in the Setup
section of this guide). To browse for the drive, click the
Browse drive
button.
14. To close this panel and keep the changes, click
OK
. To
close the panel and discard the changes, click
Cancel
.
Set video sources below.
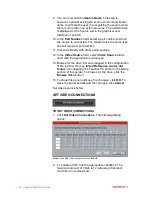
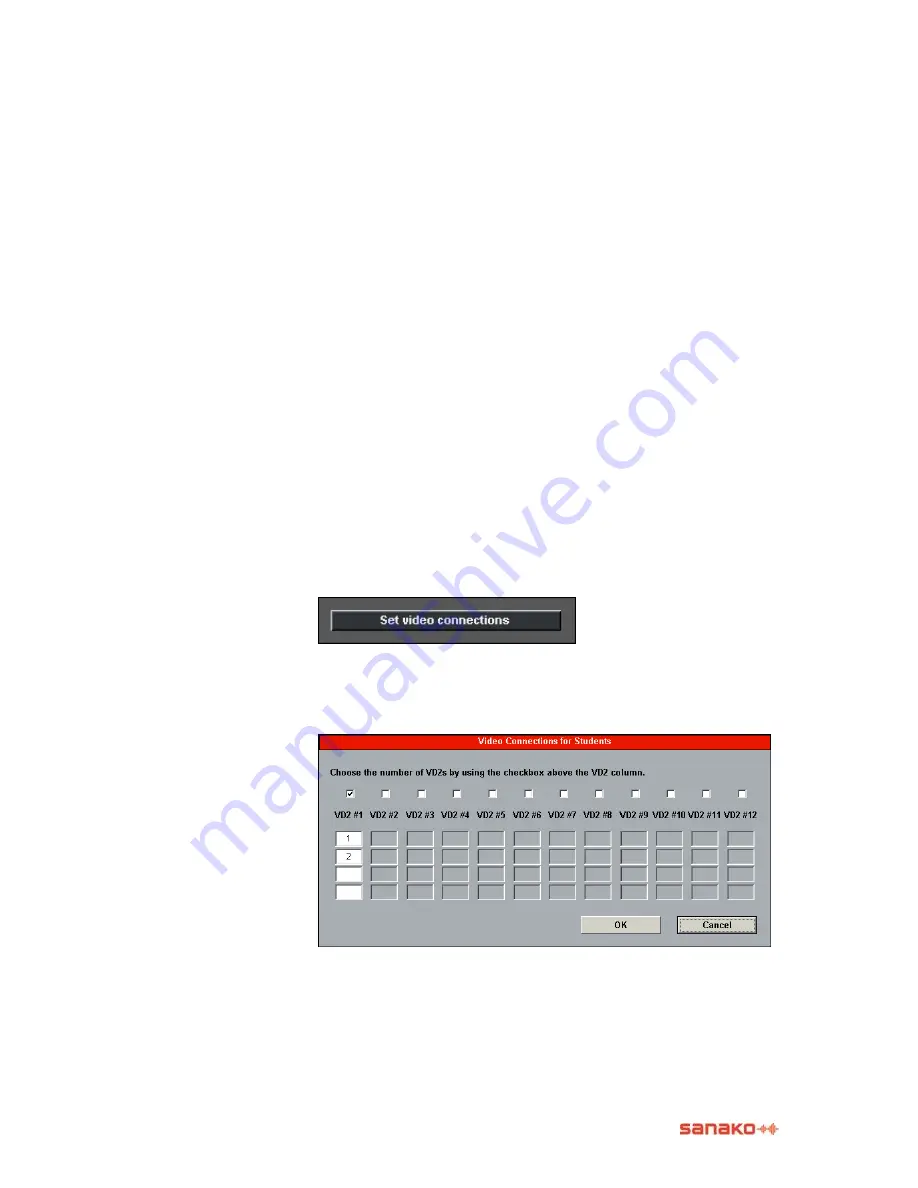
SET VIDEO CONNECTIONS
TO SET VIDEO CONNECTIONS
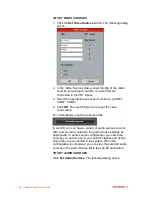
1. Click
Set Video Connections
. The following dialog
opens.
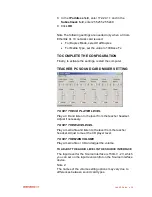
Dialog for setting video connections for students
2. To enable a VD2, tick the appropriate checkbox. The
maximum amount of VD2s is 12, allowing 48 student
monitors in one classroom.
Содержание Lab 90
Страница 1: ...Sanako Lab 90 USER GUIDE ...
Страница 5: ...Contents iii ...
Страница 6: ......
Страница 8: ......
Страница 72: ......
Страница 79: ...Index 73 ...

