31
3-4-12
Finding a chart symbol
From the chart, when you hold down to
, the Mark window will show.
From Mark: select the symbol of mark
From Color: select color of mark
From Insert:
Preset the longitude and latitude
of the place you wish to create the mark
User may also delete mark, delete color of
mark, delete coordinate and set the number
indication.
▣
When you wish to create mark, adjust
color and shape, Press down WPT from
Plotter display. Select Mark Select
color Mark gets created when you press
WPT at the place you wish to set.
▣
When you wish to delete mark
Move the cursor using directional key, and
place it on the mark you wish to delete, then
press enter
3-4-13
Setting Tracks in the chart window
To set the tracks on chart window, press and
hold
(Refer to 4-5 Track Setting)
User Guide
32
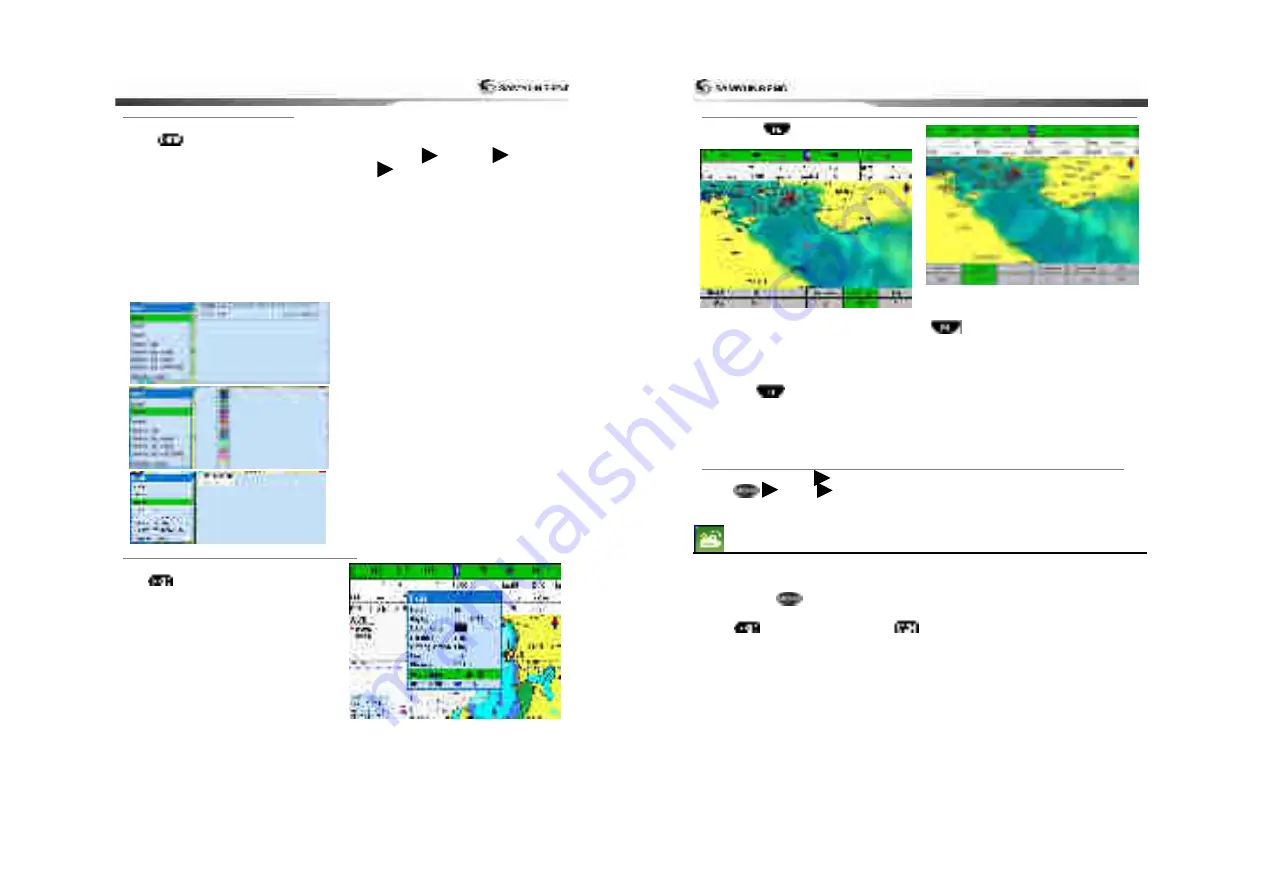
3-4-14
3D MAP
Pressing the shows the menu to allow
you to set 3D map
Use of Map:
You may select both navigation
and fishing, under fishing operation, only
geographical information gets displayed and
when navigating, both information and mark
gets displayed.
Pitching:
Display can be tilted. From 3D
menu, use or directional key to place
the green mark on the map on use, and
change the levels. Using +,- keys allows
adjustable range larger.
Enlarge the range:
If you raise the value of
range, the value gets displayed exaggerated.
From 3D menu, press
Or directional key to place green
mark on the range enlargement, then use
directional key to adjust the levels. Using +,-
keys allows adjustable range larger.
Map Display:
You may select between 3D
and 2D
Grid:
You may turn and turn off the grid
3-4-15
MOB(Man OverBoard)
Press down MOB button MOB mark gets marked on the vessel’s current location.
Press Search MOB’s location gets saved in the waypoint
3-5
VIDEO
You may use the media cable to connect with CCTV, S-VIDEO or download the files from SD
Card, USB to play it on the video function.
To activate the video function, follow the instruction in order
1 Hold down to
to select the system setting category.
2 Select the additional component and select video.
3 Press
,
from general display press
then select video function