VCR
VCR
VCR
GB
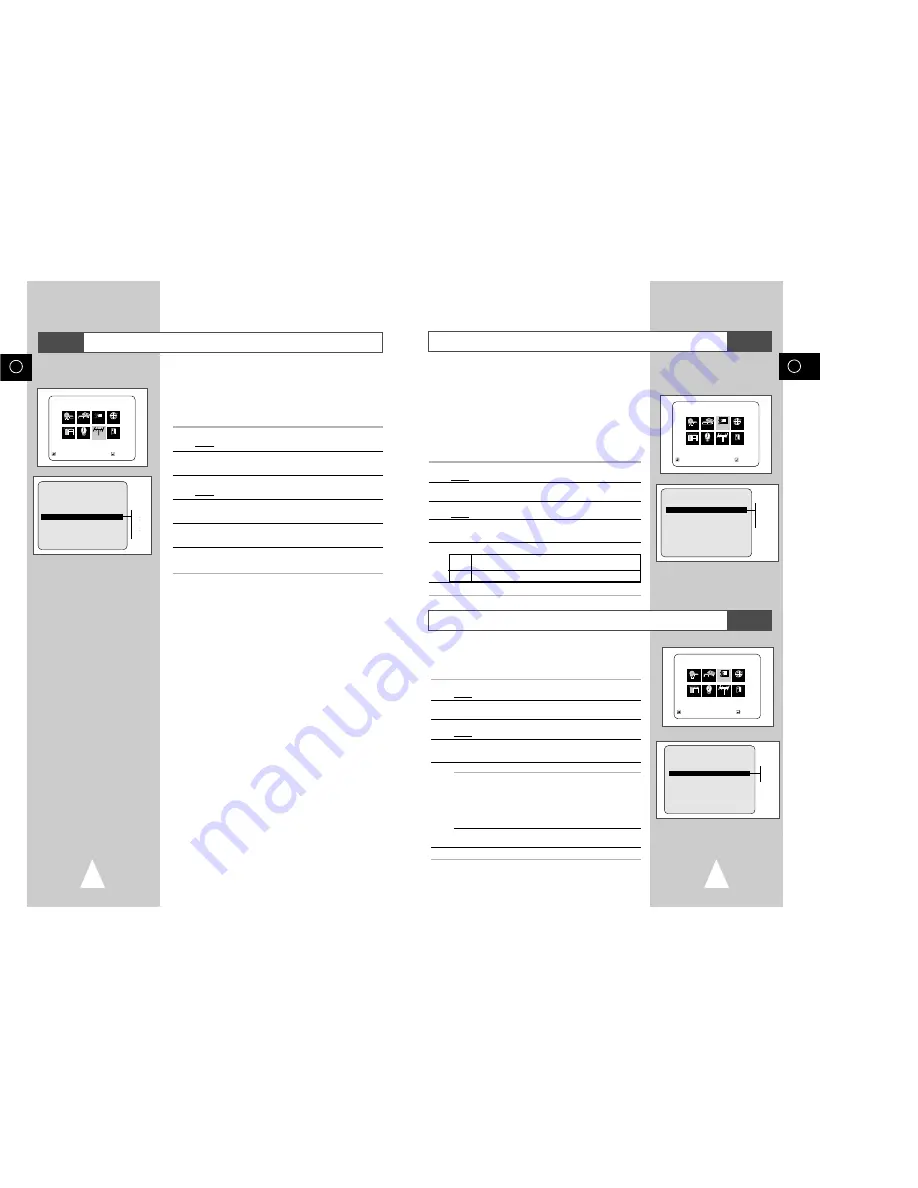
Selecting the Colour Mode
NICAM
25
NICAM programmes are divided into 3 types. NICAM Stereo,
NICAM Mono and Bilingual (transmission in another language).
NICAM programmes are always accompanied by a standard mono
sound broadcast and you can select the desired sound.
Please refer to page 37.
1
Press SETUP on the remote control.
Result:
The programming menu is displayed.
2
Press the corresponding
"
,
❷
or
➛
,
❿
buttons to select the
Option
option.
3
Press the ENTER button to select this option.
Result:
The
USER SET
menu is displayed.
4
Press the corresponding
"
or
❷
buttons, until the
NICAM
option
is selected.
5
To...
Press
➛
or
❿
, until...
Mono mode
OFF
is displayed.
OFF: Only set at this position to record the
standard mono sound during a
NICAM broadcast if the stereo sound
is distorted due to inferior reception
conditions.
NICAM mode
ON
is displayed.
ON: Normally set at this position.
6
On completion, press RETURN twice to exit the menu.
Before recording or playing back a cassette, you can select the
required system standard.
Otherwise, the system automatically selects the reception standard
when you select AUTO.
➢
◆
When playing back a cassette, the standard is
automatically selected by the DVD-VCR.
◆
When you playback an NTSC-recorded tape on this DVD-
VCR make a setting on the colour system according to your
TV. If your TV is a PAL system only TV, set NTPB.
If your TV is Multi System TV (NTSC 4.43 compatible), set
NT4.43 and you can record NT4.43.
1
Press SETUP on the remote control.
Result:
The programming menu is displayed.
2
Press the corresponding
"
,
❷
or
➛
,
❿
buttons to select the
Option
option.
3
Press the ENTER button to select this option.
Result:
The
USER SET
menu is displayed.
4
Press the corresponding
"
or
❷
buttons, until the
COLOUR
SYSTEM
option is selected.
5
Press the
❿
button to select
AUTO
➝
PAL
➝
B/W
.
AUTO When playing back a cassette, the system standard is
automatically selected by the DVD-VCR.
B/W
Black and White
6
On completion, press RETURN twice to exit the menu.
MAIN MENU
USER SET
RETURN
"❷!!
➛!!!❿
ENTER
Program Clock Install Exit
DVD VCR Option Language
Option
USER SET
COLOUR SYSTEM
:AUTO
NICAM :ON
IPC :ON
AUTO POWER OFF
:OFF
VIDEOPLUS EXTEND :OFF
RETURN
"❷!!
➛!❿
MAIN MENU
USER SET
RETURN
"❷!!
➛!!!❿
ENTER
Program Clock Install Exit
DVD VCR Option Language
Option
AUTO
PAL
B/W
USER SET
COLOUR SYSTEM
:AUTO
NICAM :ON
IPC :ON
AUTO POWER OFF
:OFF
VIDEOPLUS EXTEND :OFF
RETURN
"❷!!
➛!❿
ON
OFF
GB
Setting the DVD-VCR Output Channel
24
Your DVD-VCR output channel may need to be changed if the
pictures suffer from interference or if your TV cannot find the
pictures.
Also, you can change the DVD-VCR output channel to adjust the
frequency in which information is displayed on the screen.
1
Press SETUP on the remote control.
Result:
The programming menu is displayed.
2
Press the corresponding
"
,
❷
or
➛
,
❿
buttons to select the
Install
option.
3
Press the ENTER button to select this option.
Result:
The
INSTALLATION
menu is displayed.
4
Press the
"
or
❷
buttons, until the
VCR OUTPUT CH
option is
selected.
5
Select the required output channel (CH21~CH69) by pressing the
➛
or
❿
buttons.
6
On completion, press RETURN to exit the menu.
Then tune your television again (see page 14).
INSTALLATION
AUTO SET UP
MANUAL SET UP
VCR OUTPUT CH :CH60
RETURN
➛!❿!!
"❷
MAIN MENU
CH21
CH36
CH69
INSTALLATION
RETURN
"❷!!
➛!!!❿
ENTER
Program Clock Install Exit
DVD VCR Option Language
Install


