GB
47
46
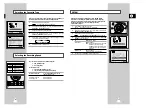
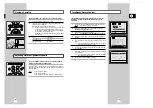
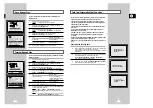
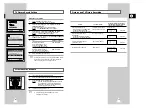
Using the TV Buttons on the Remote Control
Your VCR remote control will work with Samsung televisions and
compatible brands.
To determine whether your television is compatible, follow the instructions
below.
1
Switch your television on.
2
Point the remote control towards the television.
3
Hold down the TV button and enter the two-figure code
corresponding to the brand of your television, by pressing the
appropriate numeric buttons.
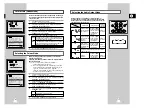
Brand
Codes
Brand
Codes
SAMSUNG
01 to 06
PHILIPS
02, 20, 22
AKAI
09, 23
SABA
13, 14, 22 to 24
GRUNDIG
09, 17, 21
SONY
15, 16
LOEWE
02
THOMSON
13, 14, 24
PANASONIC
08, 23 to 27
TOSHIBA
07, 16 to 19, 21
Result:
If your television is compatible with the remote control, it
is switched off. It is now programmed to operate with the
remote control.
➢
If several codes are indicated for your television brand, try
each one in turn until you find one that works.
☛
When you change the batteries in the remote control, you
must reprogramme the code, following the same procedure.
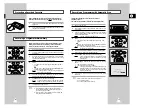
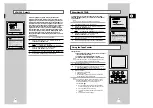
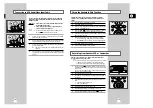
You can then control the television using the following buttons.
Button
Function
M.A/TV
➀
Used to switch the television on and off.
TV or VCR
➁
Used to switch between the TV and VCR modes.
Only the VOL (
+
or
–
) and M.A/TV buttons are
operational in VCR mode.
-/--
➂
Used to enter a two-figure programme number.
Example: For programme 12, press -/-- followed
by numeric buttons 1 and 2.
ENTRÉE
➃
Used to select an external source.
VOL
+
or
–
➄
Used to adjust the volume of the television.
ST./AJUST.
➅
Used to select the required programme.
(
$
or
❷
)
AFFICH./
➆
Used to switch between an external source and
the television tuner.
➢
The various functions will not necessarily work on all
televisions. If you encounter problems, operate the
television directly.
M.A./VCR
M.A./TV
RALENTI
SHUTTLE
STAB.
ANNUL./RàZ IM/IM INDEX
TV VCR ENTRÉE
RÉPÉT
SELECT.
-/--
C
RÉPÉT.
VOL ST./AJUST.
AUDIO
AFFICH./
ANNUL./RàZ IM/IM INDEX
TV VCR ENTRÉE
RÉPÉT.
VOL ST./AJUST.
AUDIO
AFFICH./
SELECT.
-/--
TV VCR ENTRÉE
RÉPÉT.
VOL ST./AJUST.
AUDIO
AFFICH./
1
2
2
6
6
7
3
5
5
4
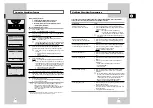
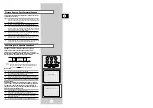
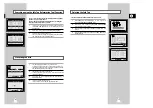
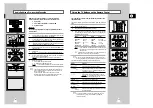
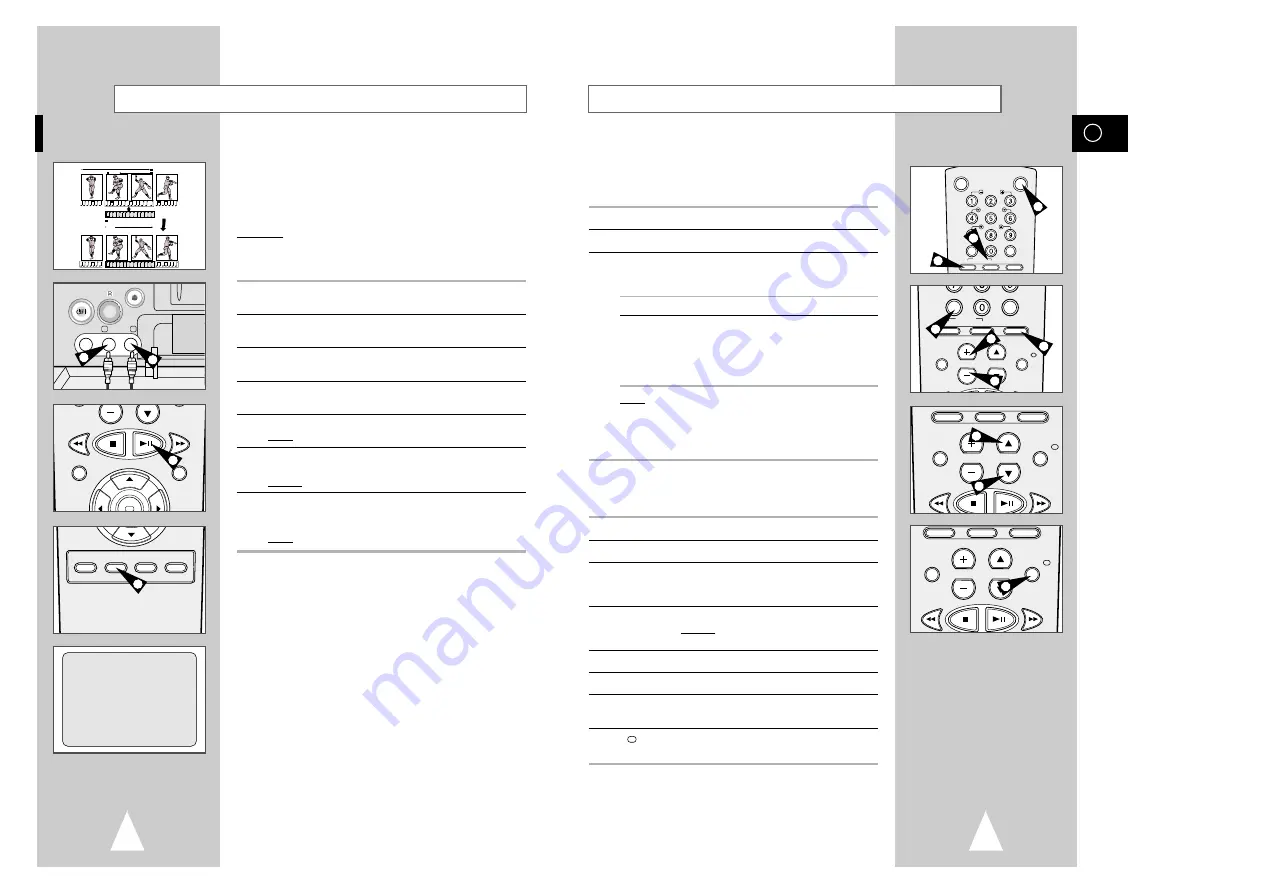
With the Audio Dubbing function, you erase the previously
recorded sound and replace it with a new soundtrack from:
◆
A CD player
◆
A microphone connected to a sound system
◆
A cassette player
Restriction:
Audio dubbing is applicable only to the longitudinal audio track
(normal audio).
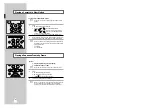
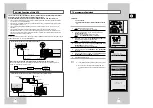
1
Connect an RCA audio cable to the appropriate output on your
sound system (CD/cassette player for example).
2
Connect the other end of the RCA audio cable to the audio input
connectors (G, D) on the front of your VCR.
3
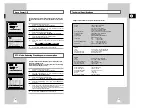
Insert the pre-recorded cassette on which the audio track is to be
replaced, and press the
❿
II
to start playback.
4
Find the scene that you want to over-dub and press
❿
II
on the
remote control.
5
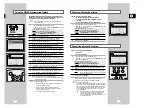
Press DUB.
Result:
Your VCR is now in the Audio dubbing Pause mode.
6
On the sound system, locate the point on the CD or cassette at
which you wish to start playback.
Example: The track that you wish to record on the cassette.
7
When you are ready:
◆
Start playback on the sound system
◆
Press ENRG. on the remote control.
Result:
The soundtrack is replaced on the pre-recorded cassette.
➢
The new sound will be recorded on the normal sound
track of the tape, and the original sound will remain on
the Hi-Fi sound track.
To hear the new sound and original sound mixed
together, press the Audio button on the remote control
until the MIX option is displayed (see page 31).
Audio Dubbing a Pre-recorded Cassette
4
5
6
10
A.DUB
A.DUB
VIDEO EDIT
VITESSE DUB TV/VCR PROG.
AUX
VIDEO L - AUDIO - R
MARCHE/MINUT.
EJECT
2
5
OK
ENRG.
MENU
4
2
DUB
0:05:23

