82
8
82
8
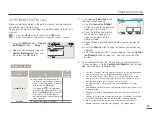
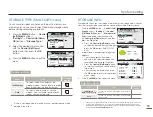
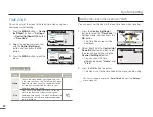
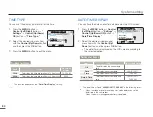
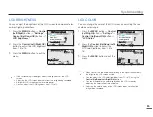
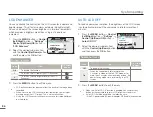
DATE/TIME SET
By setting the date and time, you can display the date and time of a
recording during playback.
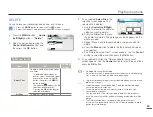
1.
Press the
MENU
button
Control
(Left/Right)
button
“Settings”
Control (Up/Down/OK)
button
“Date/Time Set.”
2.
Select the date and time
information, and change the setting
values by using the
Control (Up/
Down/Left/Right)
button.
3.
Make sure the clock is correctly
set, and then press the
OK
button.
The year can be set up to 2037.
Set
“Date/Time Display”
to on.
page 84
Activating the (
) icon forwards the time by 1 hour.
•
•
•
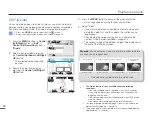
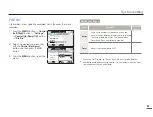
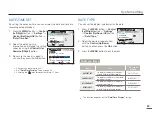
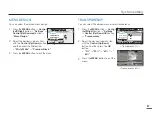
DATE TYPE
You can set the display type format for the date.
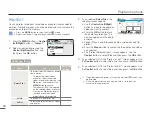
1.
Press the
MENU
button
Control
(Left/Right)
button
“Settings”
Control (Up/Down/OK)
button
“Date/Type.”
2.
Select the desired submenu item
with the
Control (Up/Down)
button, and then press the
OK
button.
3.
Press the
MENU
button to exit the menu.
This function depends on the
“Date/Time Display”
setting.
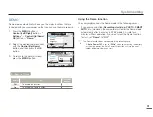
System setting
Submenu Items
Items
Use
On-screen
display
2011/01/01
To display the date in the year/
month (two-digit)/day format.
2011/01/01
JAN/01/2011
To display the date in the month/
date/year format.
JAN/01/2011
01/JAN/2011
To display the date in the date/
month/year format.
01/JAN/2011
01/01/2011
To display the date in the date/
month (two-digit)/year format.
01/01/2011
Settings
Date/Time Set
File No.
Time Zone
Exit
STBY
0:00:00 [475Min]
Select
SCENE
:
:
Settings
Date Type
Time Zone
Date/Time Set
Exit
STBY
0:00:00 [475Min]
Select
SCENE
:
Date/Time Set
Home
Visit : JAN/01/2011 12:00 AM
Exit
Move
OK
00
12
2011
:
/
/
OFF
01
Day Year Hour Min
Month
AM
JAN

