Basic operation of the camcorder
22
2
22
2
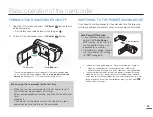
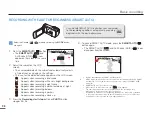
TURNING YOUR CAMCORDER ON/OFF
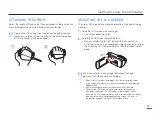
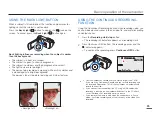
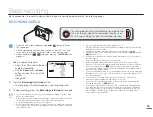
1.
Open the LCD screen and press the
Power
(
) button to turn
on the camcorder.
Set the lens cover open/close switch to open (
).
2.
To turn off the camcorder, press the
Power
(
) button.
The camcorder operates the self-diagnosis function when powered
on. If a warning message appears, refer to ‘
warning indicators and
messages
’ (
pages 103~105) and take corrective action.
•
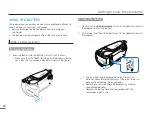
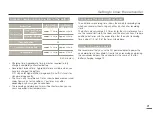
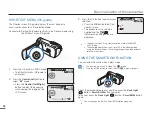
SWITCHING TO THE POWER SAVING MODE
If you need to use camcorder for the extended time, the following
functions enable you to prevent unnecessary energy consumption.
The power saving mode does not work in the following situations:
- When the camcorder has a cable connection. (USB or AV)
- While recording, playing back, or the slideshow is being operated.
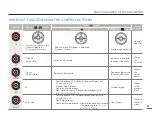
The camcorder consumes less battery power in the power saving
mode (about 50% less power than in the standby mode). However,
if you plan to use the camcorder for the maximum length of time, we
recommend you turn off the camcorder by pressing the Power (
)
button when not using it.
•
•
Power( ) button
LCD screen
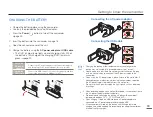
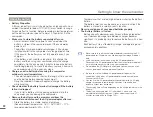
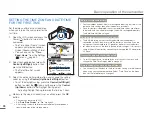
When using this camcorder for the first time
When you use your camcorder for the first time or reset it,
the time zone screen appears at start-up.
Select your geographical location, and then set the date and
time.
page 28
If you do not set the date and time, the time zone screen
appears every time you turn on the camcorder.
•
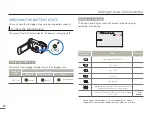
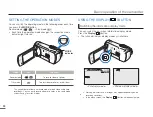
Auto Power Off Function
To save battery power, you
can set the
"Auto Power
Off"
function, which turns off
the camcorder if there is no
operation for 5 minutes.
To disable this option, change
the "Auto Power Off" setting
to
"Off."
page 89
•
•
After minutes

