4. Troubleshooting
•
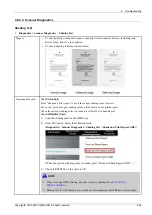
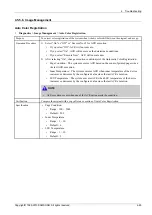
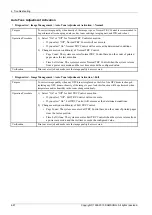
Diagnostics > Adjustment > Scan Area Adjustment > Manual Adjustment
Purpose
To correct image position and magnification of scanned images manually.
Operation Procedure
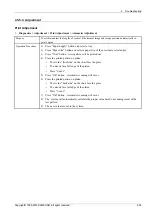
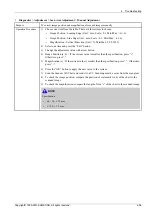
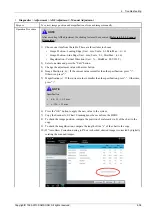
1) Choose one item from the table. There are three items to choose.
•
Image Position - Leading Edge (Unit : mm, Scale : 0.1, Min/Max : -6/+6)
•
Image Position - Side Edge (Unit : mm, Scale : 0.1, Min/Max : -6/+6)
•
Magnification - Vertical Direction (Unit : %, Min/Max: 98.5/101.5)
2) Select one item and press the “Edit” button.
3) Change the adjustment value with arrow button.
4) Image Position (a, b) : If the current value is smaller than the specification, press “+”.
Otherwise, press “-”.
5) Magnification (c) : If the current value is smaller than the specification, press “-”. Otherwise,
press “+”.
6) Press the “OK” button to apply the new value to the system.
7) Scan the Scanner A/S Chart and send it to a PC. Scanning must be occur from the scan glass.
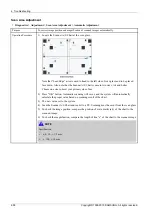
8) To check the image position, compare the position of scale marks (a,b) of the chart to the
scanned image.
9) To check the magnification, compare the length of line “c” of the chart to the scanned image.
NOTE
Specification
•
a,b : 10, ± 1.5 mm
•
c: 190, ± 1.5 mm
Copyright© 1995-2013 SAMSUNG. All rights reserved.
4-56
Содержание SL-X7600GX
Страница 92: ...2 Product Specifications and Description 2 76 Copyright 1995 2013 SAMSUNG All rights reserved ...
Страница 103: ...2 Product Specifications and Description Copyright 1995 2013 SAMSUNG All rights reserved 2 87 ...
Страница 140: ...2 Product Specifications and Description 2 Paper Path 2 124 Copyright 1995 2013 SAMSUNG All rights reserved ...
Страница 151: ...2 Product Specifications and Description 2 Paper Path Copyright 1995 2013 SAMSUNG All rights reserved 2 135 ...
Страница 176: ...3 Disassembly and Reassembly 7 Release the reverse roller Assy 3 19 Copyright 1995 2013 SAMSUNG All rights reserved ...
Страница 231: ...3 Disassembly and Reassembly 7 Remove the scan glass Copyright 1995 2013 SAMSUNG All rights reserved 3 74 ...


