3. Disassembly and Reassembly
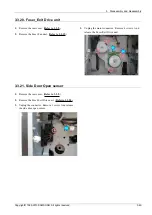
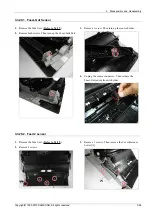
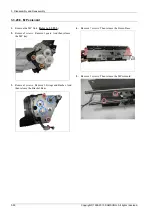
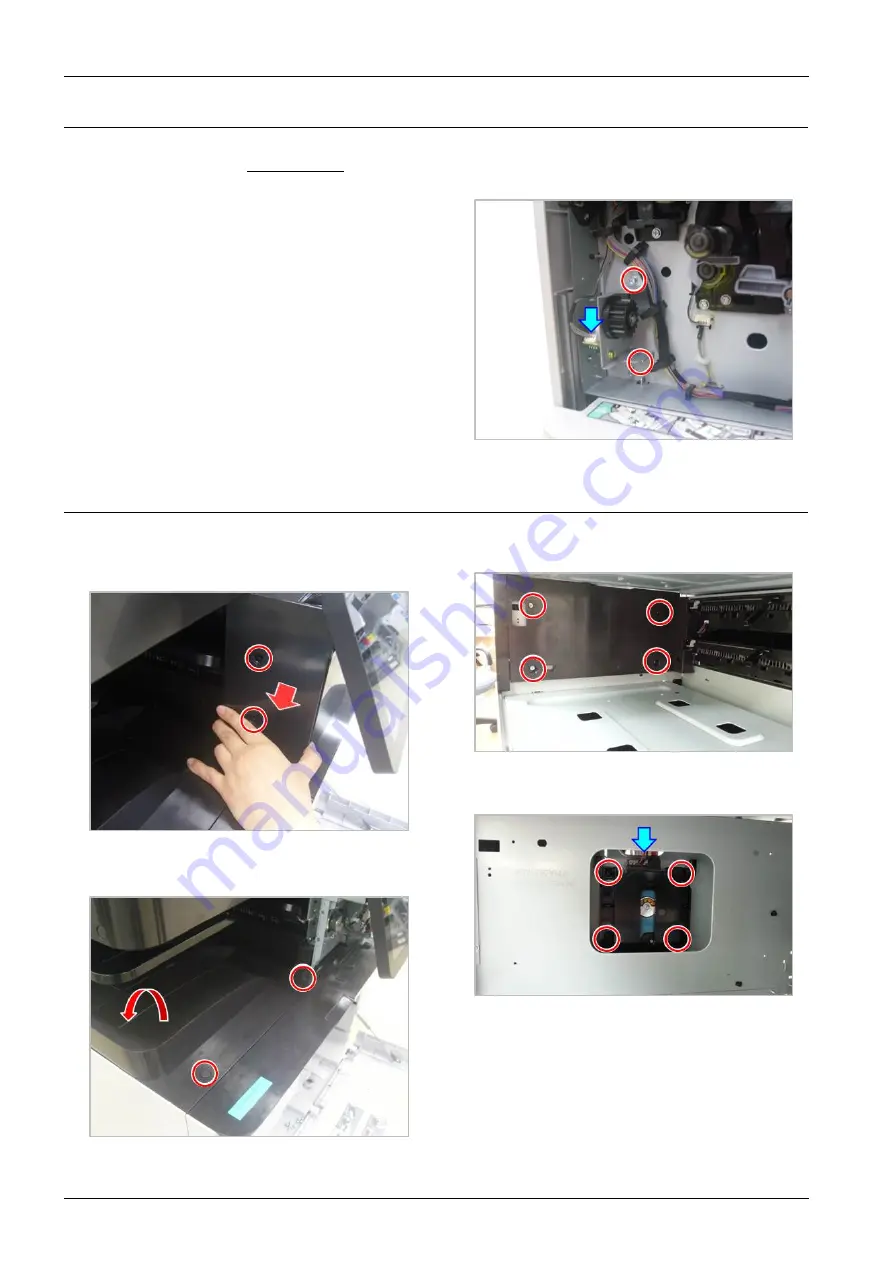
3.3.26. WTB Drive Unit
1.
Remove the inner cover. (
Refer to 3.3.23.
)
2.
Unplug the connector. Remove 2 screws. And release
the WTB drive unit .
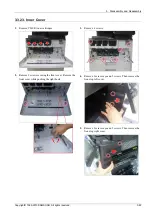
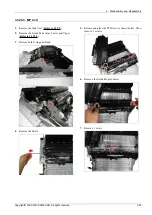
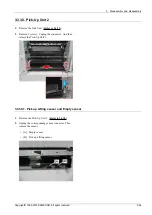
3.3.27. HDD (Hard Disk Drive)
1.
Remove 2 screw-caps and 2 screws. Then remove the
front-top left cover.
2.
Remove 2 screw-caps and 2 screws. Then remove the
Exit Tray.
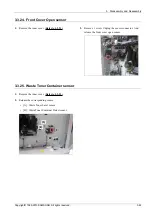
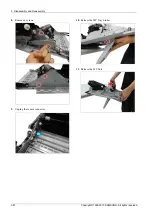
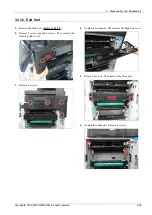
3.
Release the HDD cover after removing 4 screws.
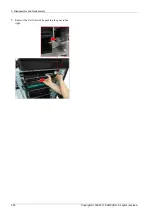
4.
Remove 4 screws. Unplug the HDD cable. And release
the HDD with its holder.
3-45
Copyright© 1995-2013 SAMSUNG. All rights reserved.
Содержание SL-X7600GX
Страница 92: ...2 Product Specifications and Description 2 76 Copyright 1995 2013 SAMSUNG All rights reserved ...
Страница 103: ...2 Product Specifications and Description Copyright 1995 2013 SAMSUNG All rights reserved 2 87 ...
Страница 140: ...2 Product Specifications and Description 2 Paper Path 2 124 Copyright 1995 2013 SAMSUNG All rights reserved ...
Страница 151: ...2 Product Specifications and Description 2 Paper Path Copyright 1995 2013 SAMSUNG All rights reserved 2 135 ...
Страница 176: ...3 Disassembly and Reassembly 7 Release the reverse roller Assy 3 19 Copyright 1995 2013 SAMSUNG All rights reserved ...
Страница 231: ...3 Disassembly and Reassembly 7 Remove the scan glass Copyright 1995 2013 SAMSUNG All rights reserved 3 74 ...


