54_
main menu
main menu
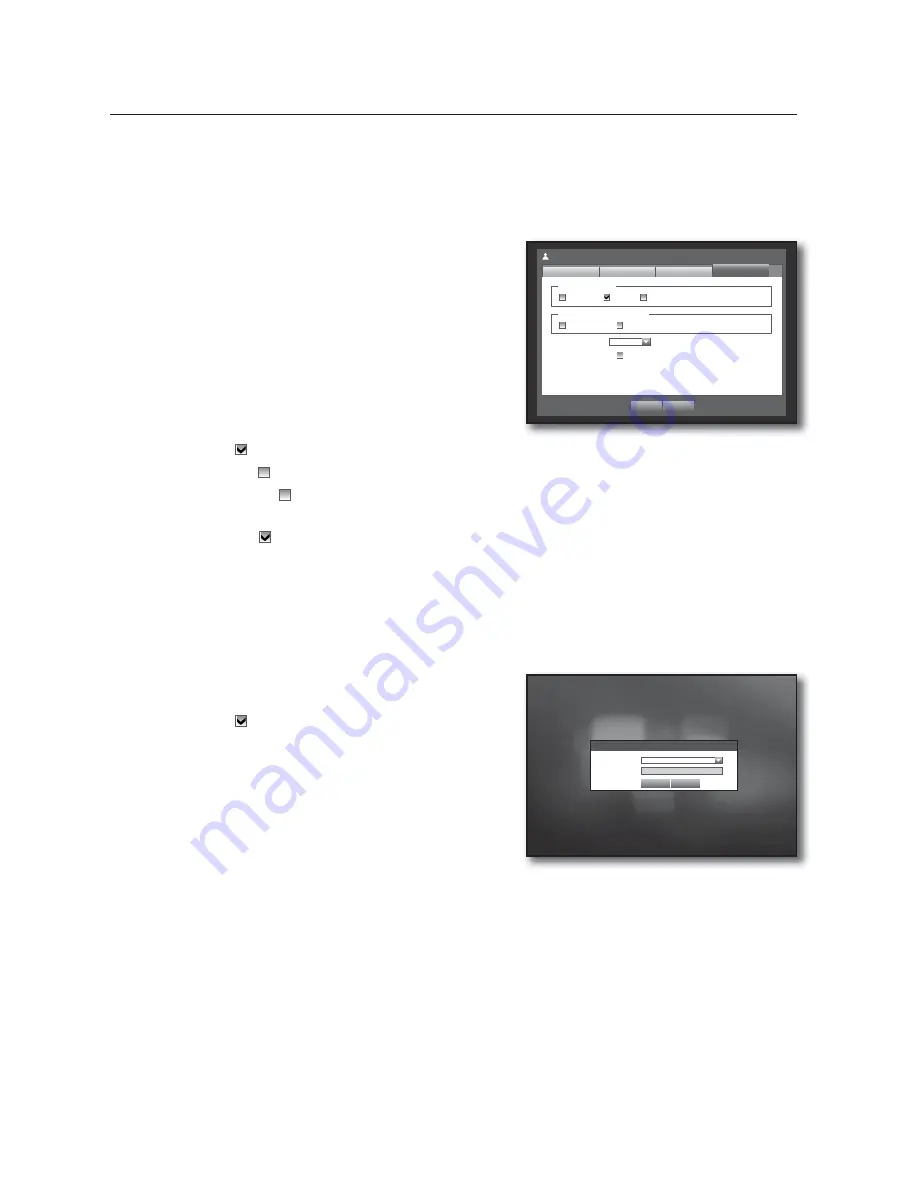
Setting Permissions
You can set restricted access for all general users.
Items with restrictions will require logging in for use.
Using the mouse may help make setup easier.
1.
Use the up/down buttons (
) in <
System
> window to
move to <
Permission Management
>, and press
[
ENTER
] button.
2.
Select <
Setup
>.
The Restricted Access, Restriction on Network Access,
Auto Log out, Manual Input of ID setup screen appear.
3.
Use direction buttons (
◄ ►
) to move to a desired
item, and set the value.
•
Restricted Access : All menu items allowed for a user can
be set with restricted access.
- Checked (
) : Restricted
- Not checked (
) : Accessible
If it is not checked (
) in <
Restricted Access
>, any user can access the item no matter what the <
Group Authority
>
setting.
If it is checked (
) in <
Restricted Access
>, a user can access the item only if the user has permission in <
Group
Authority
> setting.
•
Restriction on Network Access : Restricts remote access from a <
Restricted Access
> network.
- All Network : Restricts all access instances via Network Viewer and Web Viewer.
- Web Viewer : Restricts access via the Web Viewer.
•
Auto Log out : A user will be automatically logged out if there is no operation on DVR for over set period of
time.
•
Manual Input of ID : Prompts you to enter the user ID
manually for the login process.
- Checked (
) : Encloses the registered user IDs with the
[
] symbols.
Use the virtual keyboard to enter the user ID.
4.
When the permission setup is done, press <
OK
>.
Login
ID
*****
Password
OK
Cancel
Permission Management
Setup
Admin
OK
Cancel
Group
Restricted Access
Live View
Backup
All
Auto Log out
OFF
Manual Input of ID
ON
User
Restriction on Network Access
All Network
Web Viewer
Содержание SDE-500X
Страница 1: ...8 CHANNEL 16 CHANNEL DVR User Manual SDE 400x SDE 500x ...
Страница 151: ......


