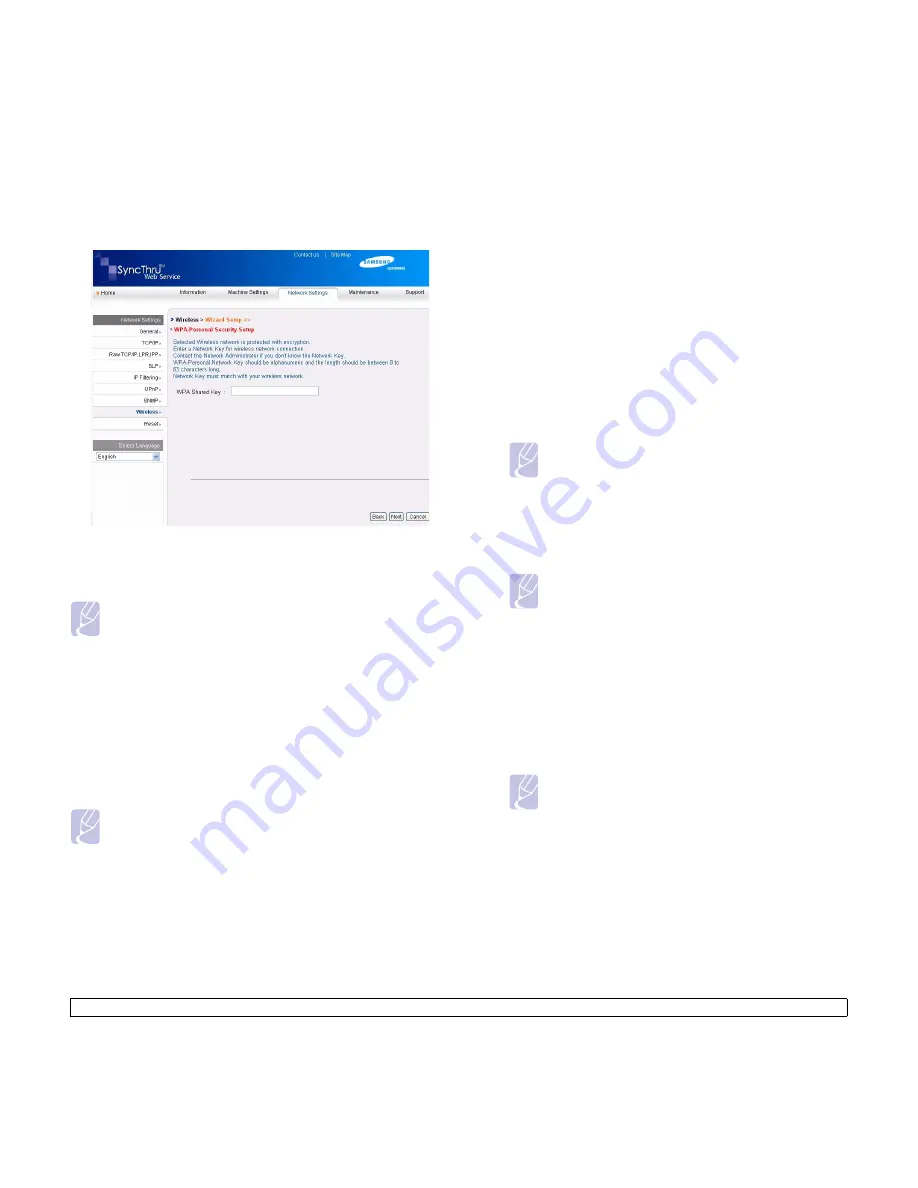
3
.8
<Getting Started>
5
Click
Next
.
If wireless security setting window appears, enter the registered
password (network key) and click
Next
.
6
Wizard Setup Confirmation
window appears, please check your
wireless setup. If the setup is right, click
Apply
.
7
Click
OK
.
Now go to Installing the software.
Installing the software
You must install the printer driver software for printing. The software
includes drivers, applications, and other user friendly programs.
Make sure that the network setup for your machine is completed. (See
"Setting up the network" on page 3.2.) All applications should be closed
on your computer before beginning the installation.
If your IP assignment method is DHCP and IP address can be changed
whenever machine in turned on, we recommend you to use the
Bonjour
program. Go to the
http://developer.apple.com/networking/bonjour/
download/
, select the program
Bonjour
for Windows according to your
Note
• Disconnect the network cable (standard or crossover). Your
machine should then start communicating wirelessly with the
network. In case of
Ad-hoc
mode, you can use a wireless LAN
and wired LAN simultaneously.
• If
Operation Mode
is
Infrastructure
, you must disconnect the
network cable to activate wireless network after completing the
network setting.
Note
The following procedure is based on Windows XP. The procedure
and popup window which appears during the installation may
differ depending on the operating system, machine features, or
the interface in use.
computer operating system, and install the program. In case of Mac OS
X, this program might be already installed in your PC. This program will
allow you to fix the network parameter automatically. This
Bonjour
program does not support Linux.
If your IP assignment method is static, follow the steps below.
1
Insert the Printer Software CD-ROM into your CD-ROM drive. The
CD-ROM should automatically run, and an installation window
appears.
2
Click
Next
.
If the installation window does not appear, click
Start
>
Run
. Type
X:\
Setup.exe
, replacing “X” with the letter which represents your
drive and click
OK
.
If you use Windows Vista, click
Start
>
All Programs
>
Accessories
>
Run
, and type X:\
Setup.exe
.
Note
The installation window may slightly differ, if you are
reinstalling the driver.
3
Select
Typical installation for a network printer
, and then click
Next
.
4
The list of machines available on the network appears. Select the
printer you want to install from the list and then click
Next
.
Note
•If you do not see your machine on the list, click
Update
to
refresh the list, or select
Add TCP/IP Port
to add your
machine to the network. To add the machine to the
network, enter the port name and the IP address for the
machine.
•To verify your machine’s IP address or the MAC address,
print a Network Configuration Report page. (See "Printing a
machine report" on page 8.1.)
5
After the installation is finished, a window appears asking you to
print a test page and to register yourself as a user of Samsung
machines in order to receive information from Samsung. If you so
desire, select the corresponding checkbox(es) and click
Finish
.
Note
If your machine does not work properly after the installation,
try to reinstall the printer driver. See Software section.
Содержание SCX 4500W - Personal Wireless Laser Multi-Function...
Страница 1: ...User s Guide Monochrome Laser Multifunction...
Страница 7: ...Printer specifications 11 1 Copier specifications 11 2 Scanner specifications 11 2 12 Glossary Index...
Страница 15: ...viii...
Страница 18: ...1 3 Introduction Rear view 1 rear cover 4 USB port 2 power switch 5 Network port 3 power receptacle...
Страница 69: ...Samsung Printer Software section...
Страница 113: ...Rev 1 05 www samsungprinter com...


