ENGLISH
ESPAÑOL
28
Basic Shooting
Playing back a tape on the LCD
✤
You can monitor the playback picture on the LCD monitor.
✤
Make sure that the battery pack is in place.
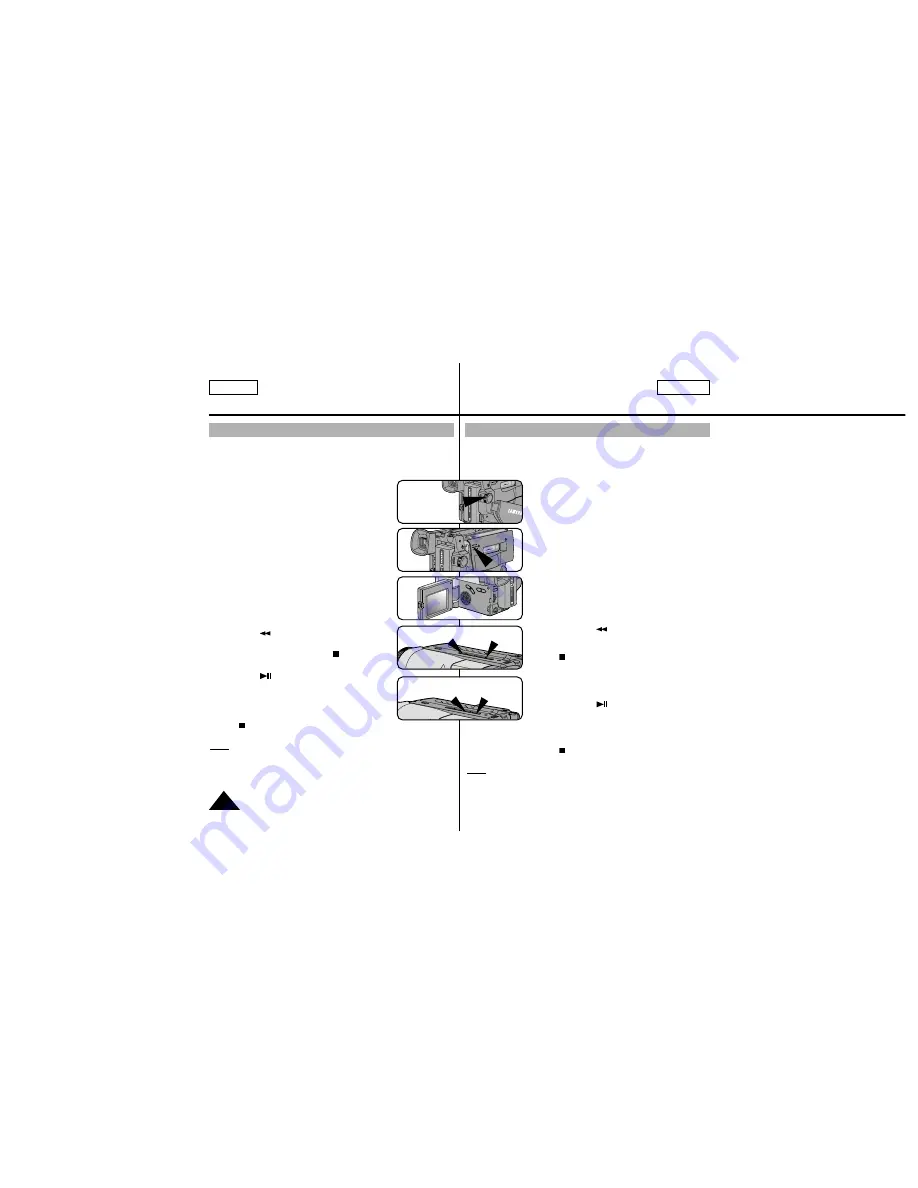
1. Hold down the tab of the power switch and push
the switch to PLAYER mode.
2. Insert the tape you have just recorded.
3. Open the LCD monitor and make sure that
STOP is displayed on the OSD.
Adjust the angle of the LCD monitor and set
the brightness or the color if necessary.
4. Press the
(REW) button to rewind the tape
to the beginning.
■
To stop REWIND, press the
(STOP) button.
■
Camcorder stops automatically after rewinding.
5. Press the
(PLAY/STILL) button to start play-
back.
■
You can see the video you recorded on the
LCD.
■
To stop the PLAY operation, press the
(STOP) button.
Note: You can also monitor the picture on a TV screen, after
connecting the camcorder to a TV or VCR. (see page 52)
Filmación básica
Reproducción de la cinta en LCD
✤
Puede reproducir las imágenes filmadas en el monitor LCD.
✤
Asegúrese de que la batería está instalada correctamente.
1. Mantenga pulsada la pestaña del interruptor y
empuje el interruptor a la posición PLAYER.
2. Introduzca una cinta que haya filmado.
3. Abra el monitor LCD y asegúrese de que el
indicador STOP aparece en el OSD.
Ajuste el ángulo del monitor LCD y configure
la luminosidad y el color si es necesario.
4. Pulse le botón
(REW) para rebobinar la
cinta hasta el principio.
■
Para detener el REWIND, pulse el botón
(STOP).
■
La videocámara pasa automáticamente
al modo STOP cuando la cinta ha llegado
al principio después de rebobinar.
5. Pulse el botón
(PLAY/STILL) para comenzar
la reproducción.
■
Podrá ver en la pantalla LCD las imágenes
filmadas.
■
Para detener la reproducción, pulse el botón
(STOP) .
Nota: También puede ver las imágenes en una pantalla de televisión
después de conectar la videocámara a un televisor o a un repro-
ductor. (Consulte la página 52)
1
PLAYER
2
PUSH
3
STOP
4
REW
STOP
5
PLAY/
STILL
STOP


