33
ENGLISH
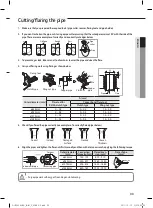
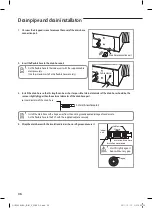
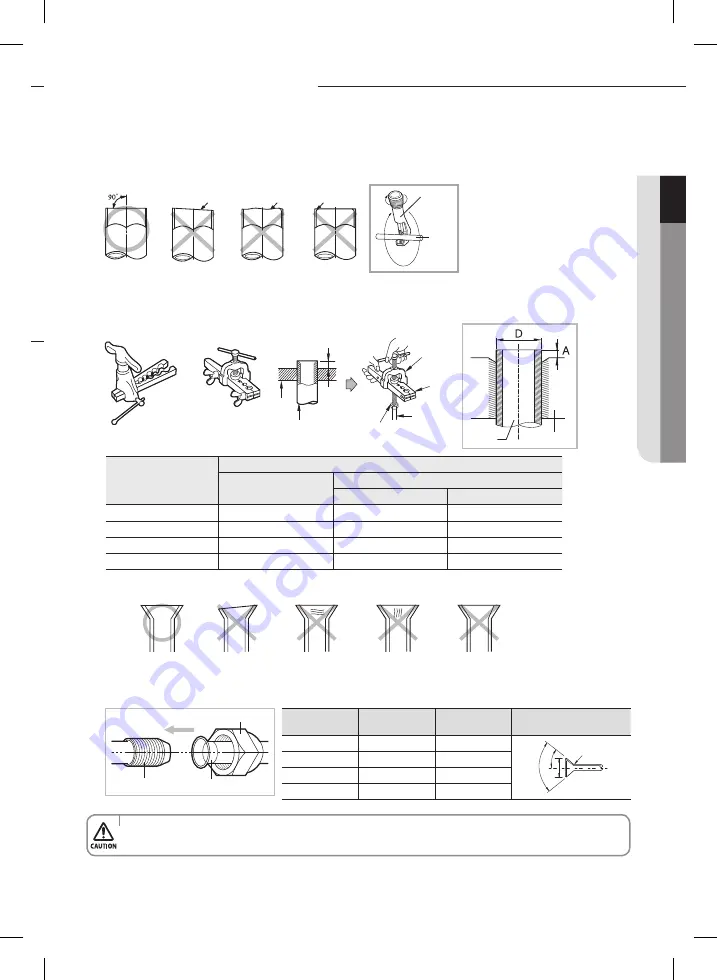
Cutting/flaring the pipe
1. Make sure that you prepared the required tools. (pipe cutter, reamer, flaring tool and pipe holder)
2. If you want to shorten the pipe, cut it using a pipe cutter ensuring that the cut edge remains at 90° with the side of the
pipe. There are some examples of correctly and incorrectly cut edges below.
3. To prevent a gas leak, take care not to allow burrs to enter the pipe and clean the flare.
Oblique
Rough
Burr
Pipe
cutter
Pipe
Outer diameter (mm)
A(mm)
Flare tool for
R410A clutch type
Conventional flare tool
Clutch type
Wing nut type
ø6.35 mm
0~0.5
0~0.5
1.5~2.0
ø9.52 mm
0~0.5
0~0.5
1.5~2.0
ø12.70 mm
0~0.5
0~0.5
1.5~2.0
ø15.88 mm
0~0.5
0~0.5
1.5~2.0
4. Carry out flaring work using flaring as shown below.
Pipe
Flare
Flaring tool
Clutch type
Wing nut type
A
Die
Copper pipe
York
Die
Copper
pipe
Flare nut
Indoor outlet pipe
Connecting pipe
Flare nut
5. Check if you flared the pipe correctly (see examples of incorrectly flared pipes below).
6. Align the pipes and tighten the flare nuts first manually and then with a torque wrench, applying the following torque.
Correct
Uneven
Thickness
Cracked
Damaged
Surface
Inclined
Outer diameter
(mm)
Connection
Torque(kgf•cm)
Flare dimen-
sion (mm)
Flare shape
(mm)
ø6.35 mm
145~175
8.70~9.10
ø9.52 mm
333~407
12.80~13.20
ø12.70mm
505~615
16.20~16.60
ø15.88 mm
630~769
19.30~19.70
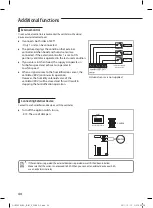
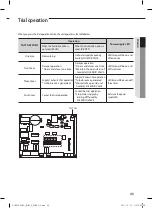
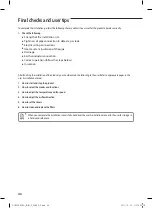
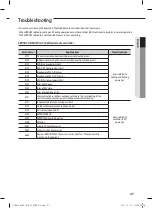
R 0.4~0.8
90
° ±
2°
45
° ±
2°
• Purge pipe work with oxygen free nitrogen while brazing.
RHF050KHEA_IB,IM_E_32885-3.indd 33
2011-10-12 오후 5:30:33

