English _
47
●
●
Setup
Screen
to Setup Special
1.
Select <
Special
>.
2.
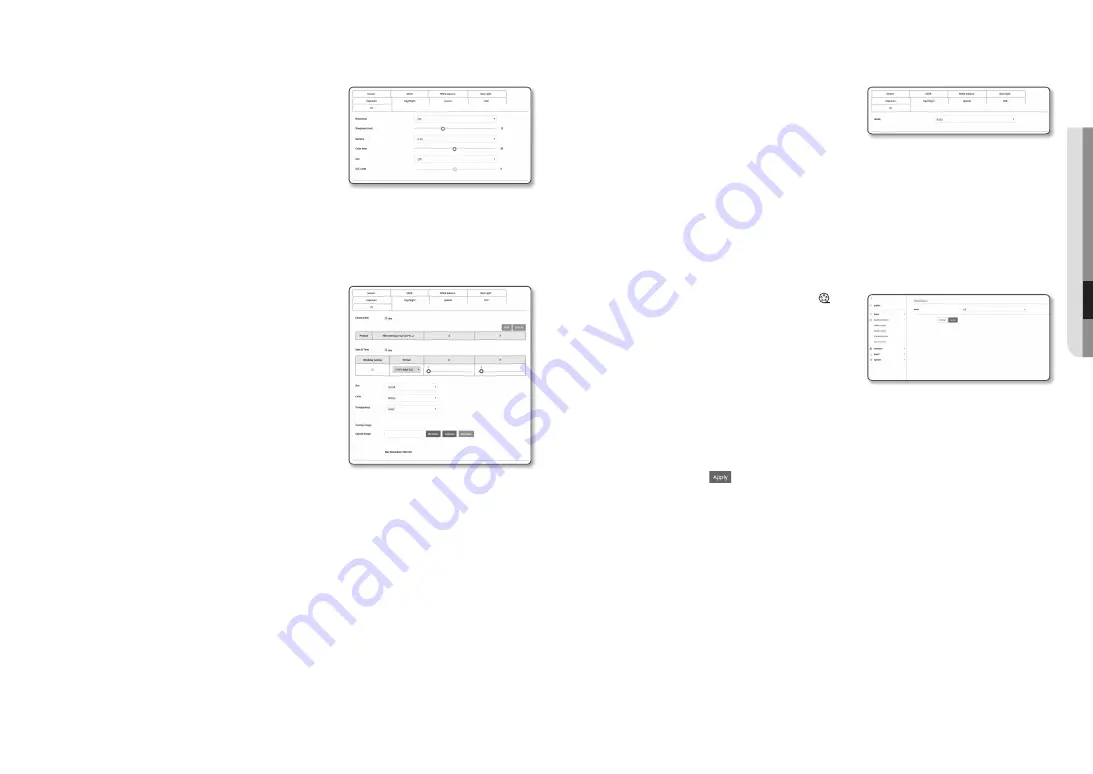
Select each item and set it properly.
•
Sharpness : Adjust the overall sharpness of the image.
If selecting <
on
>, you can adjust the sharpness of the
image.
•
Sharpness level : The higher the level is, the sharper and
clearer the outline of the image becomes.
•
Gamma : Adjust the contrast of the image.
•
Color level : Adjust the strength of video color.
•
LDC : Enables/Disables the image distortion correction.
•
LDC Level : Adjusts the degree of distortion correction.
to Set oSD
1.
Select <
oSD
>.
2.
Select each item and set it properly.
•
Camera title : It specifies the name of the camera to be
displayed on the screen.
Select the <
use
> check box to add a camera name.
•
Add : Click the <
add
> button and you can add a total of 5
lines, 15 characters per line and a total of 60 characters.
•
Camera title X, Y : It specifies the position of the camera
name on the screen.
•
Date & time : Set the time display and date formats on the
screen.
•
Date & Time X, Y : Specify the position of time display on
the screen.
•
Weekday overlay : Specify the use of date display date on
the screen.
•
Size : Sets the size of OSD to small/medium/large.
•
Color : Sets the color of the OSD to white/red/blue/green/black/gray.
•
Transparency : Sets the transparency to opaque/transparency 1/transparency 2/transparency 3.
•
Overlay image : The image selected by the user can be displayed at the top left of the screen.
- Browse : Searches and selects a bitmap type file.
- Upload : Uploads a selected file.
- Remove : Deletes the selected file.
M
`
The specifications of an applicable file include 16bit (RGB565 not supported) or 24bit bitmap file with a length of 128 pixel
for the width and height and a file size of 52KB or less.
J
`
A position-adjustable item (Camera title, Date & Time) may not be displayed normally if it overlaps with another fixed OSD
item.
`
If you change the language, the X-Y coordinates are initialized.
It is recommended to set the X-Y coordinates after setting the language.
to Set ir
1.
Select <
ir
>.
2.
Select each item and set it properly.
•
Mode : When the IR indicator turns on in B/W mode, the
screen will be protected from saturation on the center area
so that you can identify a short-distant object.
- Off : IR mode will be disabled.
- Auto : Adjust the IR brightness according to the brightness of the object on the center screen.
wiseStream
Function to detect the complexity of the video in an environment in which no major motion is generated and
adjust the video quality to lower the output bit rate.
Returns the video quality to the original settings when a motion is generated to prevent video information
loss.
1.
From the Setup menu, select the <
audio & video ( )
>
tab.
2.
Click <
wiseStream
>.
3.
Select an intensity of the Wise Stream.
- Off : Wise Stream function will be disabled.
- Low : Reduces the image quality of the video slightly.
When the bit rate is OFF, the image quality will be reduced
up to 15%.
- Medium : Reduces the image quality of the video to the medium level. When the bit rate is OFF, the
image quality will be reduced up to 30%.
- High : Reduces the image quality of the video considerably. When the bit rate is OFF, the image quality
will be reduced up to 50%.
4.
When done, click [
apply (
)
].
J
`
In the following cases, the WiseStream function may malfunction.
-
Sudden screen switch may cause distortion of the video.
-
It is not appropriate to use in an environment with too much movement and motion on the screen.


