-
This Document can not be used without Samsung's authorization –
-
8
4. A
ssembly and Disassembly
Part Name
Picture
Instruction
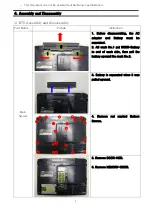
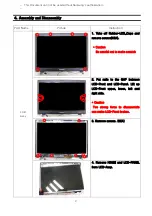
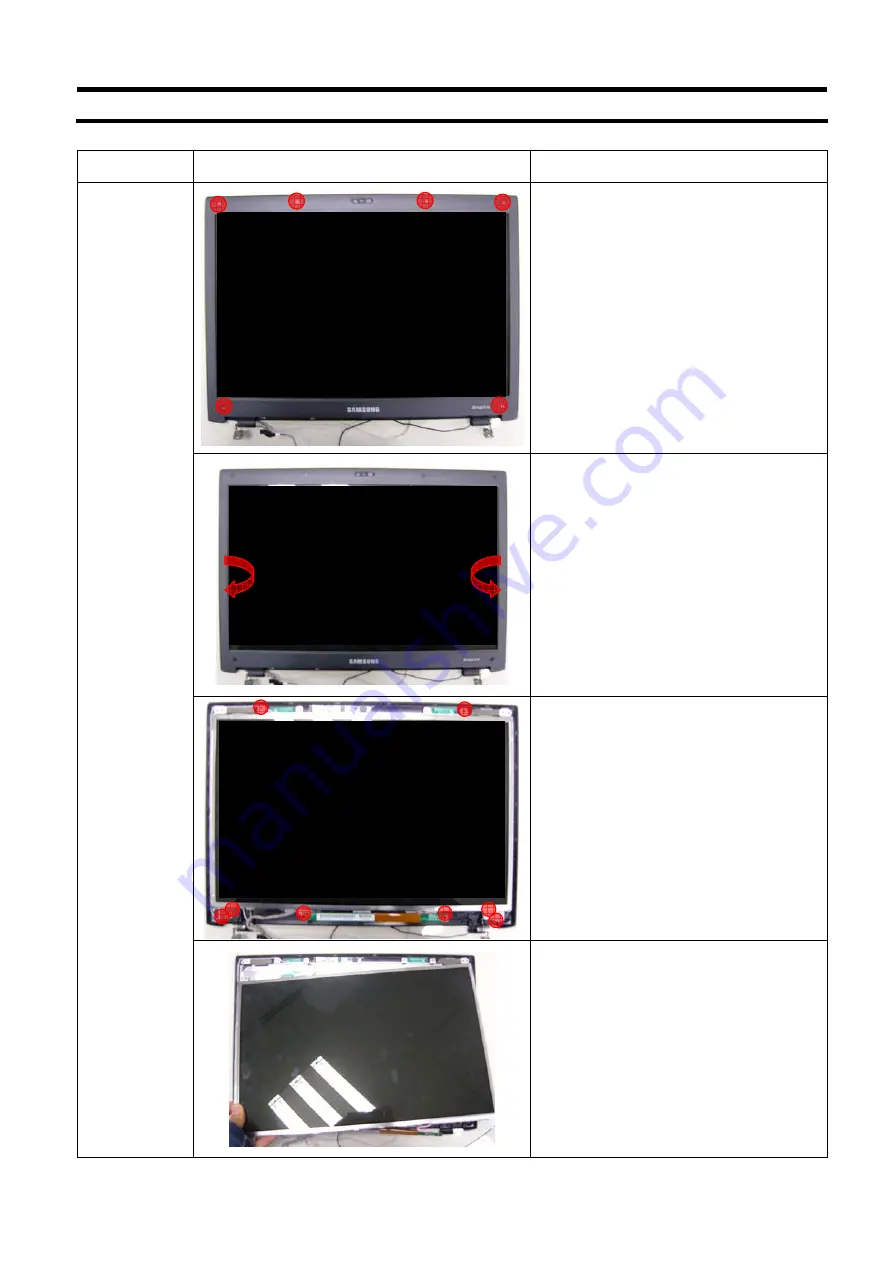
1. Take off Rubber-LCD_Caps and
remove screws(6EA).
* Caution
Be careful not to make scratch
2. Put nails to the GAP between
LCD-Front and LCD-Panel. Lift up
LCD-Front upper, lower, left and
right side.
* Caution
Too strong force to disassemble
can make LCD-Front broken.
3. Remove screws. (8EA)
LCD
Assy
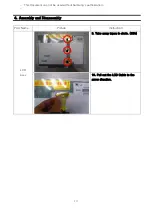
4. Remove HINGE and LCD-PANEL
from LCD-Assy.
Содержание OSLO R70 Series
Страница 17: ...2 15 2 Introduction and Specification This Document can not be used without Samsung s authorization ...
Страница 18: ...2 16 2 Introduction and Specification This Document can not be used without Samsung s authorization ...
Страница 70: ...4 20 4 Troubleshooting This document cannot be used without the authorization of Samsung ...
Страница 71: ...4 21 4 Troubleshooting This document cannot be used without the authorization of Samsung ...

