10 Operating Instructions and Installation
10-6
3.
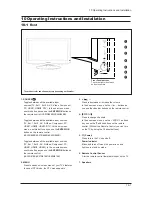
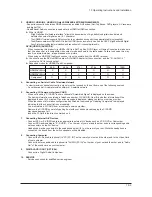
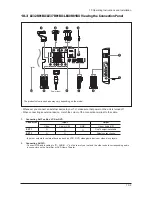
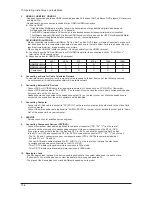
HDMI IN 1,HDMI IN 2, HDMI IN 3
- Supports connections between HDMI-connection-enabled AV devices (Set-Top Boxes, DVD players, AV receivers
and digital TVs).
- No additional Audio connection is needed for an HDMI to HDMI connection.
▶
What is HDMI?
- "High Definition Multimedia interface" allows the transmission of high definition digital video data and
multiple channels of digital audio ( 5.1 channels).
- The HDMI/DVI terminal supports DVI connection to an extended device with the appropriate cable (not supplied).
The difference between HDMI and DVI is that the HDMI device is smaller in size, has the HDCP (High Bandwidth Digital
Copy Protection) coding feature installed, and supports multi - channel digital audio.
DVI IN (HDMI 2) (AUDIO R/L)
- When connecting this product via HDMI or DVI to a Set Top Box, DVD Player or Games Console etc, make sure
that it has been set to a compatible video output mode as shown in the table below. Failure to observe this may
result in picture distortion, image breakup or no picture.
- When using an HDMI/DVI cable connection, it is only possible from the HDMI 2 terminal.
▶
You should use the DVI-to-HDMI cable or DVI-HDMI Adapter for the connection, and the "R - AUDIO - L"
terminal on DVI for sound output.
▶
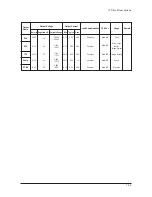
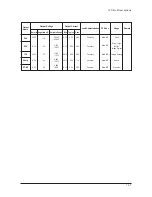
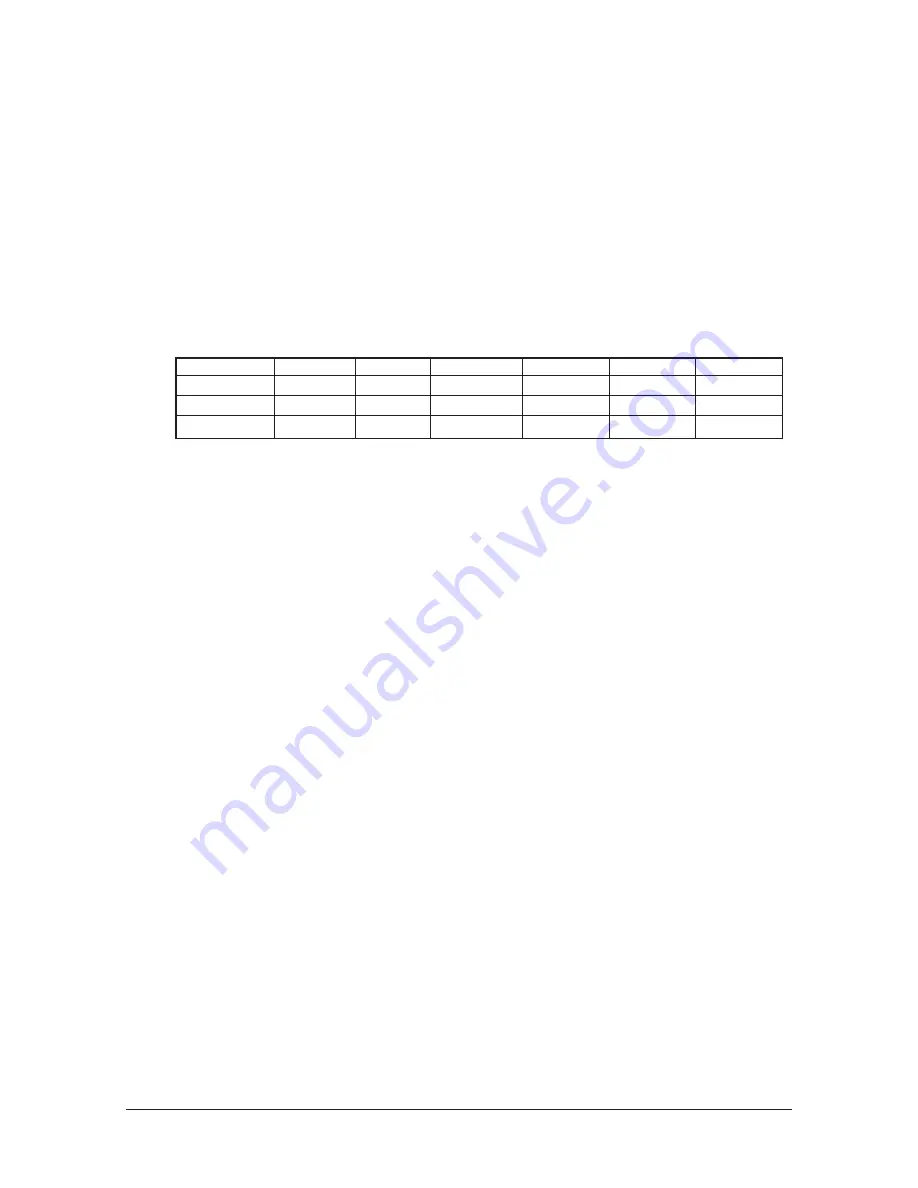
Supported modes for HDMI/DVI and Component
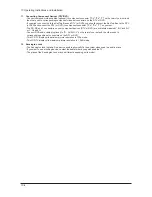
4.
Connecting an Aerial or Cable Television Network
To view television channels correctly, a signal must be received by the set from one of the following sources:
- An outdoor aerial / A cable television network / A satellite network
6.
Connecting External A/V Devices
- Connect RCA or S-VIDEO cable to an appropriate external A/V device such as VCR, DVD or Camcorder.
- Connect RCA audio cables to "R - AUDIO - L" on the rear of your set and the other ends to corresponding audio
out connectors on the A/V device.
- Headphone may be connected to the headphone output (
5
) on the rear of your set. While the headphone is
connected, the sound from the built-in speakers will be disabled.
7.
Connecting Computer
- Connect the D- Sub cable (optional) to "PC (PC IN)" on the rear of your set and the other end to the Video Card
of your computer.
- Connect the stereo audio cable (optional) to "AUDIO (PC IN)" on the rear of your set and the other end to "Audio
Out" of the sound card on your computer.
8.
SERVICE
- Service connection for qualified service engineer.
9.
Connecting Component Devices (DTV/DVD)
- Connect component video cables (optional) to component connector ("P
R
", "P
B
", "Y") on the rear of
your set and the other ends to corresponding component video out connectors on the DTV or DVD.
- If you wish to connect both the Set-Top Box and DTV (or DVD), you should connect the Set-Top Box
to the DTV (or DVD) and connect the DTV (or DVD) to component connector ("P
R
", "P
B
", "Y") on your set.
- The P
R
, P
B
and Y connectors on your component devices (DTV or DVD) are sometimes labeled Y,
B-Y and R-Y or Y, Cb and Cr.
- Connect RCA audio cables (optional) to "R - AUDIO - L" on the rear of your set and the other ends
to corresponding audio out connectors on the DTV or DVD.
- This LCD TV displays its optimum picture resolution in 720p mode.
- This LCD TV displays its maximum picture resolution in 1080i mode.
10. Kensington Lock
- The Kensington lock (optional) is a device used to physically fix the system when used in a public place.
- If you want to use a locking device, contact the dealer where you purchased the TV.
- The place of the Kensington Lock may be different depending on its model.
480i
480p
576i
576p
720p
1080i
HDMI/DVI 50Hz
X
X
X
O
O
O
HDMI/DVI 60Hz
X
O
X
X
O
O
Component
O
O
O
O
O
O
Содержание LE23R87BD
Страница 35: ...11 Disassembly and Reassembly 11 4 Description Picture Description 6 Remove screws and lift up the BRKT ...
Страница 37: ...11 Disassembly and Reassembly 11 6 Memo ...
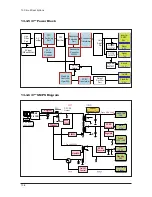
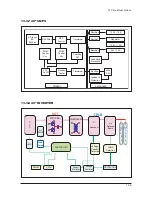
Страница 40: ...13 Circuit Descriptions 13 3 13 2 Main Block ...
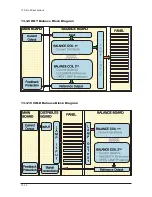
Страница 47: ...13 Circuit Descriptions 13 10 13 3 9 HOT Balance Block Diagram 13 3 10 COLD Balance Block Diagram ...
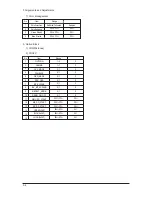
Страница 79: ...14 Reference Infomation 14 8 14 3 2 Supported Modes 1 ...
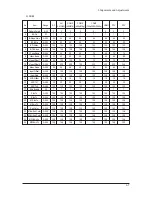
Страница 80: ...14 Reference Infomation 14 9 14 3 3 Supported Modes 2 ...
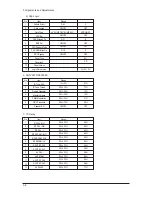
Страница 81: ...14 Reference Infomation 14 10 14 3 4 Supported Modes 3 ...
Страница 87: ...Memo 14 Reference Infomation 14 16 ...
Страница 88: ...7 Block Diagrams 7 1 7 Block Diagram This Document can not be used without Samsung s authorization ...
Страница 89: ...7 Block Diagrams 7 2 Memo ...
Страница 101: ...2 Product Specifications 2 12 Memo ...
Страница 104: ...5 Exploded View Parts List 5 3 5 3 LE26R86BD Exploded View T0003 T0175 M0215 T0447 M0115 M0014 M0107 M0013 M0013 ...
Страница 106: ...5 Exploded View Parts List 5 5 5 5 LE32R86BD Exploded View T0003 M0215 T0447 M0115 M0013 M0013 ...
Страница 108: ...5 Exploded View Parts List 5 7 5 7 LE37R87BD Exploded View T0003 M0215 M0013 M0013 T0447 M0115 M0146 M0146 M0107 M0014 ...
Страница 110: ...5 Exploded View Parts List 5 9 5 9 LE40R87BD Exploded View T0003 M0215 M0013 M0013 T0447 M0146 M0146 M0107 M0014 ...
Страница 112: ...12 PCB Diagram 12 1 12 PCB Diagram 12 1 Main PCB Diagram FOR READY ...
Страница 113: ...12 PCB Diagram 12 2 12 2 Main PCB Diagram FOR IDTV ...
Страница 114: ...12 PCB Diagram 12 3 12 3 23 SMPS ...
Страница 115: ...12 PCB Diagram 12 4 12 4 26 32 SMPS ...
Страница 116: ...12 PCB Diagram 12 5 12 5 37 SMPS ...
Страница 117: ...12 PCB Diagram 12 6 12 6 40 IP Board ...

