50
Setup
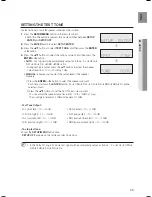
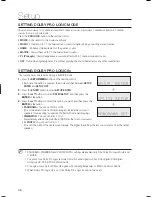
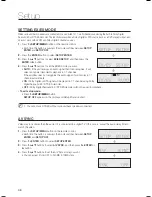
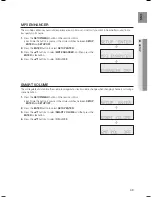
ASC (AUTO SOUND CALIBRATION) SETUP
By setting the ASC function just once when you relocate or install the unit, you can have the unit automatically
recognize the distance between speakers, levels between channels, and frequency characteristics to create a 7.1-
channel sound fi eld optimized for your environment.
- Before Setting -
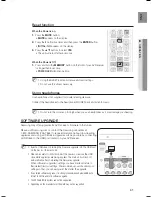
Plug the ASC microphone into the
ASC MIC
jack.
Place the ASC microphone at the listening position.
Press the
ASC
button on the front panel, and then press the
ENTER
button.
Press the
SETUP/MENU
button on the remote control.
Each time the button is pressed, the mode switches between
SETUP
ENTER
and
SETUP OFF
.
Press the
ENTER
button to select
SETUP ENTER
.
Press the ▲▼ buttons to select
ASC SETUP
, and then press the
ENTER
or ► button.
Press the ▲▼ buttons to select
ASC START
, and then press the
ENTER
button.
To create the optimal 7.1 channel sound fi eld, the selections are in the
following sequence:
L
➞
C
➞
R
➞
SR
➞
SBR
➞
SBL
➞
SL
➞
SW
EQ ON :
The ASC(Auto Sound Calibration) EQ mode is set to on.
EQ OFF:
The ASC(Auto Sound Calibration) EQ mode is set to off.
If you see a
ASC READY
message on the screen, press the
ENTER
button to apply the measurement value.
And then unplug the ASC microphone.
To cancel the ASC (Auto Sound Calibration) setup.
This will be automatically reverted if you press the
RETERN
button.
* If ASC error occurs, see "ASC Error List" on page 66.
Setting the ASC function takes about 3 minutes.
Because the volume level of the tone is fi xed during the ASC setup, you cannot adjust the volume using the volume control.
If the ASC microphone is disconnected during the ASC setup, the setup will be canceled.
You can also press the
ASC
button on the remote control to use this function.
If Dolby Pro Logic ||z is set to ON, the selection are in the following sequence : FL
CEN
FR
SR
FHR
FHL
SL
SW.
1.
2.
3.
1.
•
2.
3.
4.
•
•
5.
M
ASC
Microphone
Æ
Æ
- HW-C900-XAA_0831.indd 50
- HW-C900-XAA_0831.indd 50
2010-08-31 6:22:27
2010-08-31 6:22:27


