141
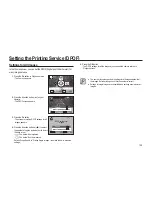
6.
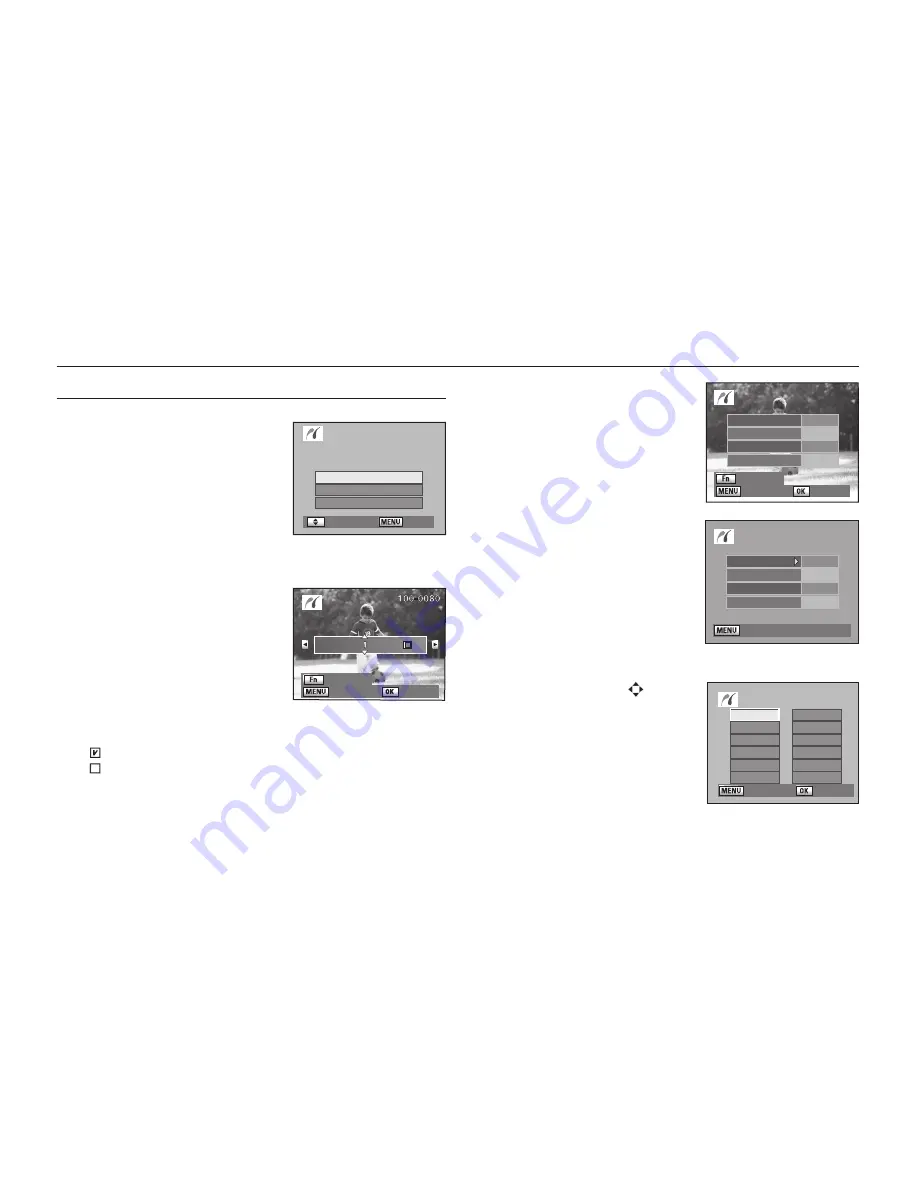
Press the
OK
button.
- The print settings con
fi
rmation screen
appears. Proceed to Step
12
to print the
images by default. To change the print
settings, go to Step
7
.
7.
Press the
Fn
button.
- The screen for changing print settings
appears.
8.
Select [
Paper Size
] and press the direction
button (
►
).
- The Paper Size screen appears.
9.
Press the direction buttons (
) to select
the paper size.
- You can only choose a size that is
supported by your printer. When the
Paper Size is set to [
Standard
], images are
printed according to the printer settings.
Printing Using PictBridge
Printing Single Images
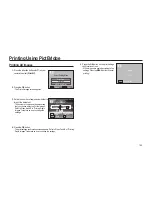
1.
Press the direction buttons (
▲▼
) on your
camera to select [
Print One
].
2.
Press the
OK
button.
- The Print one screen appears.
3.
Press the direction buttons (
◄►
) to select
an image to print.
4.
Press the direction buttons (
▲▼
) to select
the number of copies.
- You can print up to 99 copies.
5.
Press the Fn button to select whether to insert the Date or not.
- : The date will be printed.
- : The date will not be printed.
: Back
: Date
Print this image
Copies
Date
DPOF
: Move
: Set
Print One
Print All
DPOF Auto Print
Select Printing Mode
: Back
: Change
Print according
to settings?
Paper Size
Paper Type
Quality
Border Status
Standard
Standard
Standard
Standard
Paper Size
Standard
Card
L
100X150
Postcard
4"X6"
2L
8"X10"
A4
Letter
11"X17
A3
: Cancel
: Set
PictBridge
Paper Size
Paper Type
Quality
Border Status
Standard
Standard
Standard
Standard
: Back
Содержание ER-GX20ZBBA
Страница 1: ......
Страница 11: ...Memo ...
Страница 137: ...MEMO ...
Страница 161: ...MEMO ...
Страница 162: ...MEMO ...
Страница 163: ......

