English
- 67
R
ecording
Recording from
External Devices
Follow these directions to record onto a disc or a tape
from External Devices such as a Camcorder.
1
Connect the AV out jack of your External Device to
the AV IN jack on the front or rear of your DVD
Recorder & VCR using the Audio/Video Cable.
2
Power on your DVD Recorder & VCR and switch
to AV In mode by pressing the
INPUT SEL.
button
on the remote control.
The front panel display changes in the following
sequence depending on the Video input setting in
the menu.
AV1:
➝
Channel Number
➝
AV 1
➝
AV 2
➝
DV
S-Video:
➝
Channel Number
➝
SUPER
➝
AV 2
➝
DV
3
Press the DVD or VCR button on the remote, or
DVD/VCR on the front panel to select the DVD or
VCR mode.
4
Press the
REC SPEED
button repeatedly to select
the recording speed(quality).
DVD:
➝
SP
➝
LP
➝
EP
➝
XP
VCR:
➝
SP
➝
SLP
5
When your DVD Recorder & VCR is in the Stop
mode, start playback on your external device.
6
Press the
REC
button on your DVD Recorder &
VCR to start recording when the desired video is
displayed from the external device.
7
Press the
STOP
button on your DVD Recorder &
VCR when the recording is finished.
Note
Also refer to the user manual for your External
Devices when recording through AV In jacks on
the DVD/VCR using Audio/Video cable.
You can also record an external source through
S-Video cable. (see page 26).
For more information on changing the Video
Input from AV1 to S-Video, see page 44(Video
Input).
Watching the Images
Being Recorded (Time Slip)
This function allows you to watch the recently recorded
10-second images while a recording is in progress.
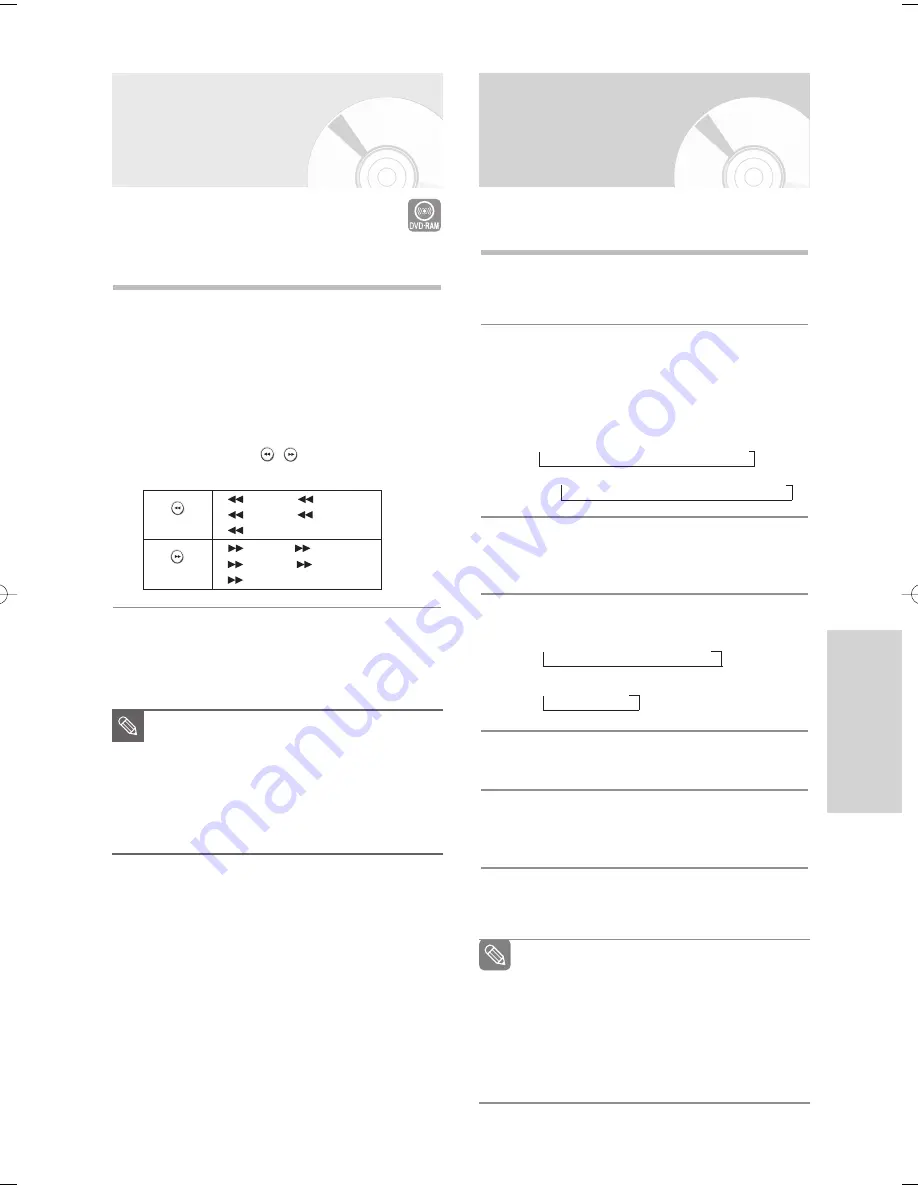
1
Press the
TIME SLIP
button on the remote control.
• The recently recorded 10-second images are played
back.
• This function starts to operate 10 seconds from the
time you press the
REC
button.
• On the TIME SLIP screen, you can playback, scan, or
perform other operations for the recorded program
using the playback related buttons.
Press the
SEARCH(
)
button on the remote
control.
2
Press the
STOP
button once to clear the TIME
SLIP function.
•
To stop a recording while a TIME SLIP function is
in progress, press the
STOP
button twice.
.
■
The Time Slip feature only works with
DVD-RAM discs.
■
When you copy from a camcorder on
DVD-RAM discs, this function is not available.
■
Press the PLAY button while a recording is
in progress. You can play back the title that
you are currently recording from the begin-
ning.
NOTE
(
)
button
(
)
button
Fast 2
➞
Fast 3
➞
Fast 4
➞
Fast 5
➞
Fast 6
Fast 2
➞
Fast 3
➞
Fast 4
➞
Fast 5
➞
Fast 6
00995G-VR345-XAA-Eng47-75 2006.5.11 11:30 AM Page 67


