


DVD-R3000
26
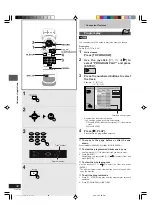
Basic operations
Recording television
programs
RAM DVD-R
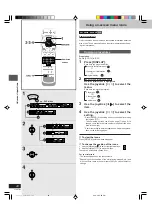
Preparation
●
Switch [DVD, TV] to “DVD”.
●
Use a disc that the unit can record to (
➡
page 6) and that has
enough space available.
●
Ensure the disc is not write-protected with the write-protect tab
(
➡
page 98).
●
Ensure the disc is not write-protected with DISC SETTING
(
➡
page 52).
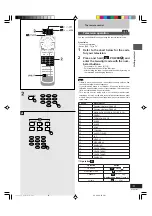
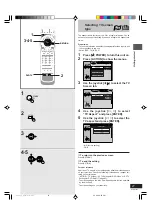
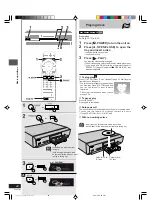
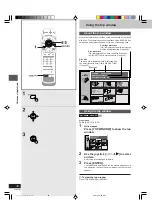
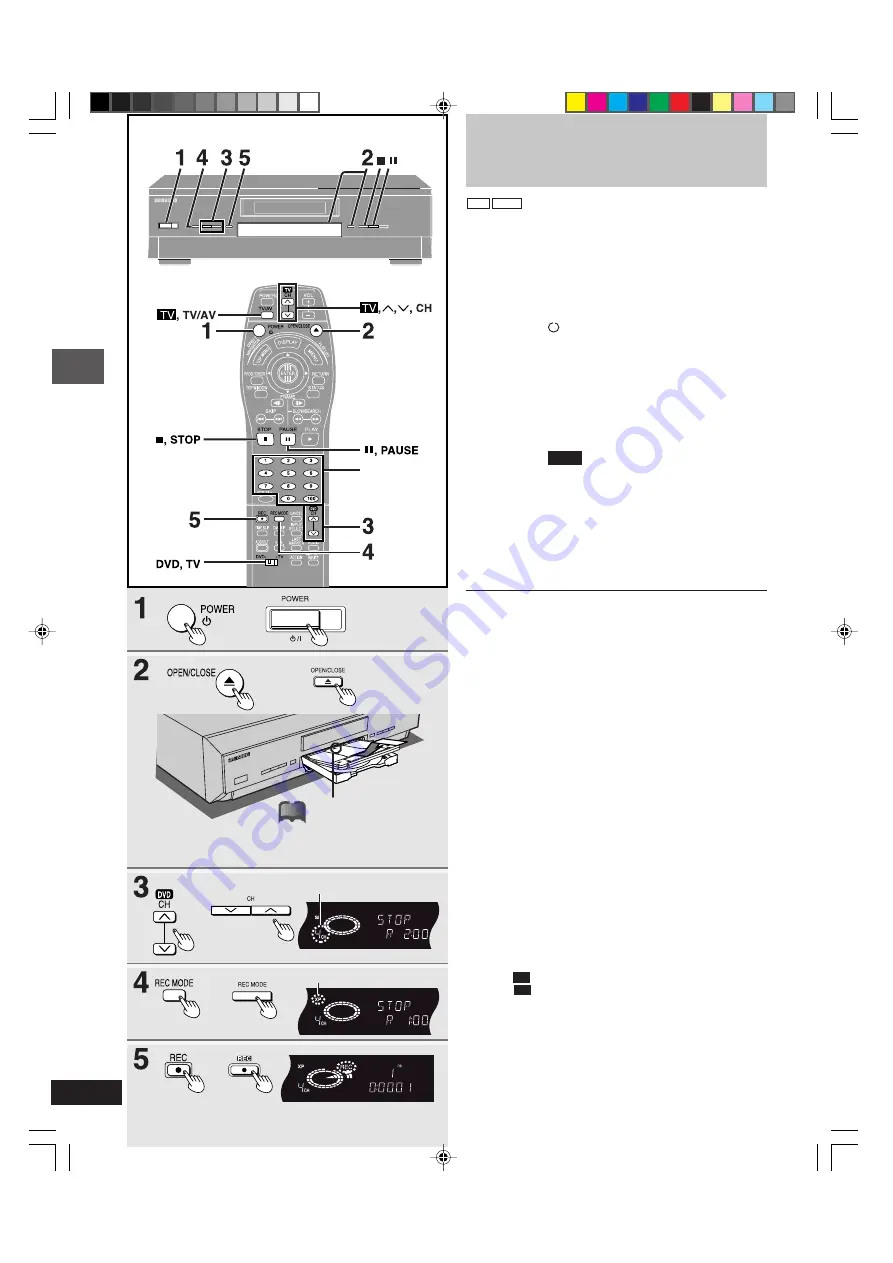
1
Press [
, POWER] to turn the unit on.
2
Press [
û
, OPEN/CLOSE] to open the
tray and insert a disc.
●
Insert one disc only within the tray’s guides.
●
Press [
û
û
û
û
û
, OPEN/CLOSE] to close the tray.
●
When using a DVD-RAM for the first time with this unit, for-
mat it to ensure accurate recording (
➡
page 54, “Format”).
Check the disc carefully to ensure it doesn’t contain pro-
grams you want to keep.
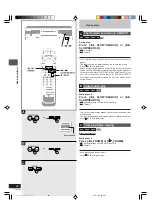
3
Press [
DVD
,
ö
,
õ
, CH] to select the
channel.
4
Press [REC MODE] to select the
recording mode.
Select “XP”, “SP”, “LP”, or “EP” (
➡
see below).
5
Press [
●
, REC] to start recording.
●
The program is recorded into the available space on the
disc.
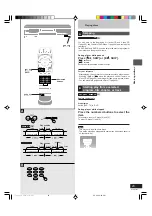
■
To pause recording
Press [
»
, PAUSE].
Press again to restart recording.
■
To stop recording
Press [
■
, STOP].
■
To select channels with the numbered buttons
When “TV” is the antenna system: between 2 and 69
When “CATV” is the antenna system: between 1 and 125
Press the numbered buttons.
For example: Channel 5, press 0
➡
5
Channel 15, press 1
➡
5
Channel 115, press 100
➡
1
➡
5
■
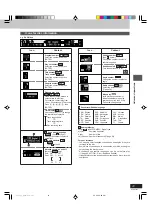
Convenient features
●
Chasing play—playing from the beginning of the program you are
recording (
➡
page 28)
●
Simultaneous rec and play—watching a program you recorded
while recording another (
➡
page 28)
●
Time Slip—checking the images you are recording (
➡
page 29).
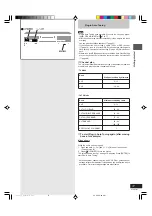
■
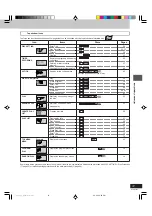
Recording modes
For example, approximate recording times with a 4.7-GB
DVD-RAM
XP: 1 hour, high picture quality
SP: 2 hours, standard picture quality
LP: 4 hours, long play
EP: 6 hours, extra long play
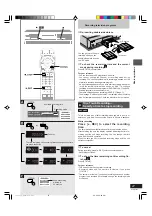
■
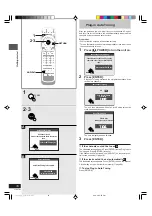
Watching the television while recording
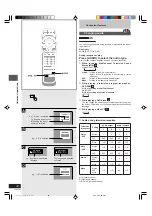
!
Switch [DVD, TV] to “TV”.
@
Press [
TV
, TV/AV] to change the input mode to “TV”.
#
Press [
TV
,
ö
ö
ö
ö
ö
,
õ
õ
õ
õ
õ
, CH] to change channels.
You can also select the channel with the numbered buttons
(
➡
page 8).
For your reference
●
You can also do this during timer recording.
●
The recording is unaffected.
Numbered
buttons
or
or
or
or
e.g.: When you have selected
channel 4
e.g.: When you have selected “XP”
or
Insert label-up with the arrow
facing in. (With double-sided
discs, load so the label for
the side you want to record is
facing up.)
!?
rqt6035_p020-029.p65
02.2.26, 5:54 PM
26


