- 4 -
Delete All
Press the Menu button once to enter the menu. Use the Up and Down buttons to select the Delete All icon
. Press the Shutter button once, use
the Up or Down keys to select “Yes”, and then press the Shutter button again to confirm deletion. This will erase all files stored on the camera.
Delete A Single File
Press the Playback button once to enter the Playback mode. Use the Up and Down buttons to select the file to be deleted. Then press the Menu
button once, use the Up or Down keys to select “Yes”, and then press the Shutter button to confirm deleting the file currently displayed.
Power Off
Press the Power/Menu button (holding it down for 2 seconds) to switch off the camera.
Energy Save Mode:
To conserve battery power, if the camera is not used for 60 seconds, it will automatically switch off.
Installing Kids Cam Sticker Factory Software
Before attempting to install the software, make sure that you do not have the camera or the USB cable attached to your computer. This
may cause your installation to fail. Do not connect the cable to the computer until the entire installation process has been completed.
We suggest you follow the step by step instructions that will appear on your screen during the installation process.
Software & Camera Driver Installation
1.
Insert the CD into your CD-ROM drive. Make sure that your camera is not connected to the computer.
2. On
the
“
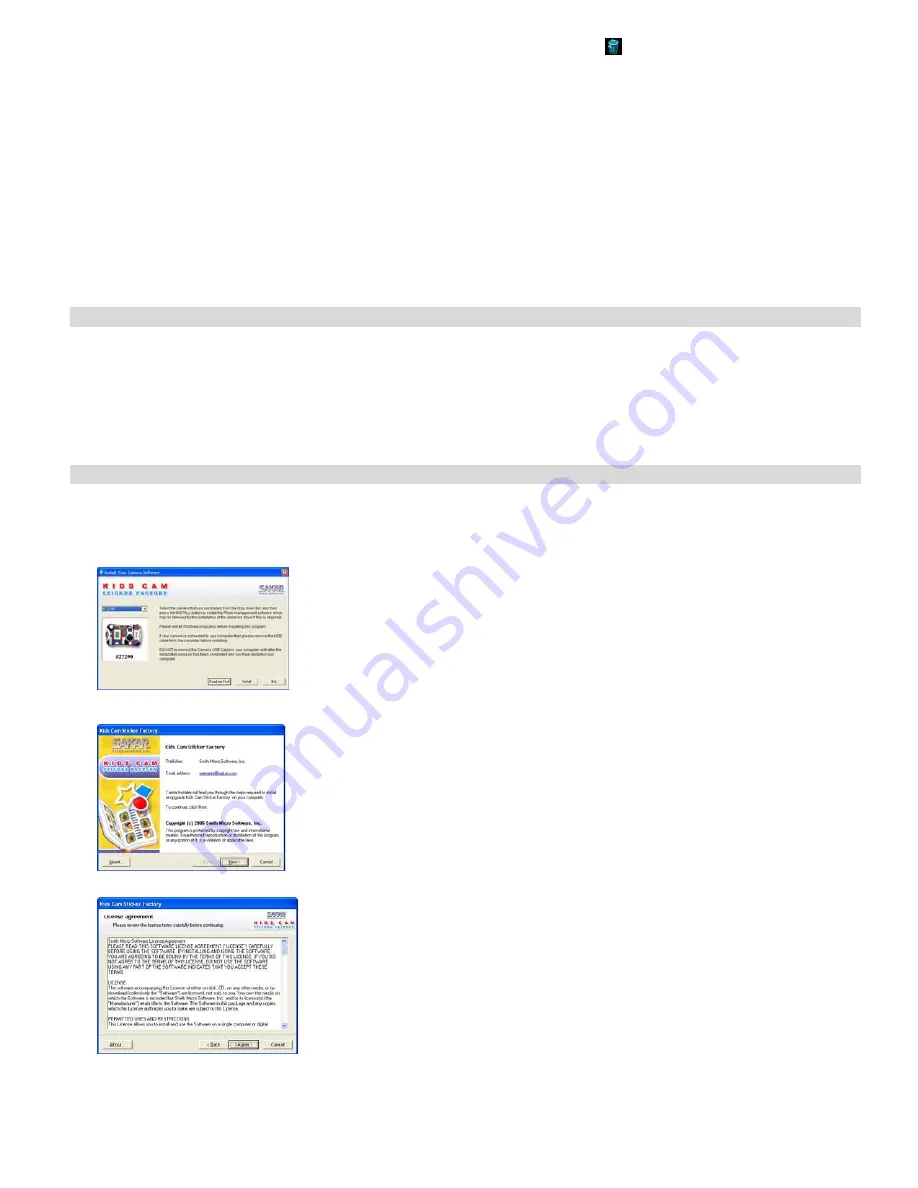
Install Your Camera Software
” screen, select your camera model from the drop down list and click the “Install” button to install Kids
Cam Sticker Factory followed by the installation of PhoTags WebCam Express and your camera driver.
3.
On the “Kids Cam Sticker Factory" screen, click the “
Next
” button.
4.
Please review the license terms and click the “
I Agree
” button to continue.
5.
Let the “Kids Cam Sticker Factory” installer create the folder where the program will be installed, and then click “
Install
”.


