Calibration and Measurement
Please make calibration before measurement.
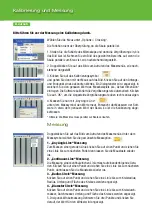
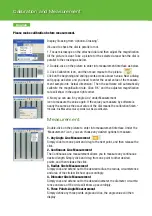
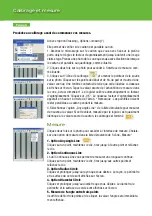
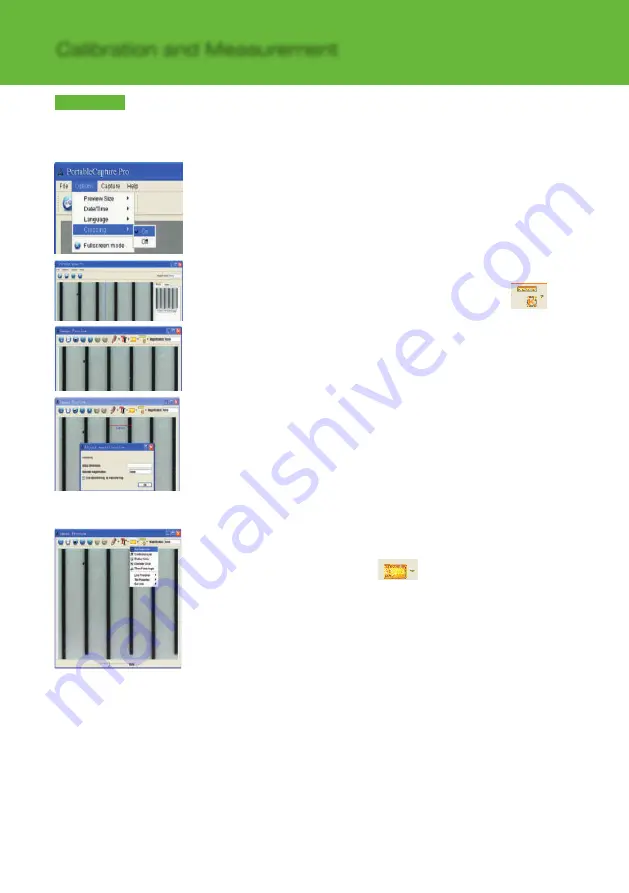
Display Crossing from ‘Options>Crossing’’.
It’s used to check the dial is parallel or not.
1. Focus microscope on the attached dial and then adjust the magnifi cation
till the picture is clear. Take a picture for the selected area when the dial is
parallel to the crossing as below.
2. Double-click on the picture to enter into measurement interface as below.
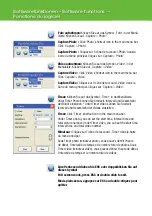
3. Click Calibration icon , and then move mouse to the picture.
Click on the beginning and ending points across a known value. Now a dialog
will popup as below and you need to enter the exact value of the measure-
ment sample into ‘Actual dimension’. Then the software will automatically
calibrate the magnifi cation rate. Click ‘OK’ and the adjusted magnifi cation
rate will show in the upper right corner.
4. Now you can use ‘Any angle Line’ under Measurement
icon to measure the value again. If the value you measure by software is
nearly the same as the exact value of the dial means the calibration fi nish.
*
Hinweis: Die Messlinie muss parallel zur Skala verlaufen.
Measurement
Double-click on the picture to enter into measurement interface. Under the
‘Measurement’ icon , you can choose any desired options to measure.
1. Any Angle Line Measurement
Simply click from one point and drag to the next point, and then release the
click.
2. Continuous Line Measurement
The Continuous Line measurement allows you to measure any continuous
desired length. Simply click and drag from one point to other desired
points, and then release the click.
3. Radius Circle Measurement
Simply click and extend out to the desired radius, the radius, circumference
and area of the circle will show up accordingly.
4. Diameter Circle Measurement
Simply click and extend out to the desired diameter, the diameter, circumfe-
rence and area of the circle will show up accordingly.
5. Three Points Angle Measurement
Simply defi ne any three points angle and click, the angle value will then
display.
English


