www.safehome.dk
www.safehome.dk
8
9
VGA P2P Camera
VGA P2P Camera
- UK -
- UK -
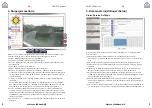
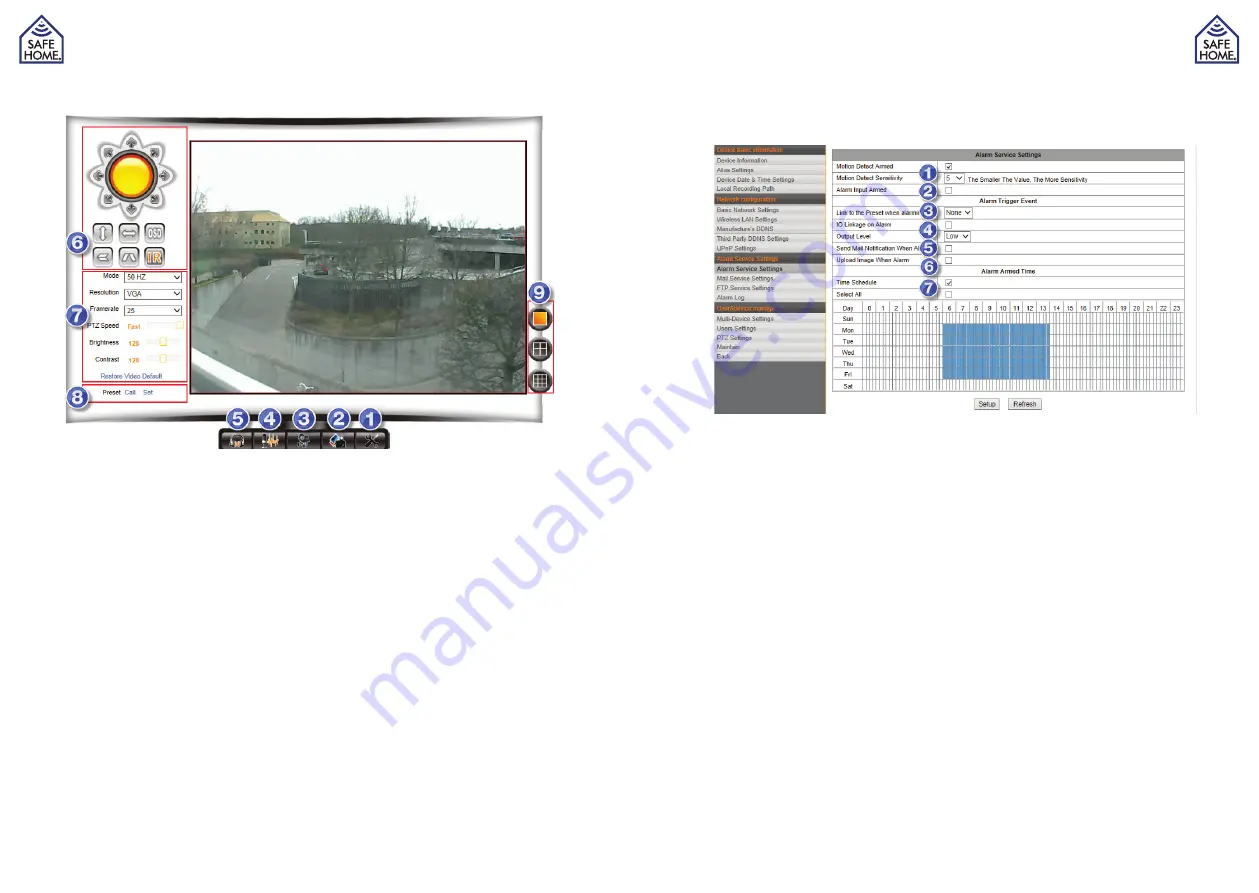
4. User Interface
Press Back in the Setup menu to access live video. The camera lens on some models
can be adjusted by gently turning to sharpen focus, in case the picture appears blurry.
(only some indoor models).
1. Setup – Access the camera menu to modify settings.
2. Snapshot – Take still picture (a new window will open with the picture).
3. Record – Record video. The destination for saving video recordings is changed in the
menu Local Recording Plan.
4. Talk – Activates the computer microphone (if equipped).
5. Audio – Activates microphone (if connected).
6. Control – Pan/Tilt models can be navigated from here. Furthermore, the picture can be
mirrored/flipped and the infrared (IR) LED can be set ON/OFF. If the IR icon is orange,
the IR will always remain OFF. If not; the IR will automatically turn on in less illuminated
surroundings.
7. Picture – Adjust the camera resolution, quality, brightness, contrast, fps etc. Always
add the camera’s IP address to the compatibility list described in chapter 3, Network
Setup > Adjusting Internet Explorer®. Failure to do so, can result in an error message
from the camera software.
8. Preset – Predefined position of Pan/Tilt models can here be set and navigated thru.
Turn the camera to a desired preset position, set the presetnumber at 2-16 and press
SET. The set position can now be accessed by pressing CALL. In the menu PTZ set-
tings a preset can be set as startposition for the camera upon reboot.
9. Choose between multicamera display of 1, 4 and 9 frames. (Only used when several
cameras are connected).
5. Camera Settings (Setup)
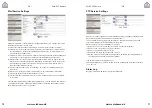
Alarm Service Settings
Adjust the setting under Alarm Service Settings to enable the alarm features of the cam-
era
(1) Motion Detect Armed: Tick checkbox to enable surveillance. Motion Detect Sensitivity:
Choose sensitivity level 1-5, 5 being highest sensitivity.
(2) Alarm Input Armed: Is only used on models with i/o ports.
(3) Link to the Preset when alarming: Is only used on models with i/o ports.
(4) IO Linkage on Alarm: Is only used on models with i/o ports.
(5) Output Level: Is only used on models with i/o ports.
(6) Send mail Notification When Alarm: Tick this checkbox to enable email notifications
with attached photos upon motiondetection. (Email settings are set in the menu Mail
Service Settings.)
(7) Upload Image when Alarm: Tick this checkbox to enable FTP upload of pictures
snapped upon motion detection. (FTP settings are set in the menu FTP Service Set-
tings.)
(8) Time Schedule: Enables the builtin scheduler for automatic activation of surveillance
during defined periods. In the example shown, surveillance is activated weekdays
6-14.
Содержание VGA 615W
Страница 1: ...UK Manual Wireless Internet Surveillance VGA P2P Camera Indoor Outdoor VGA 615W VGA 616W...
Страница 9: ...DK Brugsanvisning Tr dl s Internet Overv gning VGA P2P Kamera Indend rs Udend rs VGA 615W VGA 616W...
Страница 17: ...SE Bruksanvisning Tr dl st Internet vervakning VGA P2P Kamera Inomhus Utomhus VGA 615W VGA 616W...
Страница 25: ...NO Bruksanvisning Tr dl st Internett Overv king VGA P2P Kamera Innend rs utend rs VGA 615W VGA 616W...


