ENGLISH
22
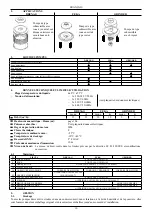
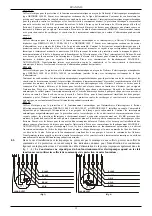
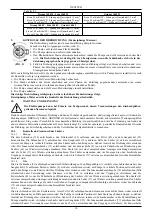
table 8.1
Drenag 1400 M - Feka 1400 M
Grinder 1400 M
up to 30 mt. cable 5P+E with section 1.5 mm²
up to 50 mt. cable 5P+E with section 2.5 mm²
up to 80 mt. cable 5P+E with section 4 mm²
up to 25 mt. cable 5P+E with section 1.5 mm²
up to 40 mt. cable 5P+E with section 2.5 mm²
up to 60 mt. cable 5P+E with section 4 mm²
Drenag 1800 T - Feka 1800 T - Grinder 1800 T
up to 60 mt. cable 5P+E with section 1.5 mm²
up to 100 mt. cable 5P+E with section 2.5 mm²
up to 160 mt. cable 5P+E with section 4 mm²
9.
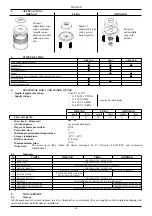
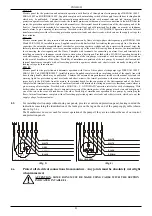
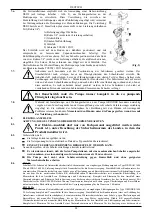
CHECKING THE DIRECTION OF ROTATION (for three-phase motors)
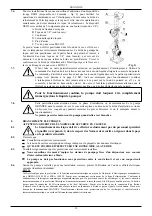
(FIG. 5)
The direction of rotation must be checked each time a new installation is made.
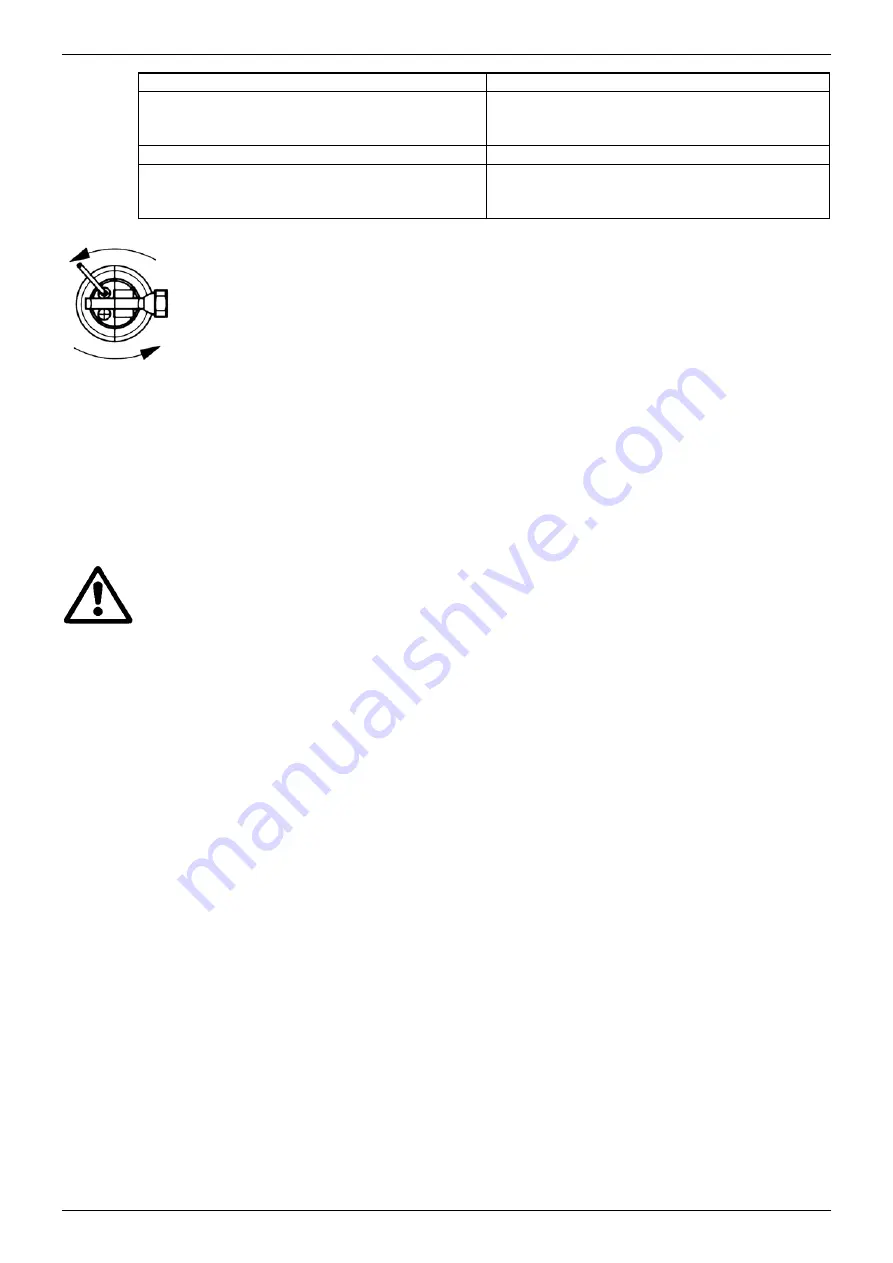
Proceed as follows (Fig. 5):
1) Place the pump on a flat surface.
2) Start the pump and stop it immediately.
3) Carefully observe the kick-back on starting, looking at the pump from the motor side.
The direction of
rotation is correct, that is clockwise, if the protection cap moves as in the drawing (anti-
clockwise).
4) If the motor is turning in the wrong direction, switch off the power and invert two phases on the supply
line (upstream from the control unit).
If it is not possible to check as described above because the pump is already installed, check as follows:
1) Start the pump and observe the water flow rate.
2) Stop the pump, switch off the power and invert two phases on the supply line (upstream from the control unit).
3) Restart the pump and check the water flow rate again.
4) Stop the pump.
The correct direction of rotation is the one that gives the higher flow rate.
It is not necessary to check the direction of rotation of single-phase motors.
10.
MAINTENANCE AND CLEANING
Maintenance may be carried out on the machine by skilled personnel in possession of the qualifications
indicated by the standards in force.
Thanks to the mechanical seal in an oil chamber and to the sealed-for-life maintenance-free bearings, DRENAG, FEKA and
GRINDER electropumps ensure continuous and constant operation with minimum maintenance. A certain amount of wear of
the mechanical seal is inevitable and is accelerated when pumping water containing sand or other abrasive materials. It is
therefore advisable to check regularly the sealing oil level, the clearances and the wear of the hydraulic parts..
10.1.
Checking and changing the impeller
10.1.1 Drenag
Unscrew the three screws (136), remove and extract the strainer cover (92) and slip the strainer (42) out of the intake cover
(35). Remove the intake cover (35). If the impeller (4) is worn, place the pump in a vertical position with the impeller facing
upwards so as to prevent the leakage of seal oil. Unscrew the allen screw (71), retain the spring washer (43) and the impeller
locking washer (63). Remove the impeller (4) with a special extractor and retain the key (17). Change the impeller and
reassemble proceeding in an inverse order, securing the screw (71) with a suitable locking compound.
10.1.2 Feka
Unscrew the three screws (93) and remove the intake cover (35), levering on the pump body (1) with a screwdriver. If the
impeller (4) is worn, place the pump in a vertical position with the impeller facing upwards so as to prevent the leakage of seal
oil. Unscrew the allen screw (71) (if necessary, heat the piece with a blowlamp to make the job easier), retain the spring
washer (43) and the impeller locking washer (63). Remove the impeller (4) with a special extractor and retain the key (17).
Change the impeller and reassemble proceeding in an inverse order, securing the screw (71) with a suitable locking
compound..
10.1.3 Grinder
Unscrew the three screws (62) of the fixed part (148) of the grinding device and remove the device from its seat, if necessary
with the aid of a screwdriver. Place the pump in a vertical position with the impeller facing upwards so as to prevent the
leakage of seal oil. Block the impeller (4), inserting a screwdriver in the pump delivery aperture, between the impeller and the
intake cover (35). Unscrew the allen screw (71) (if necessary, heat the piece with a blowlamp to make the job easier), retain
the spring washer (43) and remove the rotating part (147) of the grinding device from its seat. Unscrew the three screws (93)
and remove the intake cover (35). If the impeller (4) is worn, remove it from its seat in the motor shaft (7) using a special
extractor and retain the key (17). Change the impeller and reassemble proceeding in an inverse order, securing the screw (71)
with a suitable locking compound.
Содержание DRENAG 1000-1200
Страница 89: ...59 5 2 5 3 99 6 6 1 IEC 364 6 2 CEI 64 2 6 3 7 7 1 99 100 101 30 20 GRINDER 1400 M 7 2 7 3 2 7 4...
Страница 95: ...65 2 A B C D B C D 3 A B B 4 A B C A B C 5 A B C A B C...
Страница 114: ...84 5 5 1 5 2 5 3 99 6 6 1 IEC 364 6 2 CEI 64 2 6 3 7 7 1 99 100 101 30 20 GRINDER 1400 M 7 2 7 3 2 7 4...
Страница 120: ...90 4 A B C A B C A A B C A B C...
Страница 133: ...103 GRINDER...


