background image

14A

14

I

STRUZIONI DI MONTAGGIO MODULO TELESCOPICO

L’installazione e la manutenzione devono essere
eseguite da personale specializzato e qualificato.
I moduli telescopici, dato la loro funzione, non so-
no portanti per cui:

• In caso di installazione su tratti verticali uti-

lizzare immediatamente al di sopra un ac-
cessorio di supporto;

• In caso di installazione su tratti suborizzon-

tali prevedere l’utilizzo di accessori di staf-
faggio sia sul modulo precedente che quel-
lo successivo in modo da evitare flessioni
del canale da fumo.

In caso di installazione su un sistema condotto
e/o canale da fumo funzionante in pressione
(T200-P1) è necessario utilizzare la guarnizione
OR fornita a corredo.

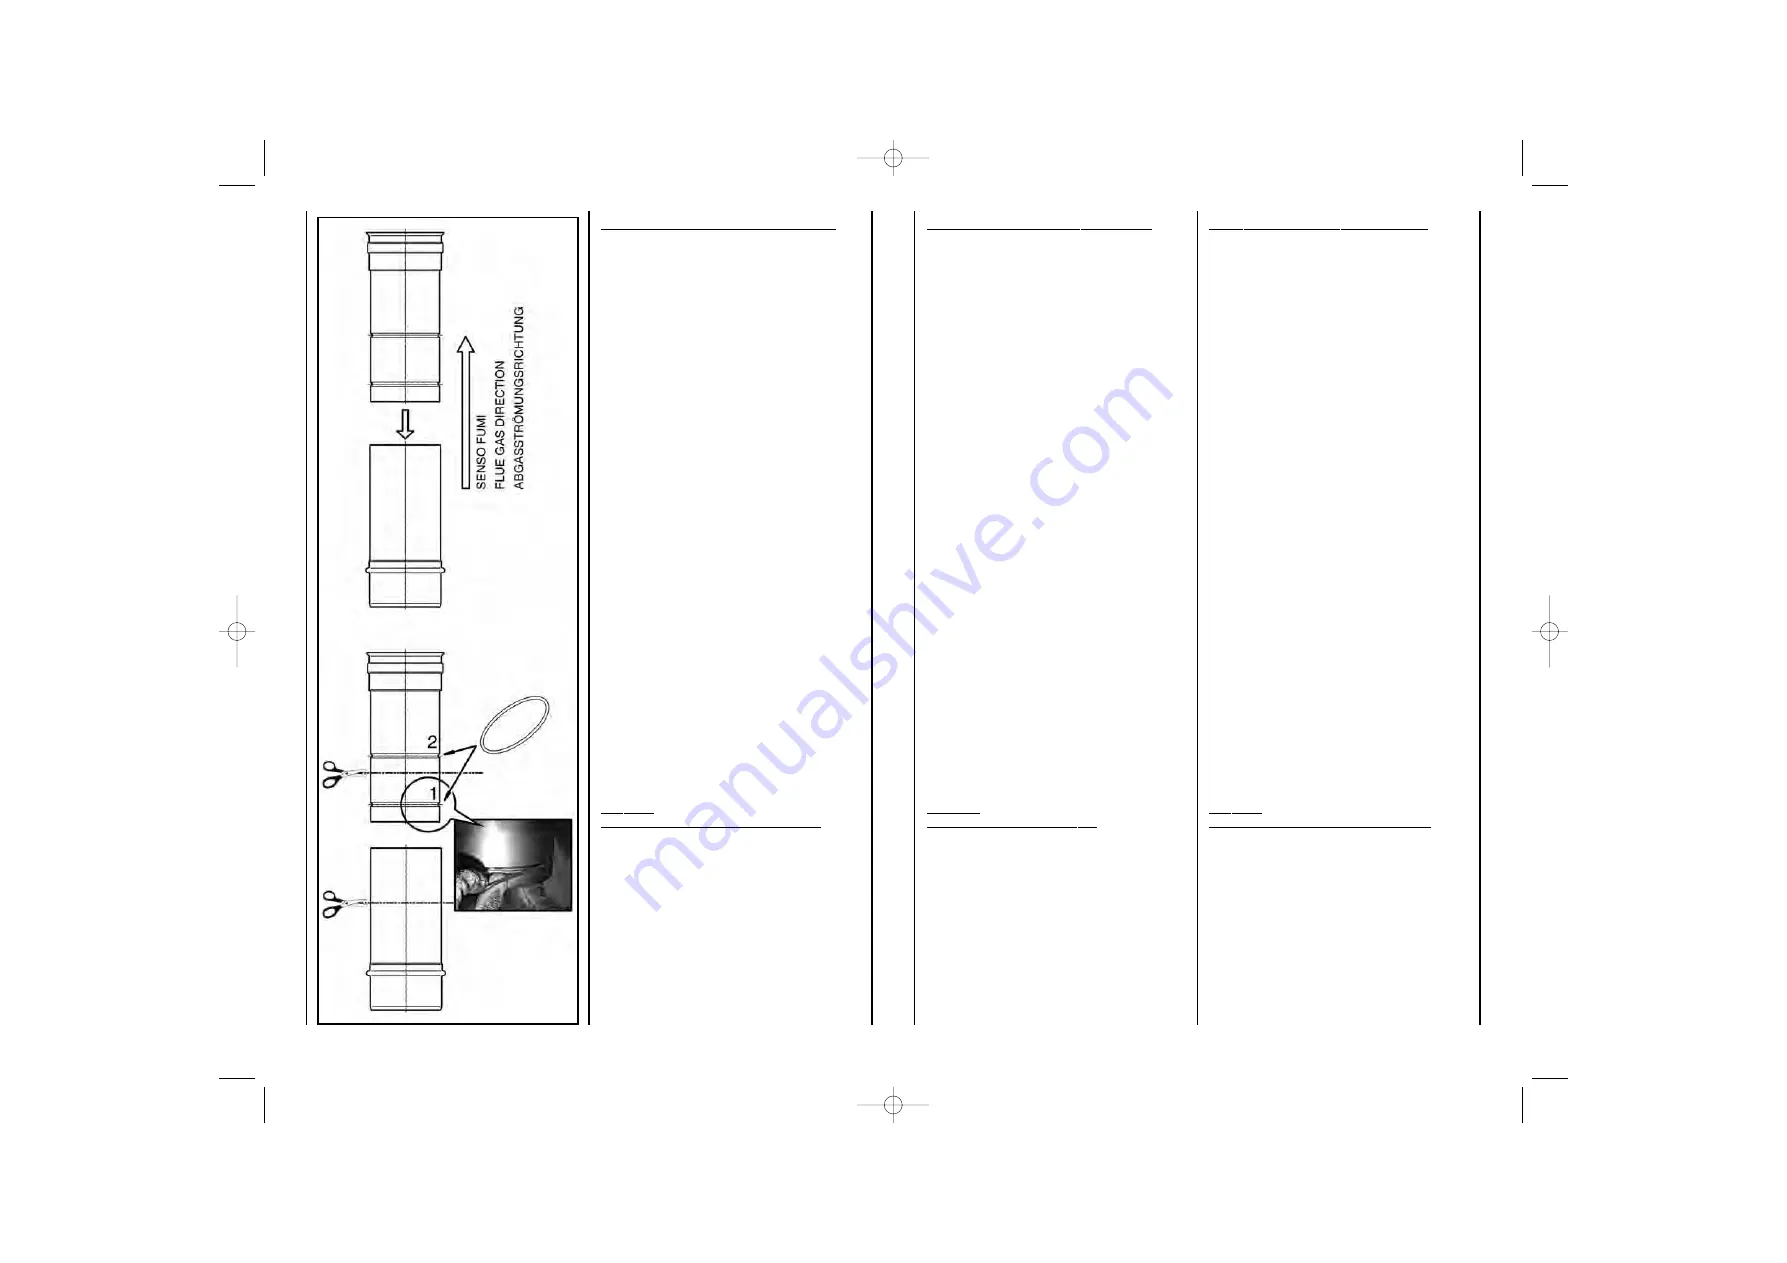
Sequenza operazioni:
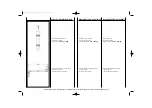
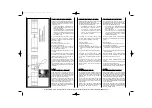
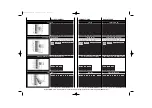
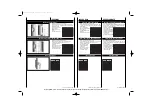
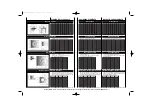
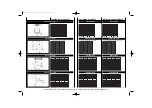
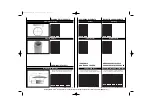
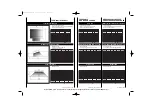
1. Installare la guarnizione nella sede 1.
2. Lubrificare la guarnizione.
3. Inserire il modulo che ha ad una estremità il

giunto femmina nel modulo che ha ad una
estremità il giunto maschio.

4. Regolare l’altezza del modulo alla misura de-

siderata.

In caso di installazione su un sistema condotto
e/o canale da fumo funzionante in depressione
(T600-N1) non utilizzare la guarnizione OR for-
nita a corredo (operazione 1 e 2).

Se necessario è possibile tagliare i tubi in modo
da ottenere riduzioni maggiori rispetto a quelle
originali. Per il taglio dei tubi utilizzare utensili che
non contaminano l’acciaio. In questo caso per un
sistema in pressione installare la guarnizione OR
nella sede 2.

I

NOX

M

ONO

A SERVIZIO DI GENERATORI A CONDENSAZIONE

Il prodotto InoxMono è certificato per il funziona-
mento ad umido. Per i condotti di diametro 80-100
le guarnizioni di tenuta sono previste di serie; per
i condotti di diametro 120÷300 le guarnizioni di
tenuta sono previste come accessorio.
Consigliamo di installare il canale da fumo in pen-
denza in modo da evitare il ristagno della con-
densa e di prevedere anche dei punti di scarico
condensa sui canali da fumo molto lunghi.
Sabiana SpA non risponde di perdite di condensa
dal proprio sistema camino causate dal mancato
o incorretto uso delle guarnizioni.

T

ELESCOPIC MODULE ASSEMBLY INSTRUCTIONS

Installation and maintenance must be performed
by specialist and qualified personnel.
The telescopic modules, given their function, are
not load bearing and consequently:

• For installation in vertical sections, use them

immediately above a support accessory;

• For installation in sub-horizontal sections,

use the bracket accessories on both the
previous and the subsequent module to
prevent the flue from flexing.

If installing on a flue and/or chimney system
operating under positive pressure (T200-P1),
the O-ring gasket supplied must be used.

Operating sequence:
1. Install the gasket in position 1.
2. Lubricate the gasket.
3. Insert the module with the female joint at one

end into the module with the male joint at one
end.

4. Adjust the height of the module as desired.

If installing on a flue and/or chimney system
operating under negative pressure (T600-N1) do
not use the O-ring gasket supplied (operation 1
and 2).

If necessary, the flues can be cut for further
reduction. To cut the flues, use tools that do not
contaminate steel. In this case, for systems under
positive pressure install the O-ring gasket in
position 2.

I

NOX

M

ONO

SERVING CONDENSING GENERATORS

The InoxMono product is certified for operation in
wet conditions. For the 80-100 diameter flues, the
gaskets are supplied as standard; for the 120-300
diameter flues, the gaskets are supplied as
accessories.
The flue pipe should be installed at an angle so
as to avoid the accumulation of condensate, while
condensate drain points should be used for very
long flue pipes.
Sabiana SpA is not liable for condensate leaks
from its system chimney due to the failure to use
the gaskets or the incorrect use of such.

M

ONTAGEANLEITUNG FÜR

T

ELESKOPBAUTEILE

Die Installation und Wartung müssen von
qualifiziertem Fachpersonal ausgeführt werden.
Teleskopbauteile sind aufgrund ihrer Funktion
keine tragenden Bauteile. Daher gilt:

• Bei Verwendung in vertikalen Abschnitten

müssen sie direkt oberhalb einer Konsole
installiert werden;

• Bei Verwendung in subhorizontalen

Abschnitten müssen am vorhergehenden
und am nachfolgenden Bauteil Halterungen
installiert werden, damit sich der Rauch-
gaskanal nicht durchbiegt.

Bei der Installation in einer Überdruckanlage
(T200-P1) muss der mitgelieferte O-Ring verwendet
werden.

Vorgehensweise:
1. Setzen Sie die Dichtung in die Sicke 1 ein.
2. Schmieren Sie die Dichtung.
3. Stecken Sie das Bauteil mit der Einsteckseite

in das Bauteil mit der Muffenseite.

4. Regeln Sie die Höhe des Bauteils auf das

gewünschte Maß.

Bei der Installation in einer Unterdruckanlage
(T600-N1) darf der mitgelieferte O-Ring nicht
verwendet werden (Vorgang 1 und 2).

Die Rohre können erforderlichenfalls gekürzt
werden.
Schneiden Sie die Rohre nur mit Werkzeugen,
die den Stahl nicht kontaminieren.
In diesem Fall muss der O-Ring bei einer Über-
druckanlage in der Sicke 2 installiert werden.

I

NOX

M

ONO

MIT RAUMLUFTUNABHÄNGIGER BETRIEBSWEISE

Das Produkt InoxMono ist für den Nassbetrieb
zertifiziert. Bei Rohren mit dem Durchmesser 80-
100 werden die Dichtung serienmäßig mitgeliefert;
bei den Rohren mit dem Durchmesser 120÷300
sind die Dichtungen als Zubehör erhältlich.
Um die Kondensatansammlung zu vermeiden,
sollte der Abgaskanal schräg geführt und sollten
an sehr langen Abgaskanälen Kondensatabflüsse
vorgesehen werden.
Sabiana SpA übernimmt keine Verantwortung,
wenn infolge von falschem oder unsachgemäßem
Gebrauch der Dichtungen Kondenswasser aus
dem Kaminsystem austritt.

 Manuale INOX MONO  23-01-2008  11:03  Pagina 26

Cooke Industries - Phone: +64-9-579 2185 Fax: +64-9-579 2181  Email: [email protected] Web: www.cookeindustries.co.nz

Содержание InoxMono T200-P1-W-V2-L50050-O

Страница 1: ...ANNE FUMARIE IN ACCIAIO AISI 316L A SINGOLA PARETE INSTALLATION OPERATING AND MAINTENANCE MANUAL FOR SINGLE WALL AISI 316L STAINLESS STEEL FLUES INSTALLATIONS BEDIENUNGS UND WARTUNGSHANDBUCH FÜR EINWANDIGE SCHORNSTEINE AUS EDELSTAHL AISI 316L INOX MONO Manuale INOX MONO 5 09 2008 11 28 Pagina 1 Cooke Industries Phone 64 9 579 2185 Fax 64 9 579 2181 Email sales cookeindustries co nz Web www cookein...

Страница 2: ...nce of the Sabiana system chimneys due to the failure to heed the instructions provided to the user in this manual or if the required inspections repairs and maintenance operations are not performed CAREFULLY READ THIS MANUAL BEFORE INSTALLING THE CHIMNEY Scope Identification General warnings Fundamental safety rules Operating limits Disposal Certification Technical specifications Maximum load cap...

Страница 3: ...ad umido resistenza alle condense e alla diffusione del vapore D Il condotto e o il canale da fumo montato senza la guarnizione non è idoneo al funzio namento ad umido funzionamento a secco V2 Classe di resistenza alla corrosione L50050 Codice identificativo dell acciaio AISI 316L con spessore 0 5 mm O Il condotto montato con la guarnizione non è resistente all incendio della fuliggine O50 Il cana...

Страница 4: ...he most recent technology FIELD OF APPLICATION AND QUALIFICATIONS This manual concerns Transport handling and storage Installation Maintenance Disposal All repair and maintenance operations on the system must be performed by SABIANA personnel or by other specialist and qualified personnel SABIANA is not liable for any damage caused by any modifications made or tampering with the system chimney Any...

Страница 5: ...ions The relevant codes and standards The transport handling and maintenance operations must be performed by specialistì personnel or persons who have been suitably trained on the type of work involved and on the risks deriving from the failure to observe the safety standards FOR INSTALLATION The following warnings must be heeded during installation for safety reasons Always wear work gloves The w...

Страница 6: ...ni perché potenzial mente causa di pericolo PER LA MANUTENZIONE E RIPARAZIONE In caso di sostituzione di componenti richiedere sempre ricambi originali Utilizzare sempre guanti da lavoro Nell eventuale necessità di smontare il camino o parti dello stesso smontare per ultimi gli elementi portanti Non aprire mai il portello d ispezione con il gene ratore termico in funzione PER L UTILIZZO Ogni giunz...

Страница 7: ...ust be disposed of in safety and in compliance with the laws on environmental protection The InoxMono series products come with the CE mark according to the European EN 1856 2 standard with the following designations InoxMono flue with gasket T200 P1 W V2 L50050 O InoxMono flue without gasket T600 N1 D V2 L50050 G InoxMono flue with gasket T200 P1 W V2 L50050 O50 InoxMono flue without gasket T600 ...

Страница 8: ...na Classe di resistenza al fuoco della fuliggine G si O no Distanza in mm dai materiali combustibili Tabella Riassuntiva Diametri nominali mm 80 Peso al metro lineare kg m 1 1 100 1 4 120 1 7 130 1 8 140 2 150 2 1 160 2 3 180 2 5 200 2 8 250 3 5 300 4 2 Materiale Acciaio AISI 316L 2B Acciaio AISI 316L BA spessore nominale 0 5 mm Classe di pressione con guarnizione P2 200 Pa Classe di pressione sen...

Страница 9: ...inner wall Soot fire resistance class G yes O no Distance in mm to combustible materials Summary table Nominal diameters mm 80 Weight per linear metre kg m 1 1 100 1 4 120 1 7 130 1 8 140 2 150 2 1 160 2 3 180 2 5 200 2 8 250 3 5 300 4 2 Material AISI 316L steel 2B finish AISI 316L steel BA finish nominal thickness 0 5 mm Pressure class with gasket P2 200 Pa Pressure class without gasket N1 40 Pa ...

Страница 10: ...fikation und Stärke der Innenwandung Russbrandbeständigkeitsklasse G ja O nein Abstand in mm zu brennbaren Stoffen Zusammenfassende Tabelle Nenndurchmesser mm 80 Gewicht lfm kg m 1 1 100 1 4 120 1 7 130 1 8 140 2 150 2 1 160 2 3 180 2 5 200 2 8 250 3 5 300 4 2 Material Stahl AISI 316L 2B Stahl AISI 316L BA Nennstärke 0 5 mm Druckklasse mit Dichtung P2 200 Pa Druckklasse ohne Dichtung N1 40 Pa Unte...

Страница 11: ...ax 44 kg Durchmesser 120 300 mm P max 80 kg PRESTAZIONI MECCANICHE MAXIMUM LOAD CAPACITIES MECHANISCHE BELASTBARKEIT Massima portata ammessa per i tee 90 InoxMono di tutti i diametri P max 95 kg Maximum load capacity allowed for the InoxMono 90 equal tee for all the diameters P max 95 kg Max zulässige Belastung für T Anschlüsse 90 InoxMono aller Durchmesser P max 95 kg Manuale INOX MONO 23 01 2008...

Страница 12: ...ECCANICHE MAXIMUM LOAD CAPACITIES MECHANISCHE BELASTBARKEIT Max zulässige Abweichung InoxMono Neigung bis 90 Max Achsversetzung 2350 mm Maximum deviation allowed for InoxMono gradient until 90 maximum offset 2350 mm Deviazione massima ammessa InoxMono inclinazione fino a 90 disassamento massimo 2350 mm Manuale INOX MONO 23 01 2008 11 03 Pagina 22 Cooke Industries Phone 64 9 579 2185 Fax 64 9 579 2...

Страница 13: ...asket as standard for Ø80 and Ø100 must be used in situations where condensate is formed and when operating under positive pressure wet conditions W and tightness class P1 1 Before installing each module check that the joints are intact and clean Straight lengths or accessories cannot be used if bent along their axis Once having carried out all the checks for the wider diameters the element should...

Страница 14: ...end into the module with the male joint at one end 4 Adjust the height of the module as desired If installing on a flue and or chimney system operating under negative pressure T600 N1 do not use the O ring gasket supplied operation 1 and 2 If necessary the flues can be cut for further reduction To cut the flues use tools that do not contaminate steel In this case for systems under positive pressur...

Страница 15: ...r and in a clearly visible position Example of designation according to the EN 1443 Standard EN 1443 T200 P1 W 2 O50 Standard number Operating temperature Pressure class Operating conditions wet Corrosion resistance Soot fire resistance class O no G yes Indicates the distance in mm to combustible materials WARNING if the adjustable curved section is part of the system components the system rating ...

Страница 16: ...ge Berührung möglich ist mit Schutzeinrichtungen nach der Norm UNI EN 294 Tabelle V gesichert werden 16A 16 Parte del corpo Punta del dito Braccio fino all articolazione della spalla o mano Dito fino all articolazione tra il carpo e le falangi Figura Apertura A feritoia Distanza di sicurezza sr Quadra Circolare e 4 4 e 6 6 e 8 8 e 1 10 e 12 12 e 20 20 e 30 30 e 100 2 20 40 80 100 900 1 900 900 2 1...

Страница 17: ...himney the designer and the installer must refer to the following standards EN 13384 1 Chimneys Thermal and dynamic fluid calculation methods Part 1 Chimneys serving just one appliance EN 1856 1 Chimneys Requirements for metal chimneys Part 1 System chimney products EN 1856 2 Chimneys Requirements for metal chimneys Part 2 Metal liners and connecting flue pipes EN 1443 Chimneys General requirement...

Страница 18: ... may prevent the correct drainage of condensate The absence of any impediments to the discharge of the flue gas and that the terminal is not blocked by nests or other objects Remove the flue pipe and make sure that it is in good condition Do not use black iron tools When cleaning or sweeping use soft plastic brushes or sponges that remove any soot without scratching the inner wall of the chimney S...

Страница 19: ...0014100 0014101 0014102 0014103 001410A 0014104 0014105 0014106 0014107 0014108 0014109 1 1 2 1 5 1 6 1 7 1 9 2 2 2 2 5 3 3 7 kg 80 100 120 130 140 150 160 180 200 250 300 0014140 0014141 0014142 0014143 001414A 0014144 0014145 0014146 0014147 0014148 0014149 0 4 0 6 0 8 0 8 0 8 0 8 1 1 1 2 1 4 1 8 Flue ID code kg Not load bearing only use in sub horizontal sections After having established the re...

Страница 20: ... 65 0 72 0 78 0 95 1 05 1 5 2 kg Flue ID 80 100 120 130 140 150 160 180 200 250 300 code 73 76 78 5 80 81 5 83 84 5 87 5 90 5 97 5 105 0014160 0014161 0014162 0014163 001416A 0014164 0014165 0014166 0014167 0014168 0014169 A 126 133 140 143 5 147 150 5 154 161 168 5 186 203 5 B 53 57 61 5 63 5 65 5 67 5 69 5 73 5 78 88 98 5 C 103 107 111 5 113 5 111 5 117 5 119 5 123 5 128 138 148 5 D 0 24 0 30 0 ...

Страница 21: ...2 5 187 5 0014180 0014181 0014182 0014183 001418A 0014184 0014185 0014186 0014187 0014188 0014189 A 111 111 111 111 111 111 192 5 192 5 192 5 192 5 192 5 B 161 161 161 161 161 161 242 5 242 5 242 5 242 5 242 5 C 272 272 272 272 272 272 435 435 435 435 435 H 0 4 0 5 0 6 0 65 0 7 0 75 1 15 1 25 1 40 1 75 2 10 kg Flue ID 80 100 130 code 120 5 130 5 145 5 0014660 0014661 0014663 A Wir haben nur T Redu...

Страница 22: ...evisti dal DPR 1391 Art 7 7 Può essere utilizzato unitamente al tappo raccogli condensa come camera raccolta incombusti negli impianti con combustibile a gas Modulo d ispezione Ø 130 300 mm Tappo d ispezione Flue gas inspection length Im Tiefziehverfahren hergestellt Es muss in senkrechten Abschnitten über einem T Anschluss 90 oder einem T Anschluss 135 in einem Abstand von mindestens 3 Innendurch...

Страница 23: ...kg 0 24 0 30 0 35 0 40 0 40 0 45 0 50 0 55 0 60 0 75 0 90 kg 0 24 0 30 0 35 0 40 0 40 0 45 0 50 0 55 0 60 0 75 0 90 Ø Kamin 80 100 120 130 140 150 160 180 200 250 300 Art Nr 0014270 0014271 0014272 0014273 001427A 0014274 0014275 0014276 0014277 0014278 0014279 Ø Kamin 80 100 120 130 140 150 160 180 200 250 300 Art Nr 0014230 0014231 0014232 0014233 001423A 0014234 0014235 0014236 0014237 0014238 ...

Страница 24: ...07 0014408 0014409 H 0 2 0 2 0 2 0 2 0 2 0 2 0 2 0 3 0 3 0 3 0 4 kg 24A 24 Tappo con scarico condensa Tappo di chiusura Condensate collector Plugs Verschlusskappe mit Kondensatabfluss Verschlusskappe Le quote sono indicate in mm The distances are expressed in mm Maßangaben in mm PLUGS VERSCHLÜSSE TAPPI Ø Camino 80 100 120 130 140 150 160 180 200 250 300 codice 91 101 111 116 121 126 131 141 151 17...

Страница 25: ...nem Aufbau oder zwei Konsolen gelagert ist Mit Kondensatabfluss aus Edelstahl Base plate with side condensate drain Element to be installed at the bottom of the chimney to support the flue when this is rested on a base or a pair of shelves Fitted with stainless steel condensate drain Utilizzare nell attraversamento di una soletta Für die Durchführung durch eine Geschossdecke Used when passing thro...

Страница 26: ...01 0014470 0014471 0014472 0014473 001447A 0014474 0014475 0014476 0014477 0014478 0014479 ØA 423 443 463 473 483 493 503 523 543 593 643 ØB Ø Kamin 80 100 120 130 140 150 160 180 200 250 300 Art Nr 81 101 121 131 141 151 161 181 201 251 301 0014470 0014471 0014472 0014473 001447A 0014474 0014475 0014476 0014477 0014478 0014479 ØA 423 443 463 473 483 493 503 523 543 593 643 ØB Flue ID 80 100 120 1...

Страница 27: ...7 195 204 0014490 0014491 0014492 0014493 001449A 0014494 0014495 0014496 0014497 0014498 0014499 A 250 250 300 300 350 350 350 400 400 480 560 ØB 0 7 0 7 0 9 0 9 1 1 1 1 1 1 1 4 1 4 2 2 5 kg Ø Kamin 80 100 120 130 140 150 160 180 200 250 300 Art Nr 131 131 146 146 151 151 151 167 167 195 204 0014490 0014491 0014492 0014493 001449A 0014494 0014495 0014496 0014497 0014498 0014499 A 250 250 300 300 ...

Страница 28: ... 130 140 150 160 180 200 250 300 Art Nr 82 102 122 132 142 152 162 182 202 252 302 0014510 0014511 0014512 0014513 001451A 0014514 0014515 0016821 0016822 0016824 0016825 ØA 202 242 272 292 302 322 342 382 402 492 582 ØB 70 80 85 90 90 95 100 110 110 130 150 H Flue ID 80 100 120 130 140 150 160 180 200 250 300 code 468 507 532 545 558 584 596 635 660 737 814 0014500 0014501 0014502 0014503 001450A...

Страница 29: ...ino 80 100 120 130 140 150 160 180 200 250 300 B 110 5 116 122 125 128 131 134 139 5 145 5 160 175 266 5 280 5 394 5 302 309 316 323 337 351 386 5 422 A DISASSAMENTI DEVIAZIONI E ACCOPPIAMENTI Disassamenti Disassamenti Offsets Offsets Achsversetzungen Achsversetzungen Ø Kamin 80 100 120 130 140 150 160 180 200 250 300 B 155 5 160 5 165 5 168 170 5 173 175 5 180 5 185 5 198 210 5 219 5 228 236 5 24...

Страница 30: ...5 5 312 318 5 B 644 5 654 5 664 5 669 5 674 5 679 5 684 5 694 5 704 5 729 5 754 5 A 539 542 544 5 546 547 548 5 550 552 5 555 5 562 568 5 B 1077 5 1087 5 1097 5 1102 5 1107 5 1112 5 1117 5 1127 5 1137 5 1162 5 1187 5 Flue ID 80 100 120 130 140 150 160 180 200 250 300 A 241 247 253 256 259 261 5 264 5 270 5 276 5 291 305 5 Straight length H 272 Straight length H 435 Straight length H 935 Straight l...

Страница 31: ... TIPICA DI UN CONDOTTO TYPICAL COMPOSITION OF A CHIMNEY Manuale INOX MONO 23 01 2008 11 03 Pagina 60 Cooke Industries Phone 64 9 579 2185 Fax 64 9 579 2181 Email sales cookeindustries co nz Web www cookeindustries co nz ...

Страница 32: ...ANMERKUNGEN 33 SCHEMATISCHER AUFBAU EINES KAMINS Manuale INOX MONO 23 01 2008 11 03 Pagina 62 Cooke Industries Phone 64 9 579 2185 Fax 64 9 579 2181 Email sales cookeindustries co nz Web www cookeindustries co nz ...

Страница 33: ...Manuale INOX MONO 23 01 2008 11 03 Pagina 64 Cooke Industries Phone 64 9 579 2185 Fax 64 9 579 2181 Email sales cookeindustries co nz Web www cookeindustries co nz ...

Отзывы: